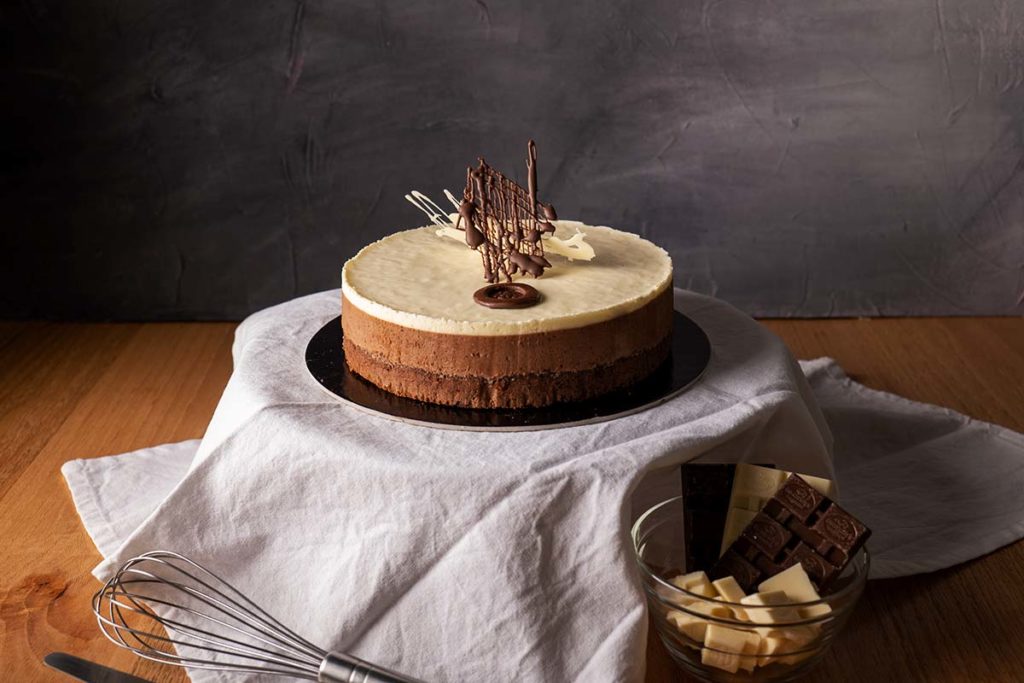
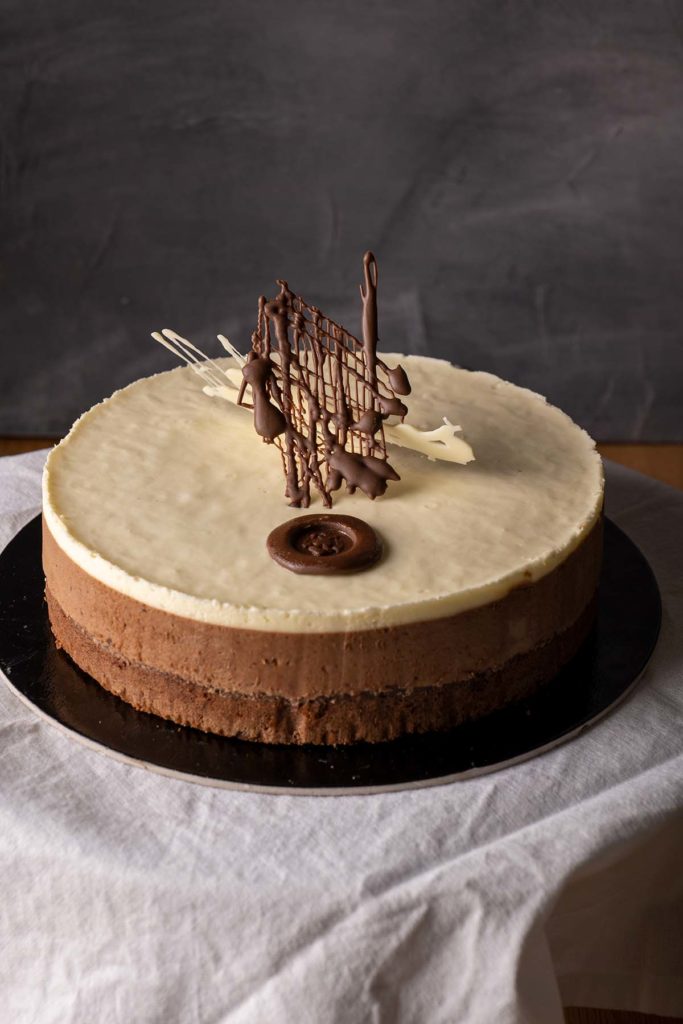
Unleash your creativity with this scrumptious Double Chocolate Mousse Cake recipe that I have perfected over the past week. A delight to make, mousse desserts offer a unique opportunity to play with shapes and colors without worrying about expansion or contraction, unlike baked cakes. The result? A rich, creamy dessert that’s as pleasing to the eyes as it is to the taste buds.
When I was a kid, I used to watch in awe as my grandmother meticulously crafted her famous cakes for our family gatherings. They were the grand finale of every meal and the highlight of our celebrations. I remember peering over the edge of the kitchen counter, captivated by the way she’d whisk the ingredients together, transforming them into something magical.
There was one particular occasion I’ll never forget. I was around ten, and eager to help my grandmother with her baking. In my over-enthusiasm, I accidentally knocked over a whole carton of cream right into the mousse mix! I was mortified, but my grandmother just laughed heartily. She calmly cleaned up the mess and then, to my surprise, she let me continue helping her. It was a disaster, but it turned into one of my most treasured memories in the kitchen with her.
That day, not only did I learn the importance of taking mishaps in stride, but I also realized how the magic of baking wasn’t just about creating delicious food. It was about the love, the memories, and the connections we made while doing it. Today, every time I make this double chocolate mousse cake, I can’t help but smile, remembering that clumsy ten-year-old me and the wisdom my grandmother passed down through her love of baking.
So here’s the recipe, mistakes and all, just as my grandmother would’ve wanted. I hope you enjoy it, and perhaps create some of your own kitchen memories along the way.
Ingredients
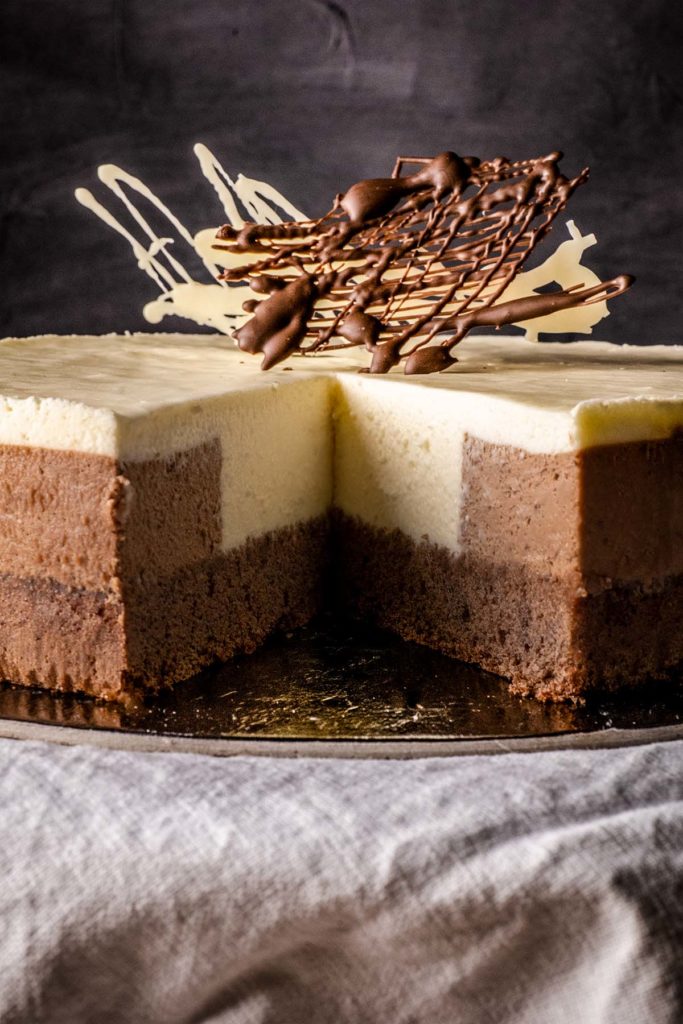
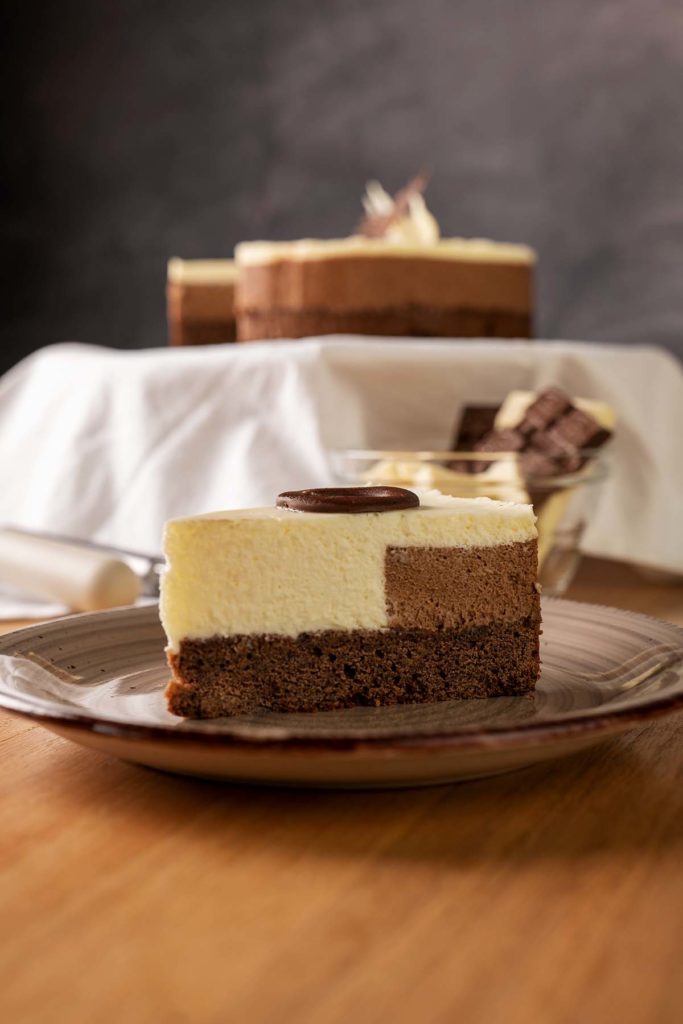
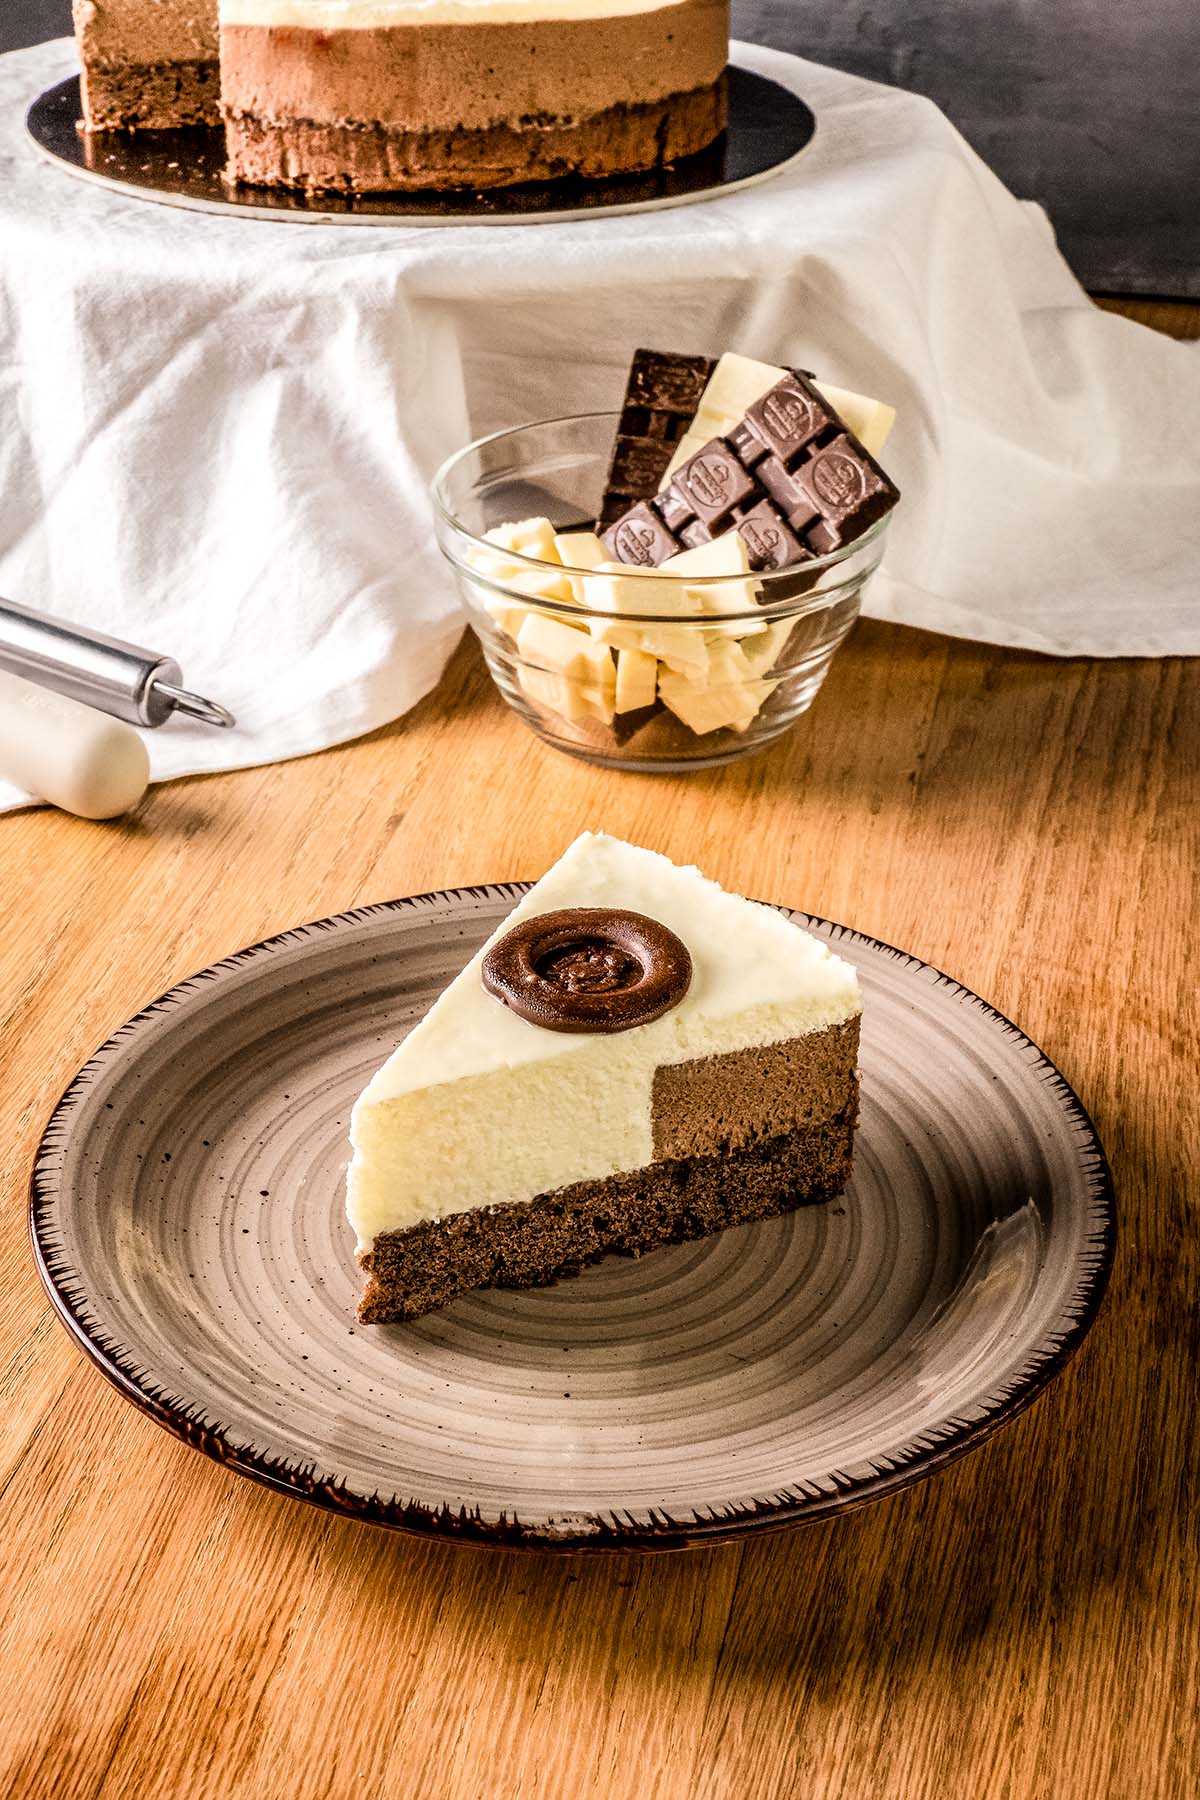
This delectable cake comprises three distinct layers: two mousse layers (made with white and milk chocolate) and a sumptuous chocolate sponge cake base. Here’s a closer look at each::
- White Chocolate Mousse: This layer, though optional, adds a delightful contrast to the milk chocolate. Comprising heavy cream for volume and fat, white chocolate for flavor and sweetness, and gelatin for setting, this mousse is incredibly creamy and can be molded into any shape.
- Milk Chocolate Mousse: This forms the core flavor of our cake. It shares the same ingredients as the white chocolate mousse, with milk chocolate replacing white. The gelatin is dissolved in hot milk to ensure smooth blending with the cream.
- Chocolate Cake Layer: This rich chocolate sponge cake is the foundation of our dessert. It’s so delicious you could double the recipe and bake it standalone!
Equipment
While this recipe doesn’t require an extensive list of kitchen gadgets, an adjustable cake or mousse ring is a must-have. It facilitates easy removal of the frozen mousse. If not available, a silicone mold could be a viable alternative.
Other than the mold, you will need basic kitchen utensils such as:
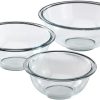
- 2-3 Heatproof mixing bowls
- A silicon or rubber spatula
- A whisk
- A medium to large sauce pan to melt the chocolate over
- An 8 inch cake pan to bake the cake layer in
- A hand mixer to whip the heavy cream
- An oven to bake the cake layer in
- Space in your freezer to set the mousse
Temperature & Time
I mention this in all my mousse cake recipes, don’t rush the freezing times. Mousse takes 6 full hours to set in the freezer. Anything earlier and it will deform when removing from the mold. This is especially true when it comes to silicon mold. As a rule of thumb apply the following waiting times:
- 6 Hours freezing before de-molding
- 20 minutes in the freezer for layer designs. This is adequate time to set the mousse and allow you to add another layer or color. You can also use the 20 minute freeze to remove little molds within the mold. For example in this recipe I used a small ring in the center to create the white chocolate mousse core. I was able to remove this carefully after 20 minutes in the freezer.
- Defrosting the cake before eating can take anywhere from 4 to 8 hours. The right way to defrost any cake is in the fridge, this will ensure its not exposed to any bacteria.
The History of Mousse Cake
Mousse is a French dish and has been around since the mid 18th century. Traditionally Mousse is made by folding a meringue or whipped egg whites into a cold sugar base and milk or whipped cream. Now eating raw egg’s can be unhealthy, I once had salmonella and believe you me, it was not a fun experience. Since the application of gelatin in food in the mid 19th century, we can make mousse set and stay creamy without using eggwhites or raw eggs.
Mousse cakes are as the name suggests, the combination of cake and mousse in a single dessert. Since we can make mousse and cake with virtually any flavor, the combinations of mousse cakes seem to have no limit. Anything from fruits, nuts, chocolate and even savory flavors goes.
One of my favorite mousse cakes is this Chocolate-Amaretto and Espresso Mousse cake by Savourthebest.com. I really recommend you check it out.
The Recipe
Chocolate Mousse Cake
Equipment


Ingredients
Cake Layer
- 110 gram All-purpose flour
- 110 gram Crystal Sugar
- 100 gram Unsalted Butter
- 2 large Eggs
- 1 tsp Baking Powder
- 1 tsp Vanilla Extract
- 1½ tbsp Cocoa Powder
- 1 tbsp Milk
- 1 pinch salt
Milk Chocolate Mousse
- 120 gram Heavy Cream
- 100 gram Milk Cooking Chocolate
- 60 gram Milk
- 2 gram Gelatin
White Chocolate Mousse
- 120 gram Heavy Cream
- 100 gram White Chooking Chocolate
- 60 gram Milk
- 2 gram Gelatin
Instructions
Chocolate Cake
- Preheat your oven at 160°C with fan assist or 180°C without. Grease an 8 inch or 20cm cake pan. I like to line them with baking paper on both the bottom and side. This makes removing the cake later much easier. In a large bowl, whisk the butter and sugar until its pale and fluffy. Whisk in the remaining ingredients starting with the egg's and vanilla extract and finishing with the dry ingredients.Place the batter into the cake pan and bake for 20-30 minutes. Perform a wooden skewer test to make sure the cake is done in the center. Cool on a cooling rack until completely cold to touch. Slice into a 2-3 cm thick layer (you can munch on the remaining pieces) and wrap the adjustable mold ad tightly as possible around the cake layer. Set aside until needed.TIP: Use a cake board under the layer to make moving and working with it easier.110 gram All-purpose flour, 110 gram Crystal Sugar, 100 gram Unsalted Butter, 2 large Eggs, 1 tsp Baking Powder, 1 tsp Vanilla Extract, 1½ tbsp Cocoa Powder, 1 tbsp Milk, 1 pinch salt
Mousse Preperation
- In a large bowl, whisk the all the heavy cream (from white and chocolate mouse) until half whisked. You want a smooth fluffy consistency that is still runny and not totally whisked to stiff peaks. Set aside until needed.120 gram Heavy Cream, 120 gram Heavy Cream
Chocolate Mousse
- Add some cold water and ice cubes into a small bowl and soak the gelatin sheets until needed. Add hot water (60°C to 70°C) to a medium/large sauce pan and place a heat proof bowl into the hot water. Add the milk chocolate and stir with a silicon spatula until 75% dissolved. Remove from the hot water and stir until 100% dissolved and smooth.100 gram Milk Cooking Chocolate, 2 gram Gelatin
- Heat the 60 gram of milk in a microwave for 30-40 seconds. Now squeeze out the gelatin sheets and place them into the hot milk. They should dissolve immediately but give them a stir just to be sure. Pour the milk/gelatin mix into the chocolate and stir until smooth. Now add half of the heavy cream and fold with the spatula until smooth.60 gram Milk
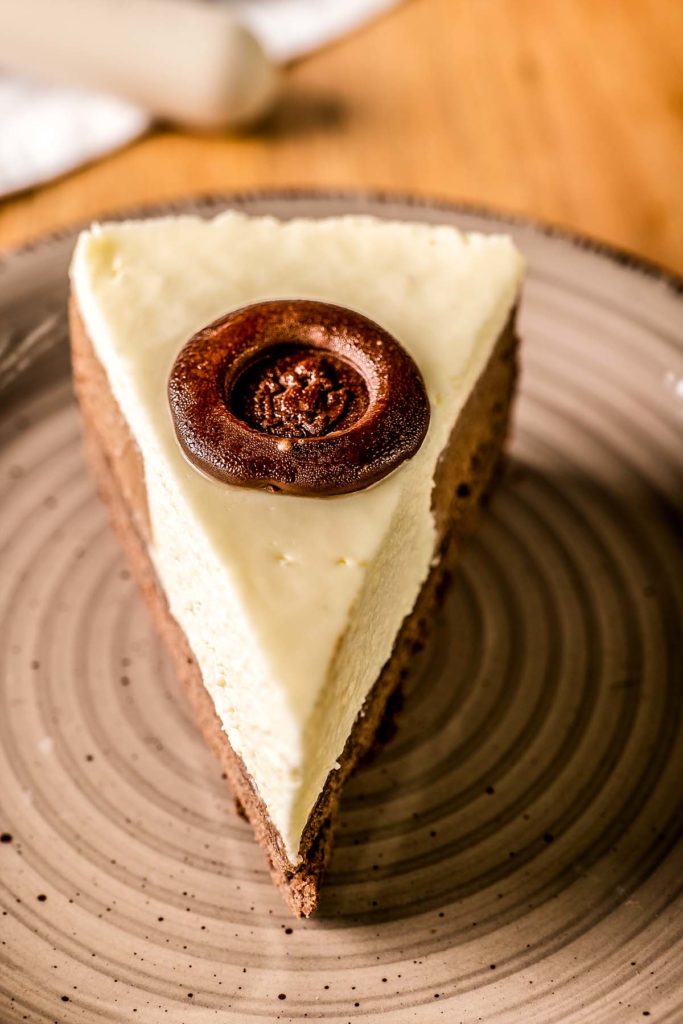
- Pour the chocolate mousse into the adjustable mold with the cake layer bottom. Place in the freezer for 20 minutes before adding the next layer. Tip: If you want to make a different color core as in my picture, use a smaller cake ring and place it in the center of the mold before pouring the chocolate mousse. Make sure its pressed down and lightly penetrating the cake layer. (only a tiny bit to stay in place.
White Chocolate Mousse
- Repeat the steps of the chocolate mousse but this time with white chocolate instead of milk chocolate. Pour the white chocolate mousse over the milk chocolate mousse and place it in the fridge:Tip: If you followed the tip of the previous step, make sure you remove the cake ring before pouring in the white chocolate mouse. Carefully wiggle it around and then twist it out.60 gram Milk, 2 gram Gelatin, 100 gram White Chooking Chocolate
- Place in the freezer for at least 6 hours until the mousse is completely set.
De-Molding
- To remove the mousse cake from the mold, place it on an upside down saucepan that is smaller than the cake diameter. This will allow the pan to push through the mold and push the cake out from the top.Now soak a kitchen towel in hot water, dont burn your fingers. Gently wrap the towel around the mold for a few seconds. This will defrost the outer mantle and allow you to gently push down the adjustable mold and reveal the mousse cake. You can now put the cake back into the freezer or if you plan to eat it, leave it in the fridge to defrost (around 8 hours)
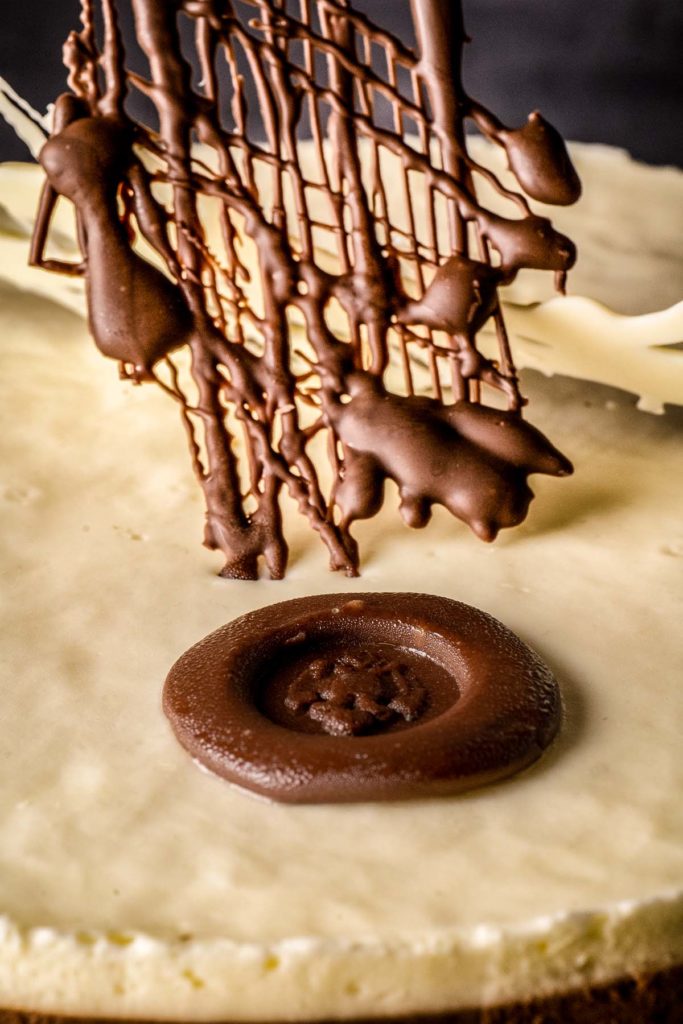
Chocolate Decoration
- To replicate the chocolate décor, melt 30-40 grams of milk chocolate in the microwave. Use 30 second burst to avoid burning the chocolate. Dissolve to 70% and then stir until the rest is dissolved.Cut a small square of baking paper, use a spoon to drizzle chocolate first in horizontal lines and then in vertical lines forming a chocolate grid. Let it set and then carefully peel off the baking paper.Repeat with white chocolate and then lean on each other in the center of the cake.
![]()
Nutrition
Frequently Asked Questions
Can I make this recipe without gelatin?
Yes, it’s possible to make this mousse cake without gelatin. You can use agar-agar, a plant-based substitute, as an alternative. It’s important to note, however, that agar-agar sets more firmly than gelatin, so you may need to adjust the quantity. Usually, you’ll need about half the amount of agar-agar compared to gelatin.
What type of chocolate should I use for the mousse?
It’s recommended to use high-quality cooking chocolate for the best flavor. For the milk chocolate mousse, you can use a chocolate with a cocoa percentage between 30-45%. For the white chocolate mousse, any good quality white chocolate will work. Remember, the better the quality of your chocolate, the tastier your mousse will be.
Can I prepare this cake in advance?
Absolutely! This double chocolate mousse cake is perfect for making in advance as it needs to be frozen for at least 6 hours. You can make it a day or two before your event and let it defrost in the fridge for about 4-8 hours before serving.
Can I substitute the heavy cream with something lighter?
The heavy cream is a key component in this recipe that gives the mousse its rich and creamy texture. If you’re looking for a lighter option, you might try using half-and-half or a mixture of milk and cream. However, keep in mind that this may affect the final texture and richness of your mousse.
Can I use a different type of cake for the base layer?
Yes, you can definitely experiment with different cake base flavors. A dark chocolate sponge, vanilla sponge, or even a brownie layer would pair nicely with the chocolate mousse. Just make sure the cake is sturdy enough to hold the mousse layers.
How should I store the leftover mousse cake?
Any leftovers should be stored in the fridge, covered, and consumed within 2-3 days for the best flavor and texture. The mousse cake can also be frozen for up to a month. Just make sure to wrap it well in plastic wrap to prevent freezer burn, and defrost in the refrigerator before serving.
Can I make this recipe dairy-free?
Making this recipe dairy-free requires a few substitutions. You can use dairy-free chocolate for the mousse, and replace the heavy cream with a plant-based alternative like full-fat coconut cream. Please be aware that these substitutions may alter the final taste and texture of your cake.