Cake Pops are just awesome. The chocolate ganache dip keeps the cake fresh and soft, you can mix different types of chocolate for the cover and you can add lots of exciting toppings, Oh and did I mention they are a ton of fun to make? Perfect to keep the kid’s entertained. In todays recipe we are making cake pops with a silicon mold, you can get these on amazon or in your baking supply shop. There are ways to make cake pops without a mold, so stay tuned for a future recipe that doesn’t require a silicon mold.
So before we get in to the nitty gritty details of Cake Pop making, lets see what you need.
Ingredients & Equipment
- Silicon Cake Pop Mold – Since we are making mold cake pops, you will need a silicon mold to bake your cake pops in. Make sure you get one with a steam hole. A cake mold without a hole will pop open and spill all over your oven. PS: You also need the cake pop sticks, they usually come with the mold.
- All Purpose Flour – I have tested this with 00 flour and self raising flour, both worked great. If you use self raising flour then you won’t need baking powder so make sure you omit that.
- Sugar – Plain old white crystal sugar
- Dipping Chocolate – Use a combination of any chocolates you like, white, dark or brown.
Frequently Asked Questions
Before we get in to baking these delicious Cake Popsicles, lets have a look at the most asked questions. Make sure you read these because they will save you a lot of time and effort when you are ready to bake:
Do I need candy melts for this cake pop recipe?
The short answer is NO, today we will make cake pops with simple baking chocolate, I am using a dark and white chocolate. The limitations here are the colours, you can colour white chocolate but you need oil based food colouring and its not easy to get in a local supermarket. So if you are content with black and white chocolate colours, then that shouldn’t be an issue. If you do want other colours, then use candy melts.
Can you leave cake pops in the fridge overnight before dipping?
Yes absolutely, as a matter of fact they need to be completely cold before you dip them anyway so an extra day will just make them set better. I do however suggest that you keep them in a sealed container so they don’t loose the moisture. It will also keep other odours from your fridge out of the cake pops.
I do have one suggestion here, if you can get the popsicle sticks mounted before you do. Melt a little amount of chocolate in the microwave, dip the tip of the stick and push it in to the centre of the popsicle. This will act as a glue to avoid them coming off when you dip or eat them the next day.
Why are store bought Cake Pops so expensive?
Another reason to make cake pops at home, buying a cake popsicle in a store will cost anywhere between 1.5$ and 3$. To put this in to perspective, making 24 Cake Pops at home and buying the silicon mold will only cost you around 18$. Thats half the price of buying the same amount of cake pops and you get to keep the mold for more cake pops.
The reason for this big price difference is the work involved making these little balls of heaven on a stick. It takes you only 35 minutes a batch but for a bakery its very labour intensive and thus drives up the cost.
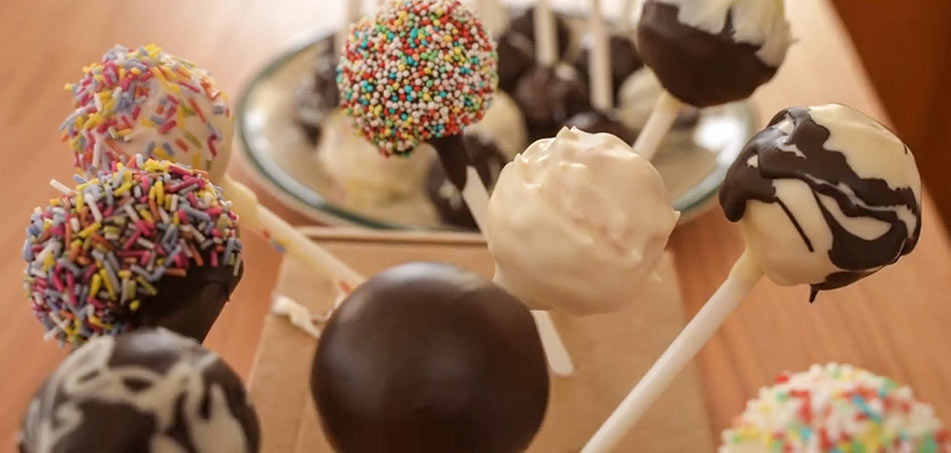
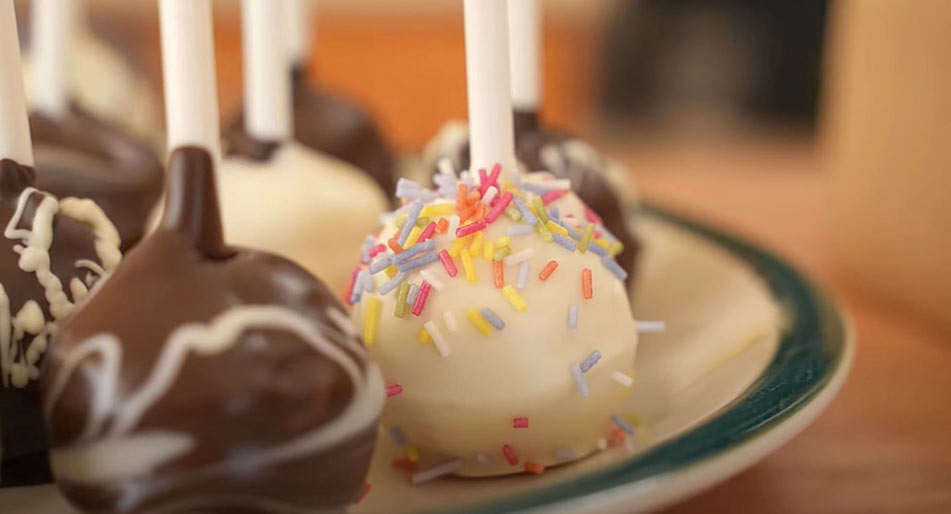
Decorating Cake Pops
Decorating cake pops can be a lot of fun, and its something you can do with the kids. In the recipe below you can see how I decorated mine but don´t be afraid to get creative. If you want the cake pops chocolate cover to be smooth, you will need to let the chocolate set upright. An easy way to do this is to get a carton box, maybe a shoe box or something similar. Then make holes, but they must be a little smaller than the cake pop sticks so they stay in place. Decorate and stick them into the holes to set.
If you want to get fancy, you can get one of these plex cake pop stands from Amazon. They are handy and look great on a buffet or table presentation.
Disclaimer: Please note that this is an affiliate link, so if you purchase this item via my link, we will receive a small referral fee which goes into running this blog and creating new recipes for you.
How to make Cake Pops
Cake pops are just like any other sponge cake, the things you need to watch out for are pretty similar too. Don’t over mix the batter to avoid gluten formation. Watch the baking time to avoid hard cake pops. And make sure they are completely cooled before you actually dip them. Here is how its done, step by step.
Cake Pops with Silicon Mold
Equipment


Ingredients
- 220 grams All Purpose Flour
- 1 ½ tsp Baking Powder
- ½ tsp Salt
- 200 grams Butter Unsalted
- 200 grams Crystal Sugar
- 4 large Egg
- 1 ½ tsp vanilla extract
Decorating
- 1 Cup Dark Chocolate
- 1 Cup White Chocolate
- ¼ Cup Vermicelli Or other toppings
Instructions
- Preheat your oven at 175C or 340F
- In a medium sized bowl, combine the flour, baking powder and salt. Give it a light stir to combine and set aside.
- In a large mixing bowl, combine the Butter, Sugar and vanilla extract. Using a hand or stand mixer, whisk at medium speed until creamy. Tip: Ensure your ingredients are at room temperature otherwise the butter might clump. If that happens, don't panic. Just keep mixing for 2-3 minutes. Any remaining clumps will dissolve when the dry ingredients are added.Now add in the egg's one at a time and mix until smooth and combined.
- Now it's time to add the dry ingredients. Pour the dry ingredients over the creamed butter and sugar. Using a rubber spatula fold until just combined. Don't over mix.
- Prepare the cake pop mold by greasing it with some butter. You won't need to flour the mold, a good rub with butter will keep the dough from sticking.
- As the cake batter doubles in size when baked, fill the cake mold to the rim of the bottom mold. Make sure the vent hole is on top 🙂 Seal the mold and bake for 15 Minutes. Beware, every oven is a little different so you might need a couple of minutes more or less. As the pop's are sealed you cant really do a skewer test but you can take them out at 12 minutes and open one edge of the mold a little to see if they are golden brown.
Decorating
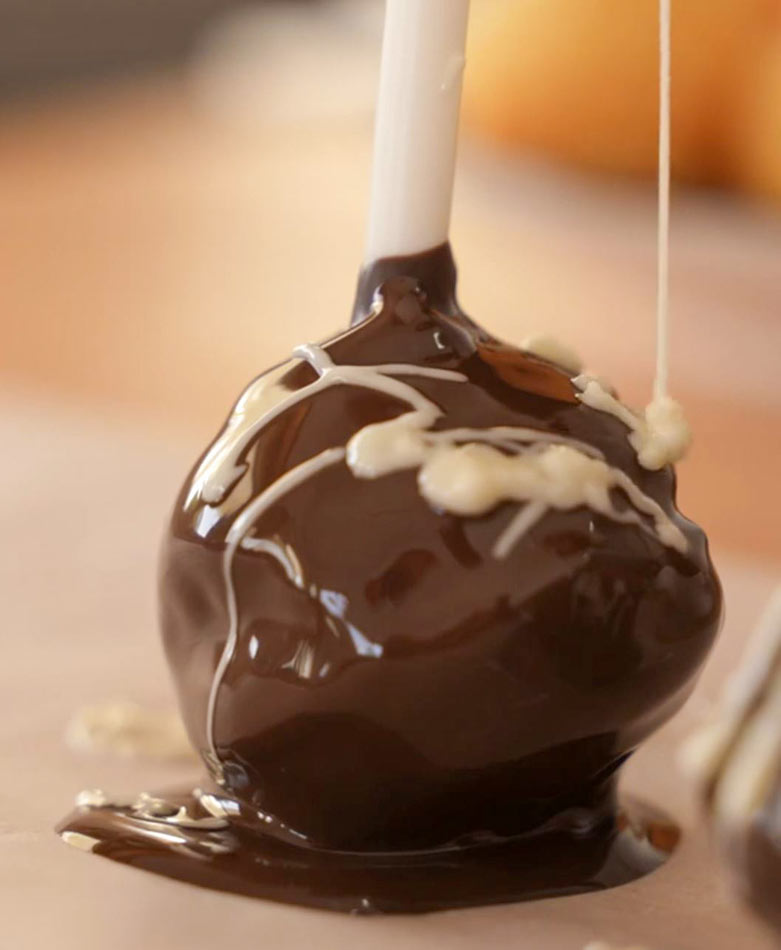
- You can get creative with decorating. I used two cups of melted chocolate, One dark and one white chocolate. I add a table spoon of coconut oil to each cup to thin the chocolate a little and give it a nice shine when it dries.
- IMPORTANT: before decorating or dunking the cake pops. Dip the cake pop sticks in a bit of chocolate and stick them in to the cake pop. When cooled this acts like a glue and will keep your cake pops from falling off the stick or twisting when eating them.
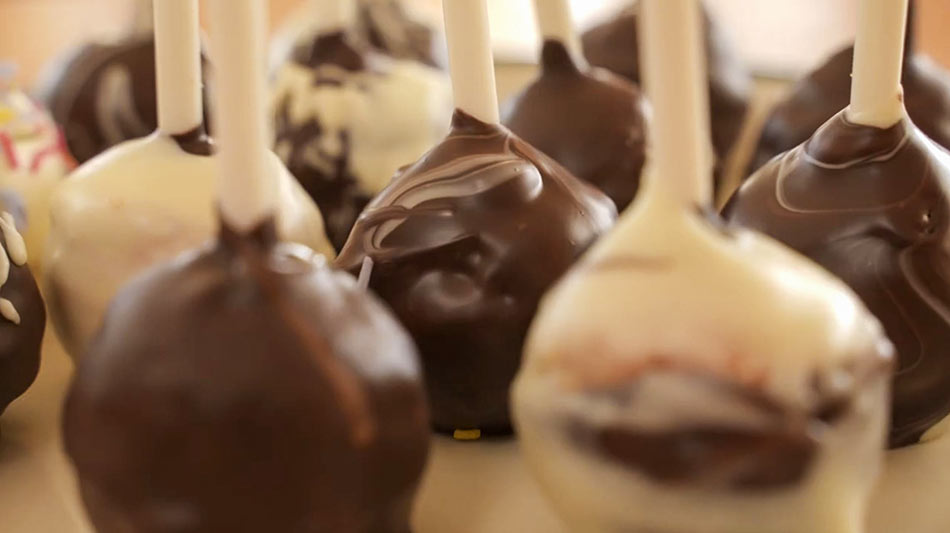
- TIP: I used a small carton box and poked a few holes in it. When dipping the cake pops I stick them into the box so they can dry perfectly round. You can also use this method for more complex decorating ideas.
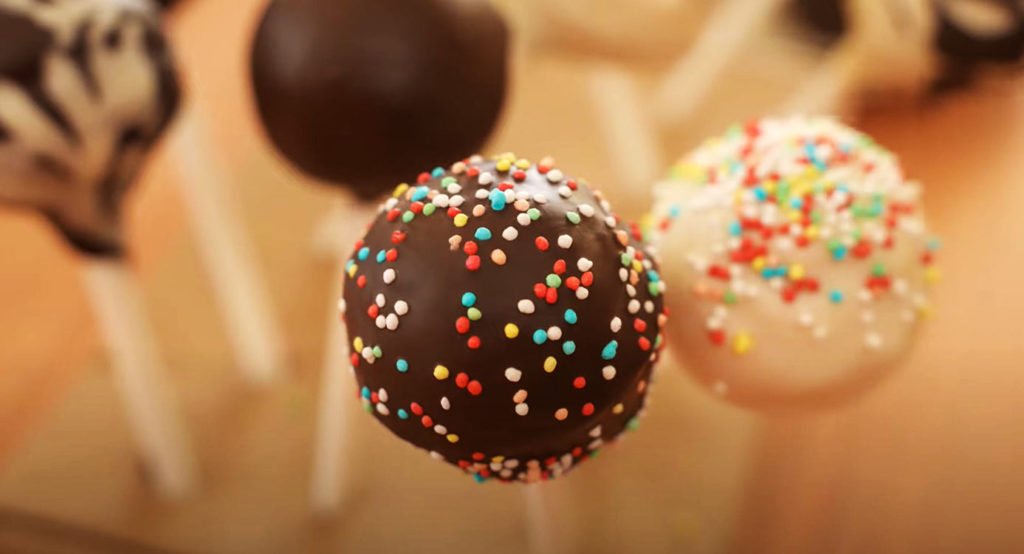
- When the cake pop sticks have set, you can start dipping the cake pops and then sprinkling them with decoration. Anything from vermicelli to chopped nuts goes. You can even dip then with multiple chocolate types. Make sure you checkout my YouTube Video to see the whole cake pop decorating method.