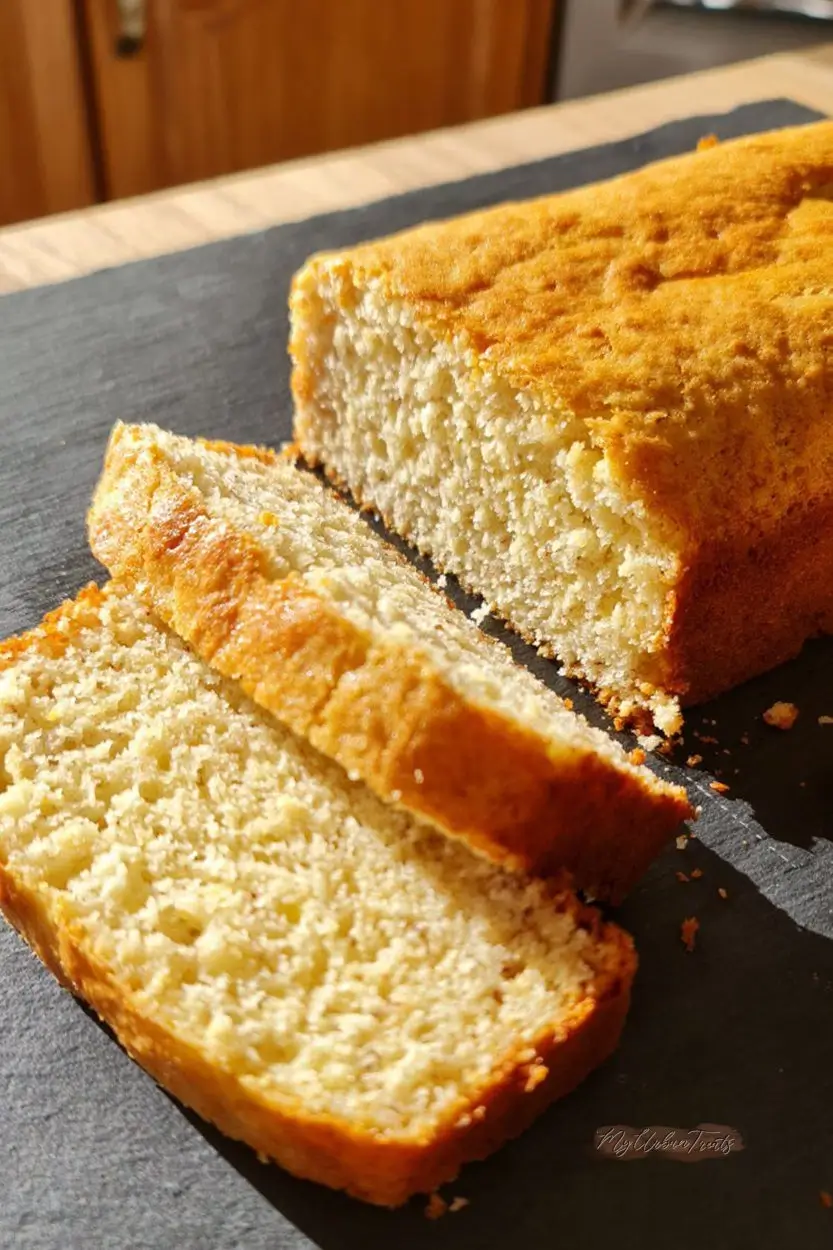
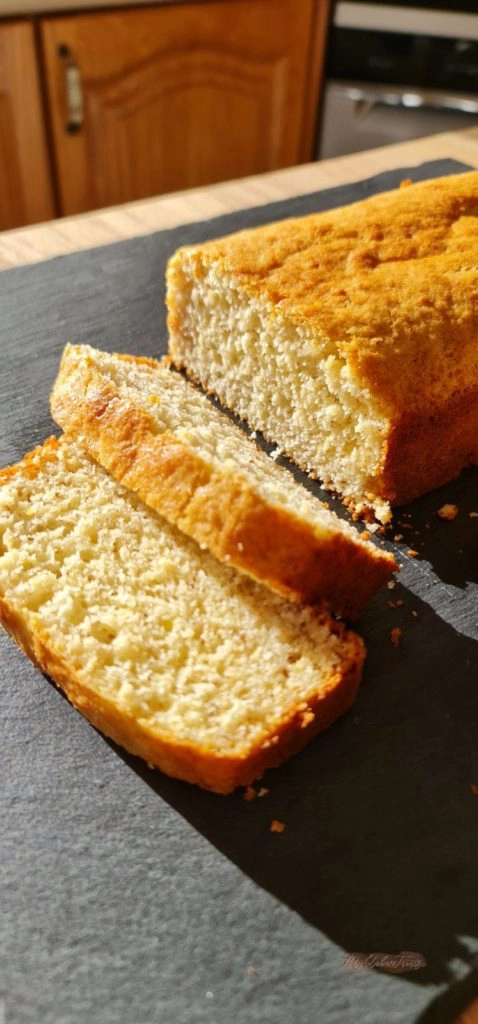
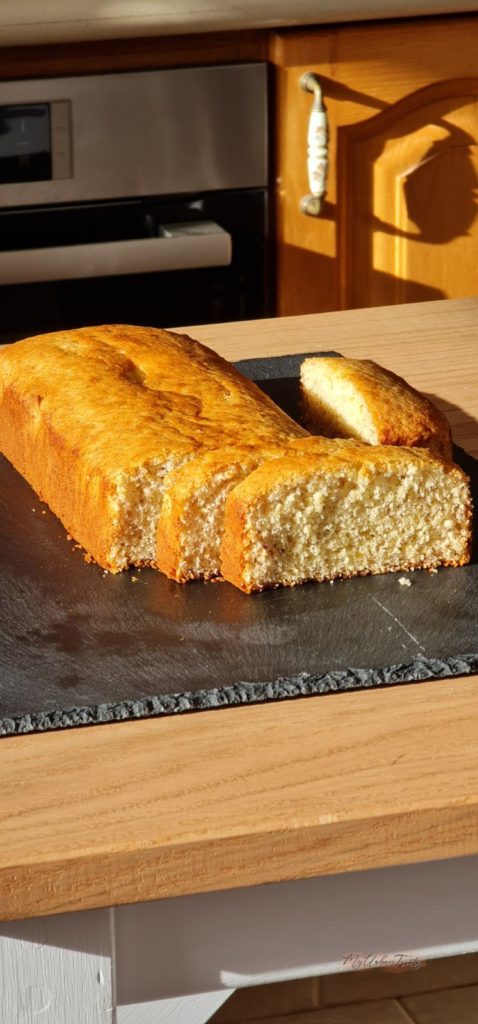
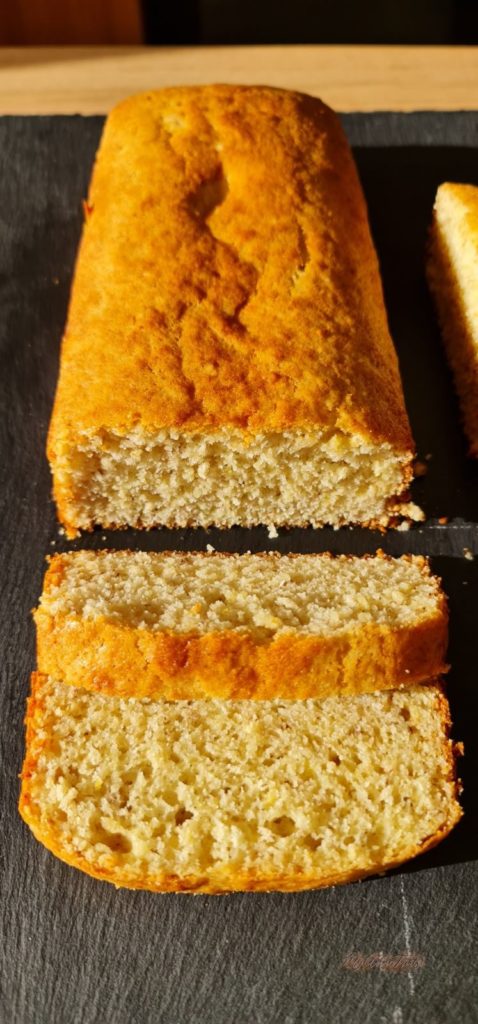
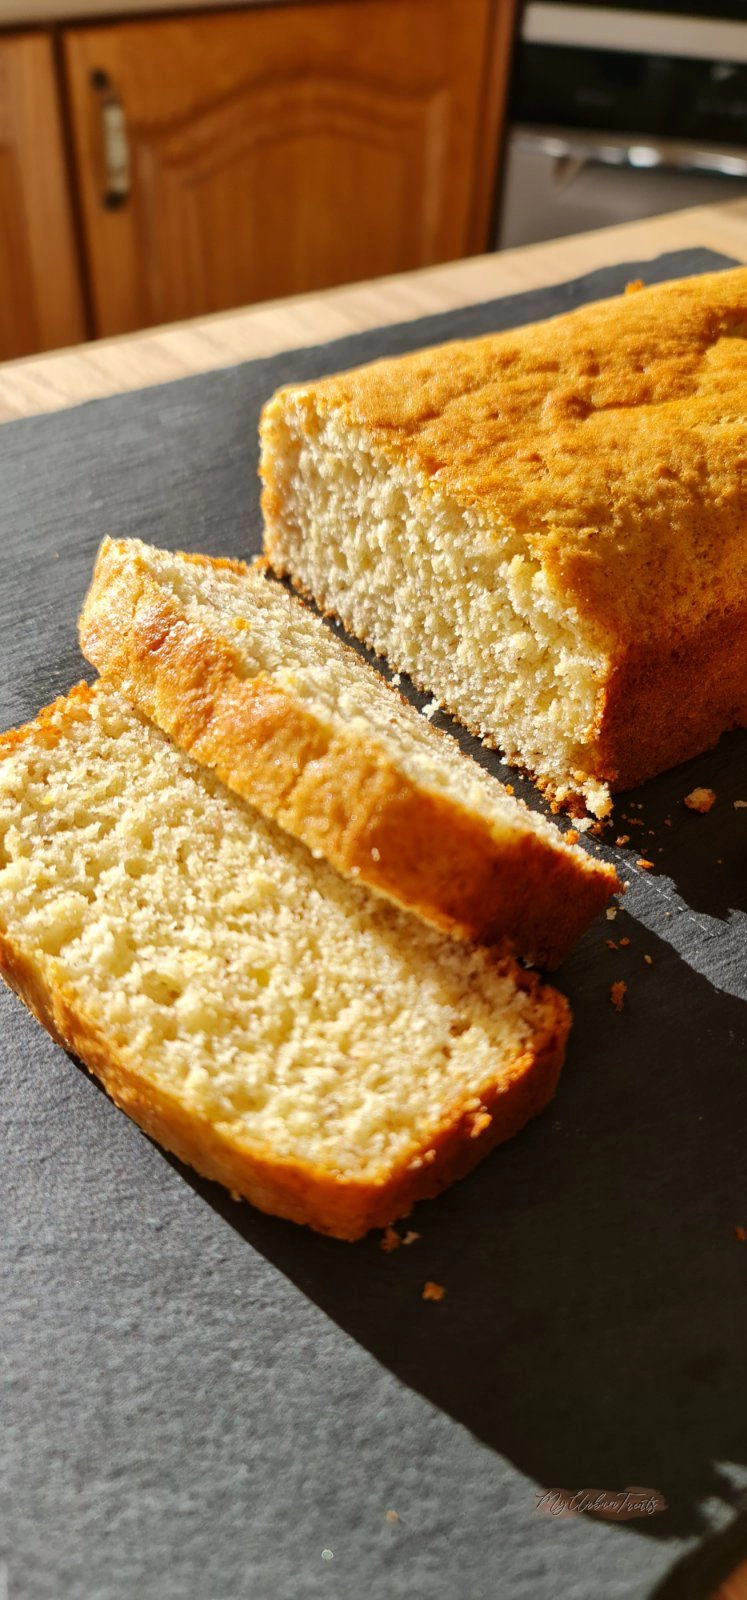
Golden on the outside, soft and moist on the inside—this Self-Rising Banana Bread recipe is melt-in-your-mouth delicious. Beyond easy to make and bursting with incredible flavours, it’s bound to become a staple in your home.
Bananas are finicky things. One minute, we’re patiently waiting for them to turn from green to yellow so we can enjoy them as a snack. Then, the next thing we know they’ve turned brown and mushy before our very eyes. We have all heard the phrase, When life gives you lemons, make lemonade. Well, I believe that when life gives you brown bananas, you make banana bread!
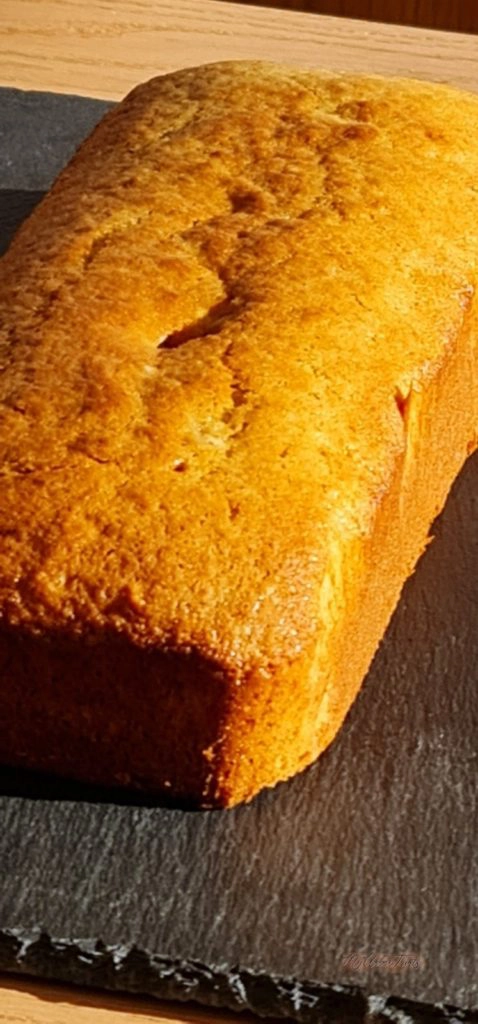
This mouthwatering Banana Bread recipe made with self-rising flour is an absolute dream. It’s hard to believe that something so delicious could be so easy to make, but that’s what makes this recipe so incredible. It takes just a few minutes to whip up the batter, then the rest of the work is hands-off as the oven works its magic. In under an hour, your overripe bananas will be transformed into your new favorite dessert.
Whether you’re looking for dessert recipes for the family or show-stopping dishes to serve at your next dinner party, this Self-Rising Banana Bread is guaranteed to be a crowd-pleaser. Try it out for yourself and let me know what you think!
What You’ll Need
- Bananas. The riper the bananas, the sweeter they will be, so make sure they’re nice and ripe on the outside! This is the perfect time to use up those brown bananas that look like they’re about to go bad.
- Self-rising flour. Thisingredient eliminates the need for any additional baking powder or salt, which helps to keep our ingredient list short.
- Butter. You can use unsalted or salted butter, but make sure you melt it first.
- Sugar. I use regular granulated sugar, but you can use any kind of sweetener you prefer. Options include maple syrup, honey, and agave nectar.
- Egg. This ingredient acts as both a binder and a leavening agent, holding our banana bread together and helping it to rise.
- Vanilla extract. This enhances all the other flavors in the dish, making it extra delicious and perfectly balanced.
What is Self-Rising Flour?
Self-rising flour is simply a mixture of all-purpose flour, baking powder, and salt. Because this type of flour has baking powder evenly dispersed throughout, you are guaranteed to get a nice rise out of your baked goods without any additional leavening agent. Back in the 1800’s, self-rising flour was invented in England as a way for sailors to bake while aboard their ships.
While the flour initially gained a ton of popularity, it isn’t used quite as often these days. However, it’s hugely helpful in recipes like this banana bread recipe with self-rising flour. The main benefits of using self-rising flour are that you get a consistent rise out of your baked goods and you can keep your ingredient lists shorter. By using self-rising flour, you can eliminate the need for baking powder, baking soda, or salt in your baking recipes.
How to Make Self-Rising Banana Bread
This incredible recipe requires just 6 ingredients and a few easy steps to come to life. The best part is that you probably have most of the ingredients in your pantry already!
Ingredients:
- 2 to 3 very ripe bananas (about 1 ¼ to 1 ½ cups mashed)
- 1 ½ cups of self-rising flour
- ¾ cup sugar
- ⅓ cup melted butter
- 1 large egg
- 1 teaspoon vanilla extract
Recipe:
- Preheat the oven to 175°C.
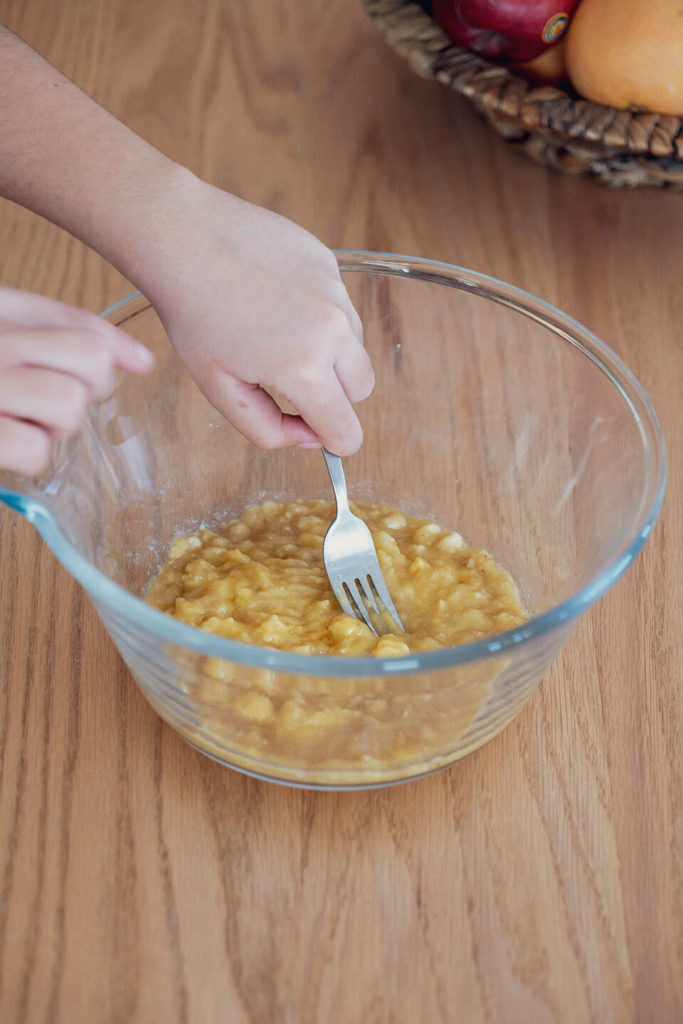
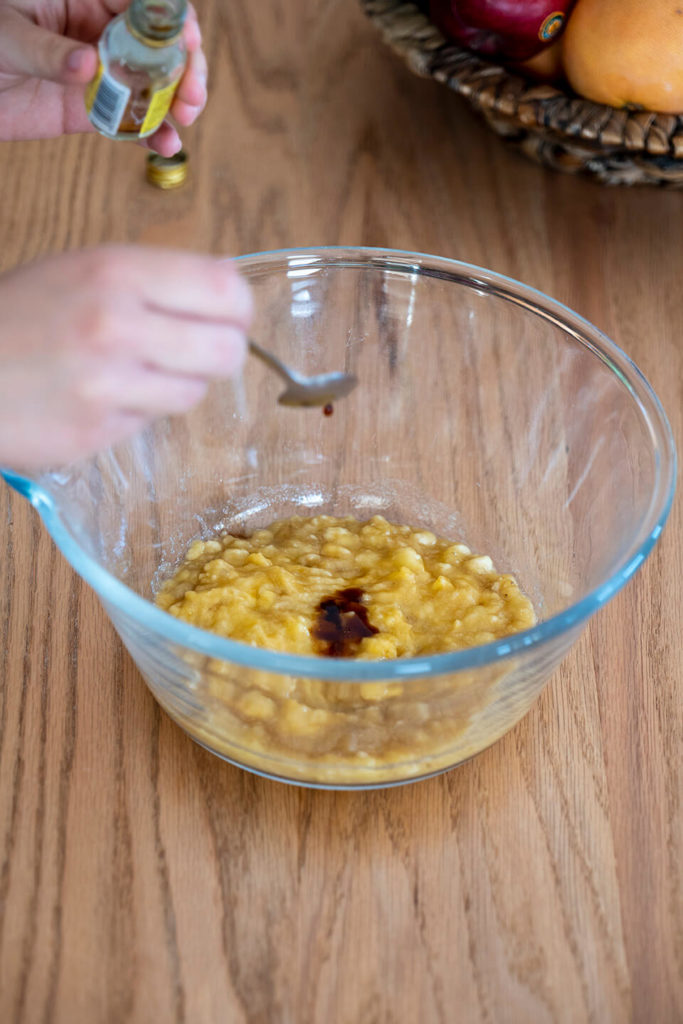
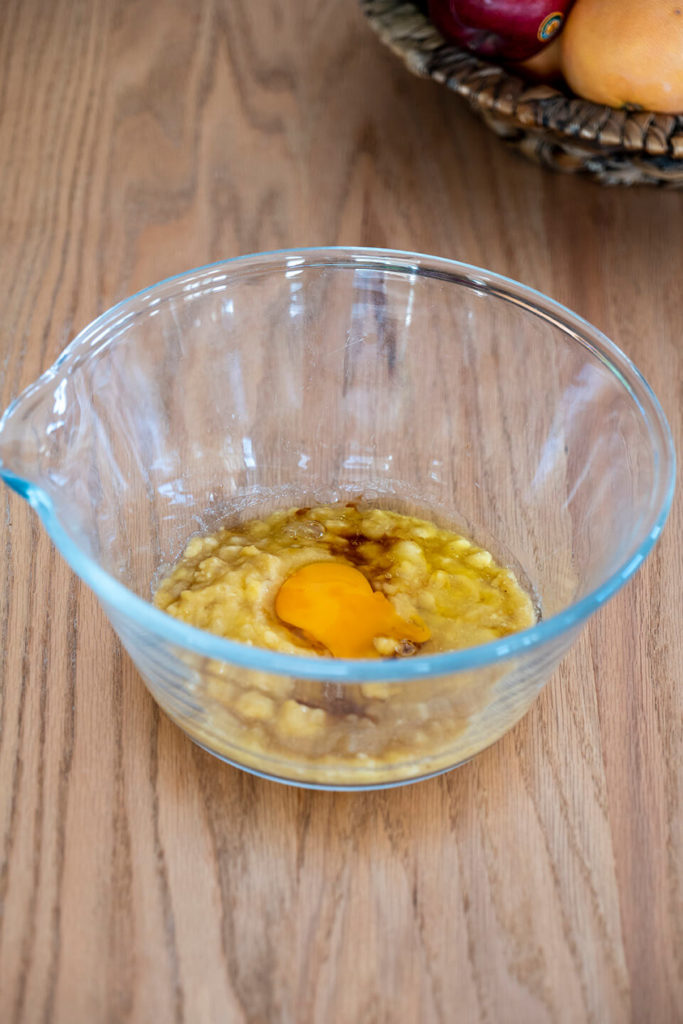
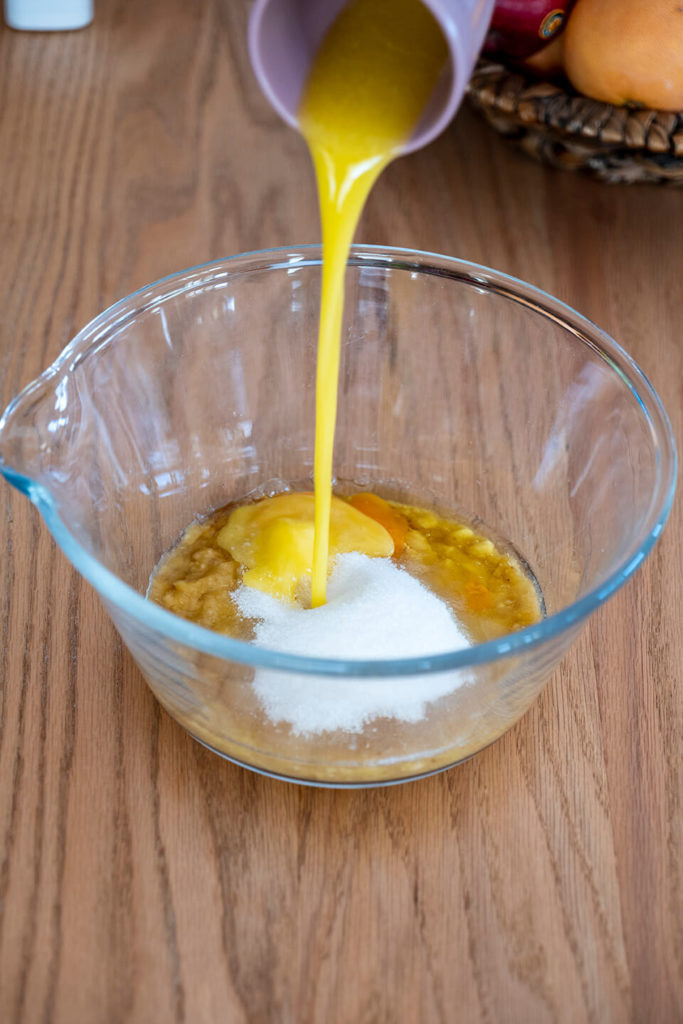
- Add mashed bananas, vanilla extract, egg, sugar, and melted butter to a large bowl.
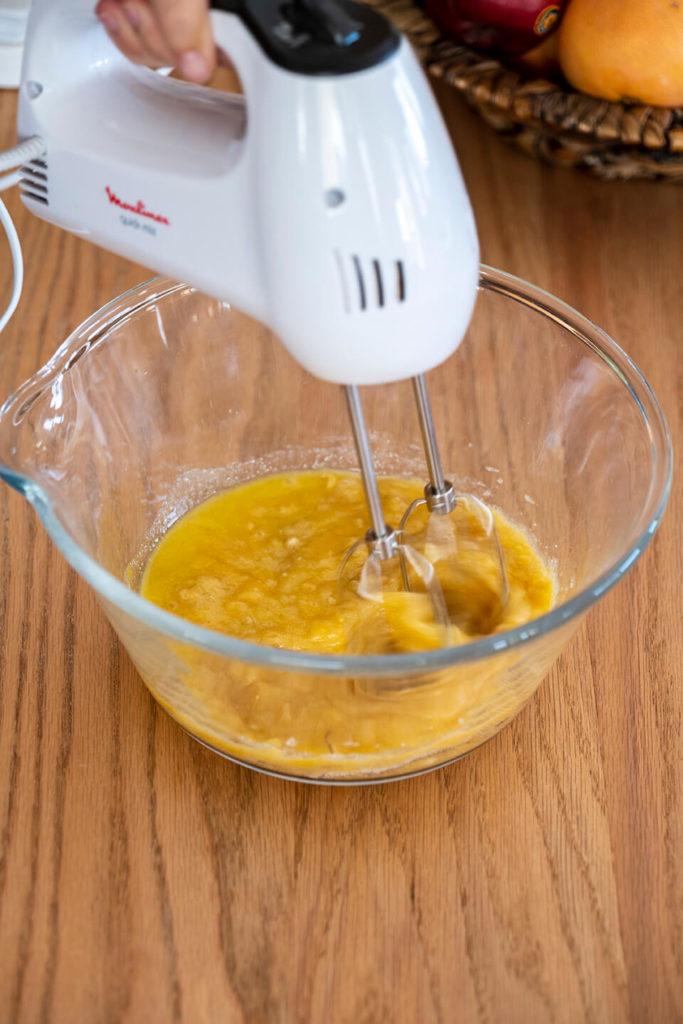
- Blend ingredients using a hand mixer until thoroughly combined.
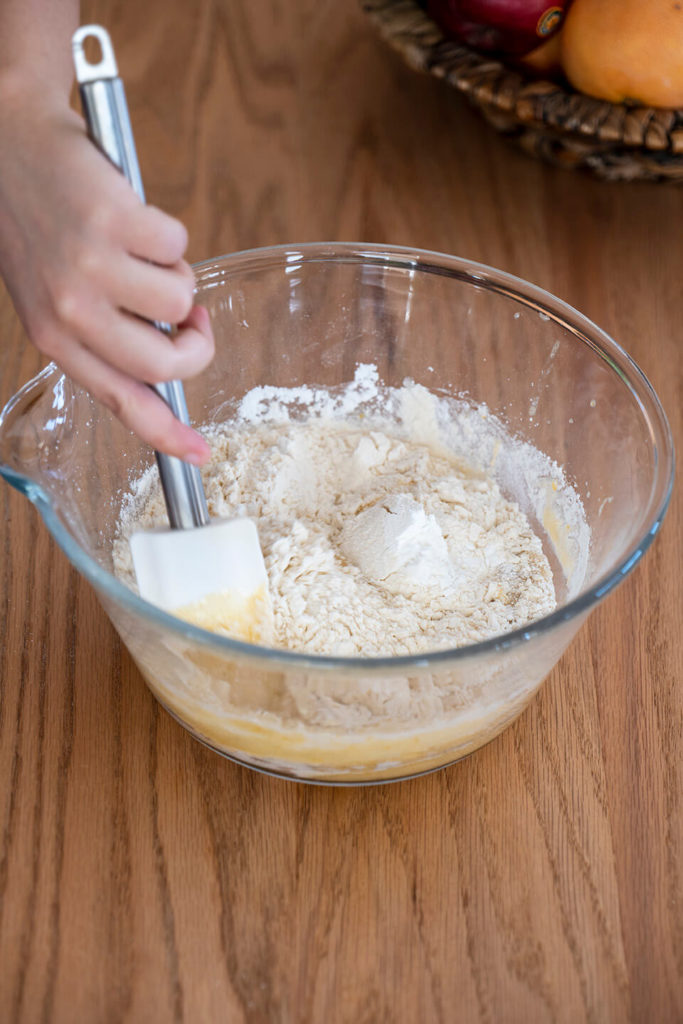
- Add flour to the bowl and mix either with a rubber spatula or a hand mixer on low speed. Mix until just combined, being careful not to over-mix.
- At this point, you can fold in any optional mix-ins like chocolate chips or walnuts.
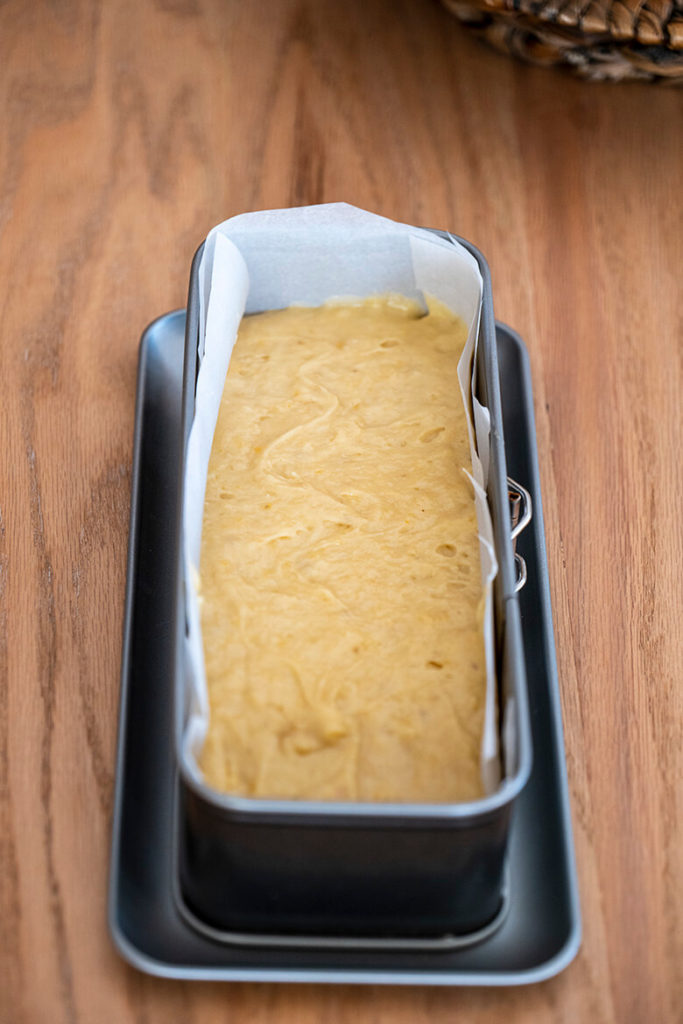
- Transfer batter to a springform pan or bread pan, spread evenly, then bake for 50 minutes.
- Let it cool and enjoy!
Recipe Variations
Here are some of my favourite ways to switch up this recipe:
- For a fruitier twist, try folding one of the following into the batter: blueberries, chopped strawberries, dates, dried cranberries, or lemon zest.
- If you’re a chocolate lover, fold in chocolate chips or cacao nibs just before transferring the batter to the pan.
- Try topping a slice of baked banana bread with a dollop of butter and some fresh honey or whipped cream.
- To add a little spice, try adding in a pinch of cinnamon, nutmeg, or allspice.
- For a dairy-free option, you can swap out the butter for melted coconut oil.

How to Store This Dish
To keep your Self-Rising Banana Bread nice and moist, you’ll want to start by wrapping it tightly in plastic wrap to keep the air out. Once you have done this, you can place it in an airtight bag or container and store it in one of three ways:
- On the counter for up to 3 days.
- In the fridge for up to 1 week.
- In the freezer for up to 2 months.
Frequently Asked Questions
Below you will find some of the most frequently asked questions about this dish:
Why do we use self-rising flour?
Using self-rising flour eliminates the need for any additional leavening agent or salt, keeping our ingredient list short and leaving less room for error. It also gives the banana bread a beautiful and consistent rise. If you’ve never made a banana bread recipe with self-rising flour before, you’re in for a treat!
Can I freeze this dish?
Yes! I recommend first wrapping the banana bread in plastic wrap, then keeping it sealed either in foil or in a plastic bag. Stored this way, the banana bread will keep in the freezer for up to 2 months.
What can I add to Self-Rising Banana Bread?
Optional add-ins include chocolate chips, walnuts, pecans, blueberries, lemon zest, dates, dried cranberries, etc. Feel free to get creative with this and make it your own!
Banana Bread with self-raising flour
Equipment
Ingredients
- 1 ½ Cups Self-Raising Flour
- ¾ Cup Sugar
- 4 Small Bananas over ripened if possible
- ⅓ Cup Unsalted Butter
- 1 ½ Tsp Vanilla Extract
- 1 Large Egg
Instructions
How to prepare the Banana Bread Batter
- Preheat your oven at 375F or 175C.
- Mash the bananas with a fork, then add in the butter, egg, sugar and blend with a hand mixer until creamy. Now add in the vanilla extract and melted butter and blend more until combined.
![]()
- Sift in the self raising flour, then fold in until just combined. DONT OVER MIX
![]()
- Add in any extra flavours like chocolate chips or chopped walnuts.
- Line a loaf pan with baking paper, this recipe is for a 9 x 3 inch loaf pan. Check the notes for multipliers on bigger loaf pans.
![]()
- Evenly spread the cake batter in the loaf pan and place in the middle rack of the oven. Baking time depends on your oven. I use a convection oven and it takes around 30-35 minutes to bake this banana bread. Make sure you use a wooden skew after 30 minutes, poke the banana bread in the centre of the pan. If the skew comes out dry, the banana bread is done.
![]()
- Set on a cooling rack to cool for 10-15 minutes.
![]()
Notes
- For a 5 3/4 x 3 1/4 Inch Loaf Pan use 1/2 the Batter
- For a 8 1/2 x 4 1/2 Inch Loaf Pan use 1 1/2 times the batter
- For a 9 x 5 Inch Loaf Pan use double the batter

