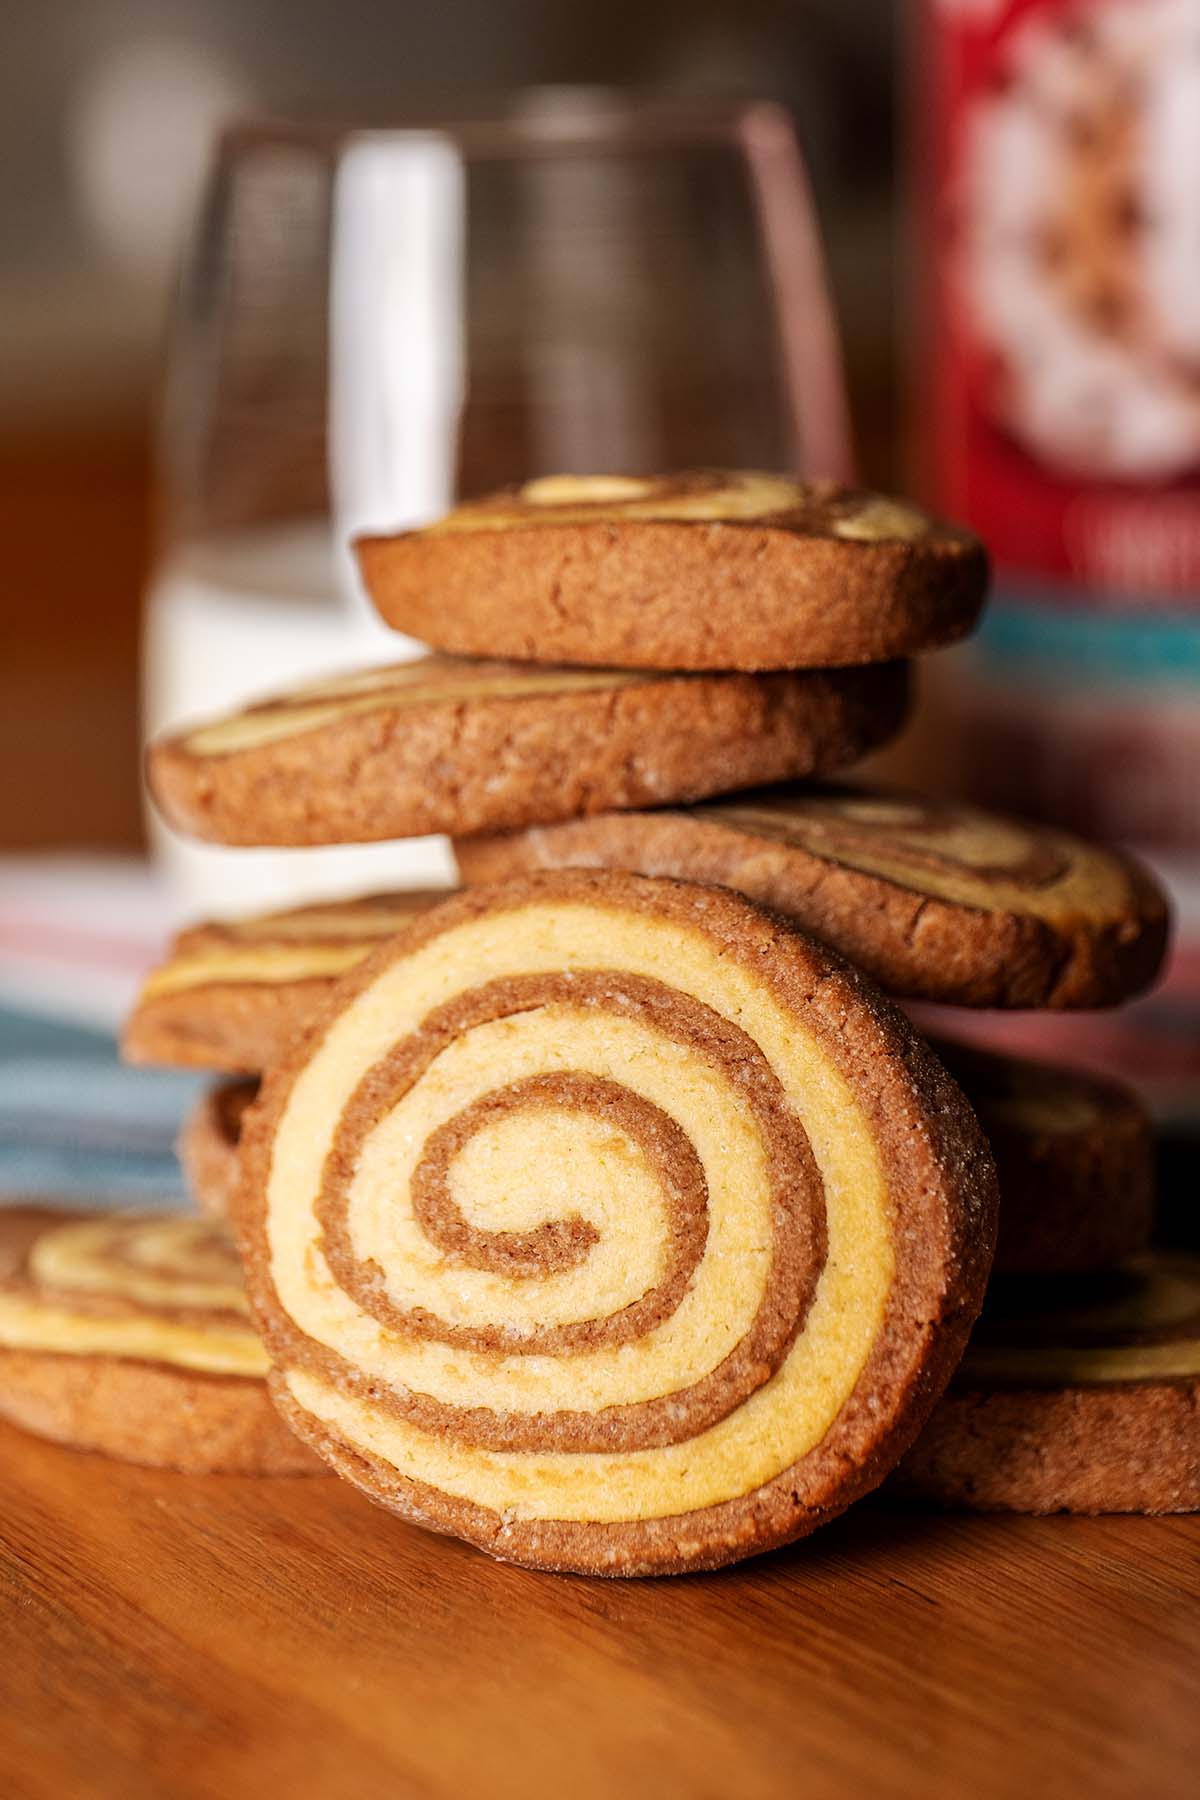
Pinwheel Cookies are everything I love about cookie baking, they are delicious, look absolutely beautiful and are as easy and fun to make. Today I am sharing my secret Chocolate Pinwheel cookie recipe that I bake around the holiday season, you can use this very same recipe to make plain chocolate or vanilla cookies. Don´t forget to leave comments or requests at the end of this posts, I would really love to hear from you or bake your recommendations!
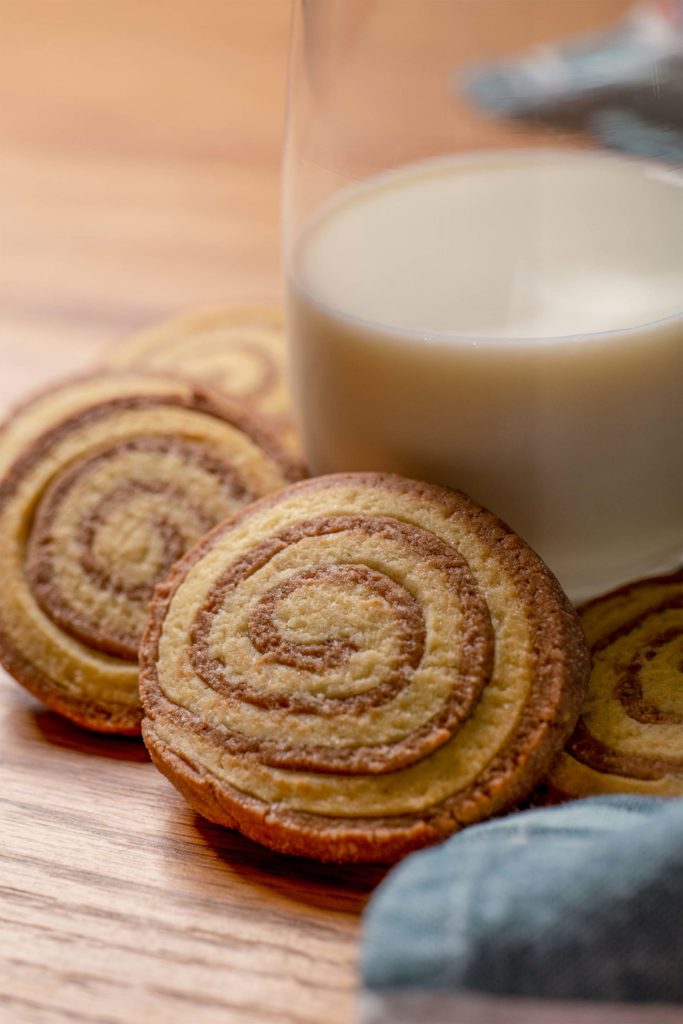
Christmas is just around the corner and for us that means cookie baking on most (if not all) of the weekends. Yes, we do eat a LOT of cookies during December but we also make little gift parcels for our friends and family filled with delicious little treats. This year, along with todays recipe we will also include Coconut Macaroons and Austrian Vanilla Kipferl in our gift box.
Every year I try to come up with some new cookie recipes but the classics are attached to so many memories that they deserve a special place on our seasonal baking list. So the first cookie bake of december is a batch of Pinwheel Cookies. Here is what you will need:
What are Pinwheel Cookies?
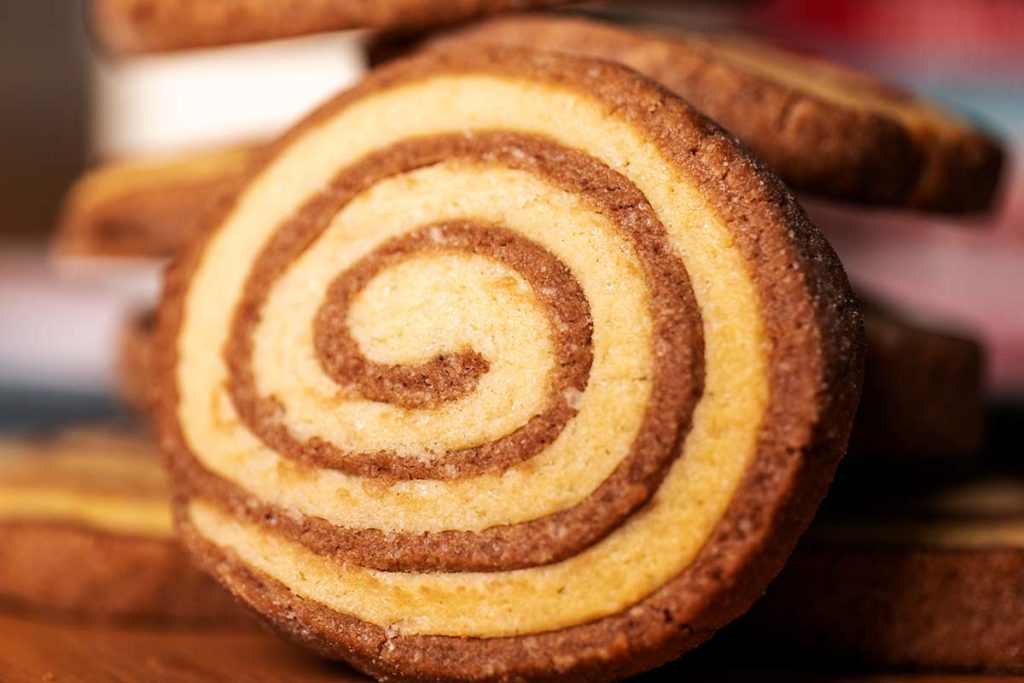
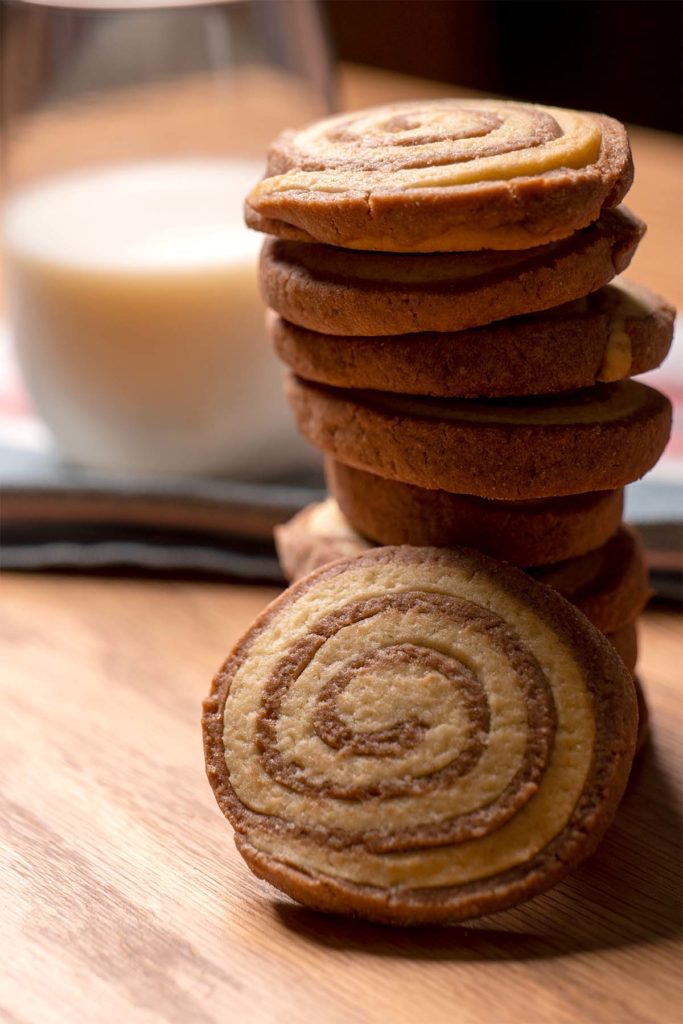
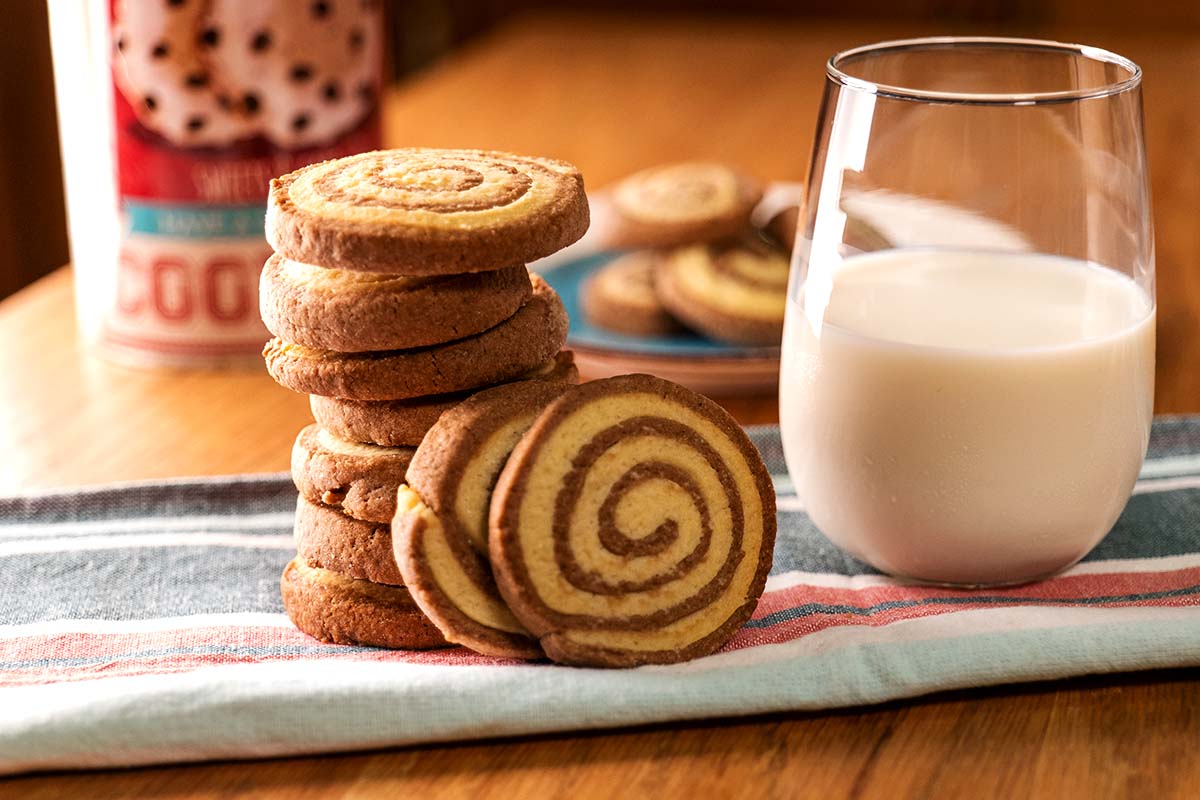
Pinwheel cookies are sugar dough cookies usually made with two different flavours rolled into a pinwheel shape. The pinwheel pattern is achieved by layering two colors or flavors of dough and rolling them into a susage shape. This is then sliced to achieve the pinwheel pattern.
These sugar cookies are ususaly made around the holiday season but are a delicious and easy treat to make any time around the year.
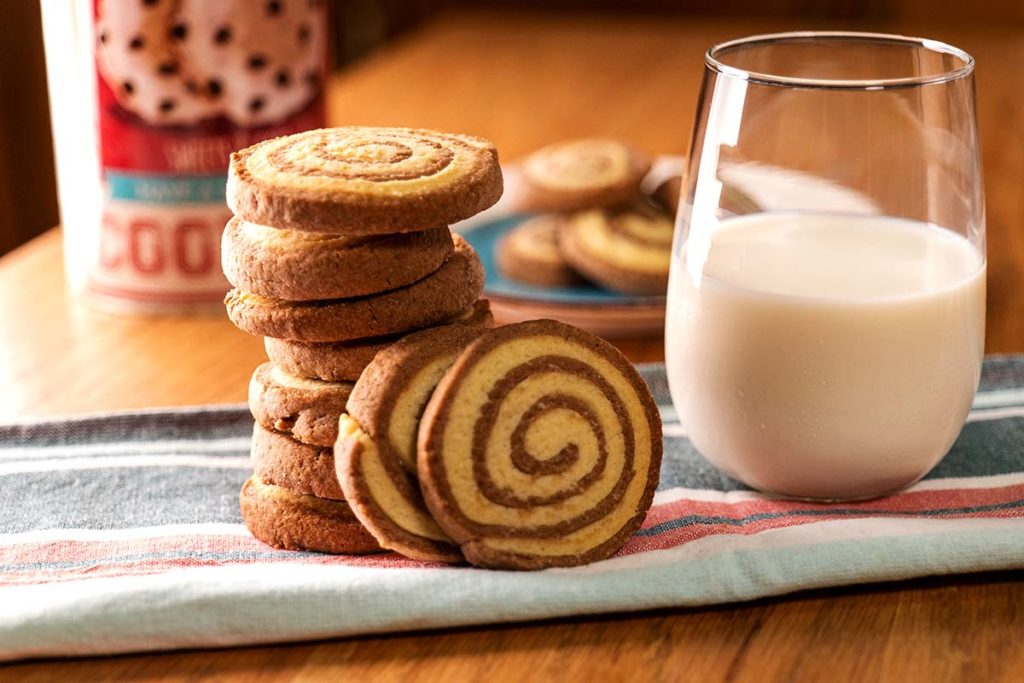
Cookie Ingredients
We are making a big batch of large cookies so it might seem that this is a lot of flour and sugar but trust me its not, these cookies are soo good you will wish you had made more anyway.
- 4 1/2 cups of all-purpose flour
- 1 teaspoon baking powder
- A pinch of salt
- 1 1/2 cups of unsalted butter, softened to room temperature
- 1 1/2 cups of sugar (Granulated White)
- 2 large eggs, at room temperature
- 2 teaspoons pure vanilla extract
- 4 Tablespoons of Cocoa powder (Sifted)
Another reason I love this recipe so much, its made with ingredients I usually have in my cupboard anyway so I can dish them up whenever the craving strikes.
Tip: You can change the ingredients to metric in the Recipe section of this post. Just scroll to the bottom or click here
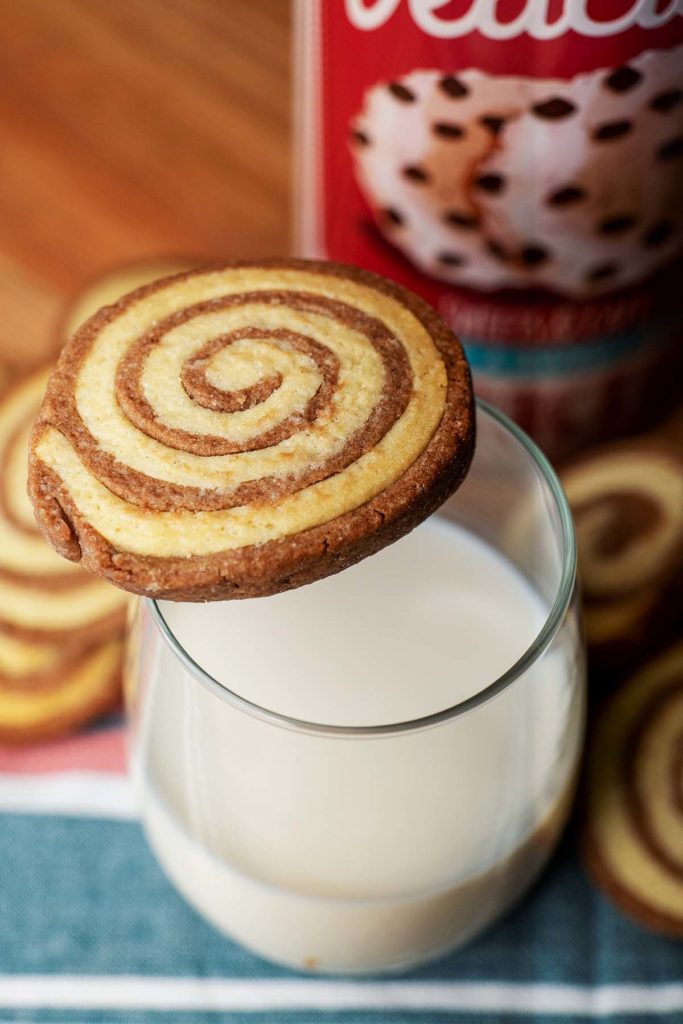
Tips & Tricks
Sugar Cookies are fairly easy to make, but here are a few tips and tricks that will make your pinwheel cookie a success.
- Leave all the ingredients out for an hour or so before you start baking. This will bring everythign to room temperature and will soften the butter. Even temperature across all ingredients makes the process much easier and helps blend the ingredients well.
- Stick to the cooling times mentioned in the recipe, a cold cookie dough is much easier to handle when rolling and cutting cookies. Warm dough will stick to the working surface and will force you to add more flour diluting the texture and flavour.
- Use a Rolling pin with rubber or silicon measuring rings. Its a real game changer, all thicknesses will be even and this will give you the professional bakery look every time.
- Use high quality ingredients, and by that I don’t mean buy the most expensive butter or flour, no, for example check the content of fat in butter and make sure its above 80%. Use Vanilla Extract instead of Vanilla Flavour. Know your ingredients and make sure they are of high quality, you will taste it in the result.
- Use a silicone mat to work on, there are a few reasons I use a silicone mat. For example:
- Its not as sticky and much easier to work with
- It has measuring lines making even cuts much easier
- You can roll the dough by rolling it inside the mat, this will make it smoother than using your fingers.
How to make Pinwheel Cookies
Since Pinwheel cookies are basically a sugar cookie with some extra steps and flavours, the method is very easy and almost guaranteed to be a success. Make sure you use high quality ingredients and that they are all at room temperature. One of the main reason cookie baking fails is a difference in temeratore of the ingredients. Room Temperature ingredients simply blend better making a much more even dough and thus better cookie. Here are the instructions to make pinwheel cookies:
Step1: Combine the Dry Ingredients
To avoid uneseccary gluten builtup, we mix the dry ingredients and add them later to the wet ingredients. Simply grab a medium sized bowl and add the flour, salt and baking powder. Give it a quick whisk and set aside until you need it.
Step 2: Cream Butter & Sugar
The 2nd step in almost every cookie recipe is creaming the butter and sugar, this will dissolve the sugar completley into the butter and add air which is important for a lighter texture. Simply add the room temperature butter into a large mixing bowl along with the sugar and vanilla extract. Using an electic hand mixer or stand mixer, whisk until the butter becomes pale and doubles in size. This should take about 3-5 minutes.
At this stage you can add in the eggs one at a time while still whisking, remember if they are room temperature they will blend much easier. If they are cold, your batter might look a little curdled, but worry not, it will even out when you add the dry ingredients.
Step 3: Combine Dry and Wet Ingredients
While mixing add in the dry ingredients from Step 1, be carefull to add only 3-4 tablespoons at a time to avoid clumping. When all the dry ingredients are integrated, give them bowl a quick scrape with a spatula and whisk for another minute or two. You should now have a thick but sticky cookie dough.
Now we need to seperate half of the dough to add the cocoa powder. I like to weigh the dough so I have two exact halfs but you can eyeball it too. Take one of the halfs and wrap it in clingfilm and place the other half back into the mixing bowl. Sift in the cocoa powder and mix until well combined. Wrap the cocoa dough into cling film and place both halfs into the fridge for 20-30 minutes.
Step 4: Shaping ,Slicing & Baking
The secret to a clean cut pinwheel cookie is a) cold refridgerated dough and b) a clean knife. As you will work the dough in batches, keep the remaining dough in the fridge until you need it.
To achieve the pinwheel cookie look, you will need to roll the dough out into even 10 * 5 Inch squares with even thickness. The easiest way to do this is using a rolling pin with silicon thickness stops. I will link to the one I use below.
Work in smaller batches. Use 1/2 of the dough and keep the other half in the fridge. Also use the 1/4 inch thickness or apx 5-6 milimeters (for our metric friends) rubber band and roll into two even squares (one of each flavour) Make sure you flower the surface and occasionally the dough to avoid sticking.
Place the two squares on top of eachother, the bottom layer will be the outer colour of the cookie. Now carefully roll inwards (on the shorter end), it might slip a bit but be carefull and keep it together. You will end up with a 2inch thick roll. Carefully wrap in clingfilm without misshaping it and put it back in the fridge to cool for another 15-20 minutes. This is a good time to pre-heat your oven at 170C or 340F
Now slice the cookies off the sausage, I like to go just over a 1/4 Inch in thickness. Place on a baking tray lined with baking paper and bake at 170C of 340F until they just start to lightly brown. For me this took 8-9 minutes.
The Recipe
Pinwheel Cookie
Ingredients
- 4 ½ Cups All-purpose flour
- 1 Tsp Baking Powder
- 1 Pinch salt
- 1 ½ Cups Unsalted Butter Softened at Room Temperature
- 1 ½ Cups Crystal Sugar
- 2 Large Egg
- 2 Tsp Vanilla Extract
- 4 Tbsp Cocoa Powder
Instructions
Pinwheel Cookie Dough
- Combine the flour, baking powder and salt in a large mixing bowl, give it a quick whisk and set aside until needed.4 ½ Cups All-purpose flour, 1 Tsp Baking Powder, 1 Pinch salt
- In a stand mixer or large bowl, combine the softened butter, sugar and vanilla extract. Now whisk until pale and fluffy. While still whisking add the room temperature eggs one at a time, until smooth and combined.1 ½ Cups Unsalted Butter, 1 ½ Cups Crystal Sugar, 2 Large Egg, 2 Tsp Vanilla Extract
- Continue whisking and add the dry ingredients 3-4 tablespoons at a time until you have a smooth but still sticky cookie dough.
- Seperate the dough in two halfs, leave one half in the mixing bowl and wrap the other in clingfilm and pace it in the fridge. Sift the cocoa butter into the remaining half and mix until smooth and well combined. Now wrap the dark half too and keep both in the fridge for 20-30 minutes until firm.4 Tbsp Cocoa Powder
- Cut the firm dough in to further two halfs and roll them into 10*5 inch rectangles. Add flower to both your surface and the dough to avoid sticking. Now place a white rectangle ontop of the cocoa rectangle and trip any overlapping edges. You can knead those back into the remaining dough for the next batch. Roll in to a sausage that is 5 inch long and apx 2 inches thick. Carefully wrap again and place it into the fridge to cool for another 10-15 minutes. This is a good time to preheat your oven and line your baking trays with baking paper.Remove the clingfilm from the dough sausage and slice it with a clean knife into 1/4 Inch slices. Place on the baking tray leaving a little distance as they will spread a bit.
- Bake at 170C or 340F for 9-11 minutes with convection, depending on your oven this might be faster or slower so check the colour, when the white part gets a hint of brown, then the cookies are done. Pleace on a cooling rack to cool, this will help avoid trapping moisture under the cookie and thus making it more soggy.
Notes
- Refrigerate the dough until it is firm, it will make rolling and slicing it so much easier. Warm dough will stick, the shapes will deform and the layers will blend into each other.
- Clean the knife after every 2nd cut or so, this will avoid smudging the white layer and make the lines clearer.
- Use a sharp knife, a blunt knife will put pressure on the dough sausage and will deform it when you press down.
- Make sure all your ingredients are at room temperature, this will give you a better blend and fluffier cookie.

