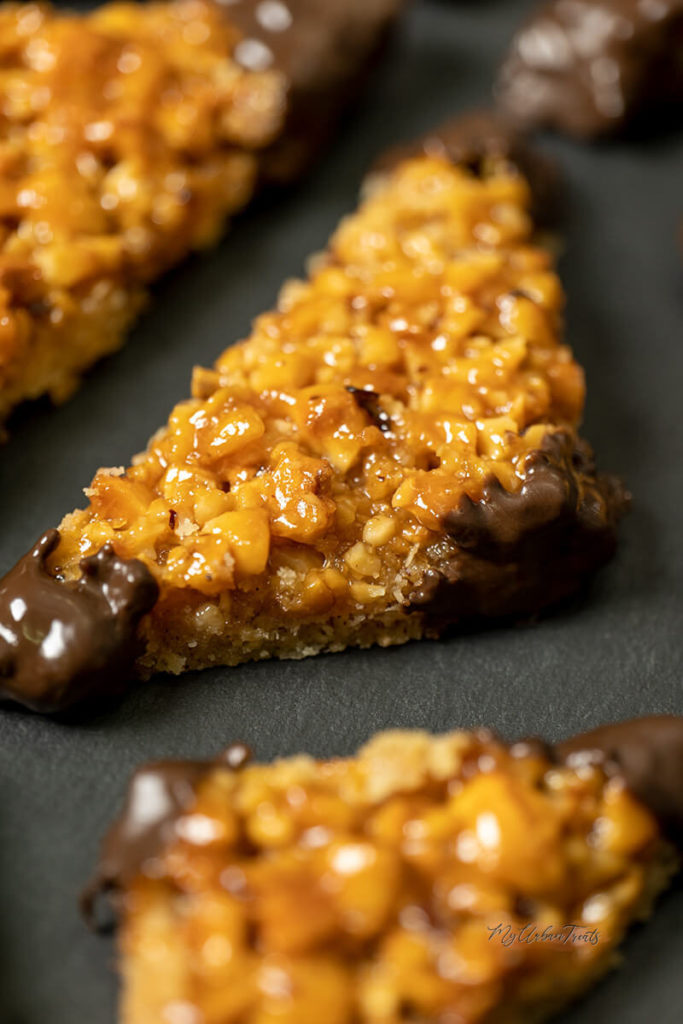
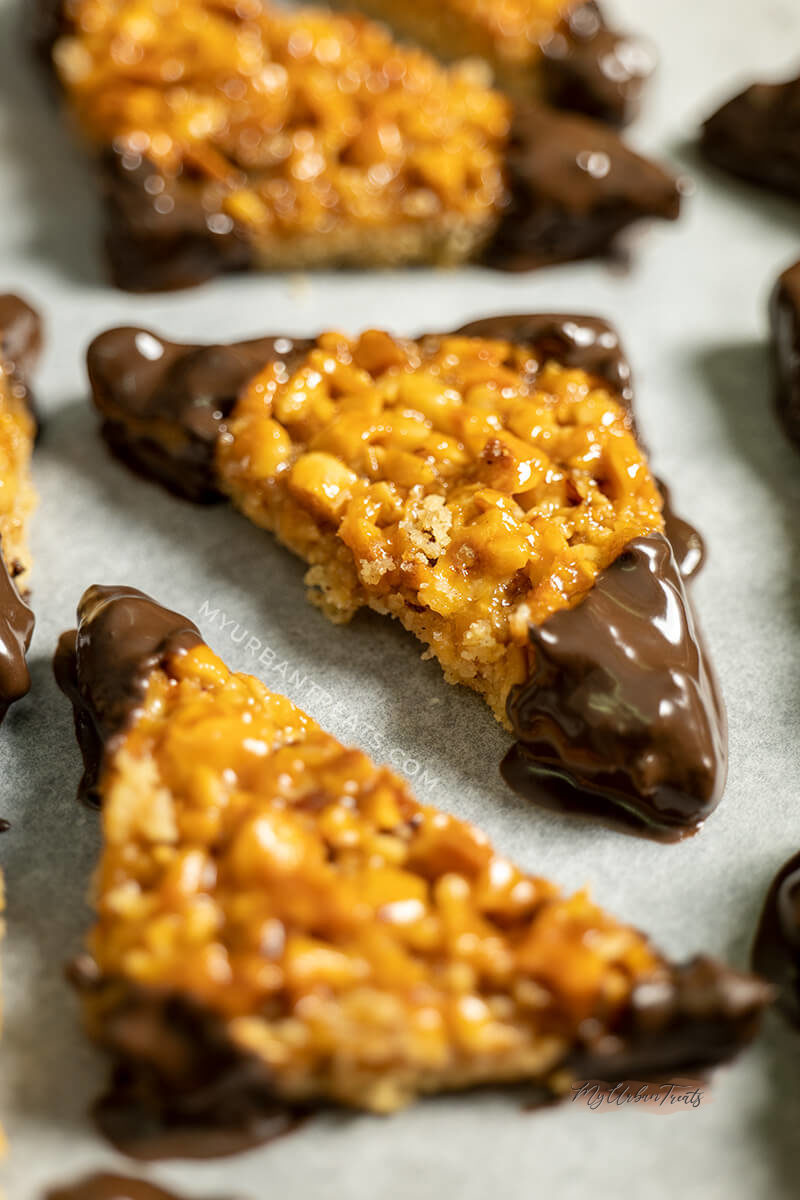
Last week I got an amazing gift from my mom, my grandmothers cookbook. My Grandmother although Austrian was born in Germany. During WW2 she had to migrate a few times and eventually ended up back in Vienna. This cookbook had been with her since 1950 and it featured hundreds of Austrian dishes and desserts. So this weekend I had the opportunity to make the 1st recipe out of the cookbook. After hours of browsing recipes, the choice was made. Nussecken. Nussecken are an Austrian and German dessert pastry based on a nut flavored shortcrust and topped with a hazelnut honey crunch layer. Simply delicious and here is how they are made!
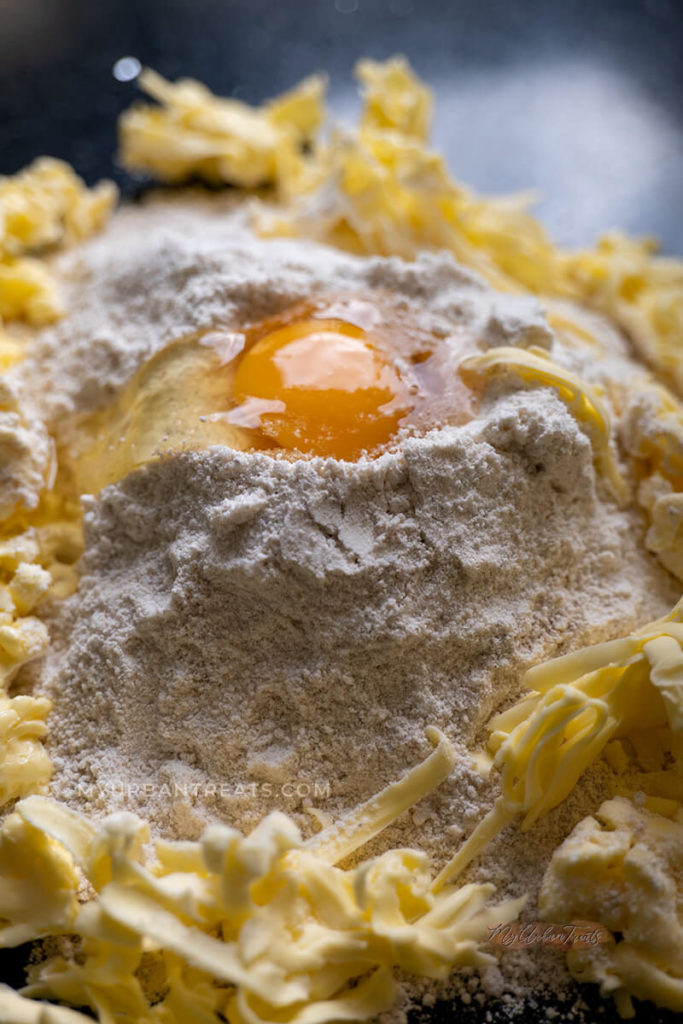
Nussecken or Nut corners are a german shortbread (Mürbteig) pastry. Making shortbread pastry is well etched in to my childhood memory. I was always fascinated by the volcano shaped flour mountain in the kitchen with the egg’s in the middle. Making this recipe and I will show you exactly how it’s done, but first let’s have a look at what you will need.
Ingredients
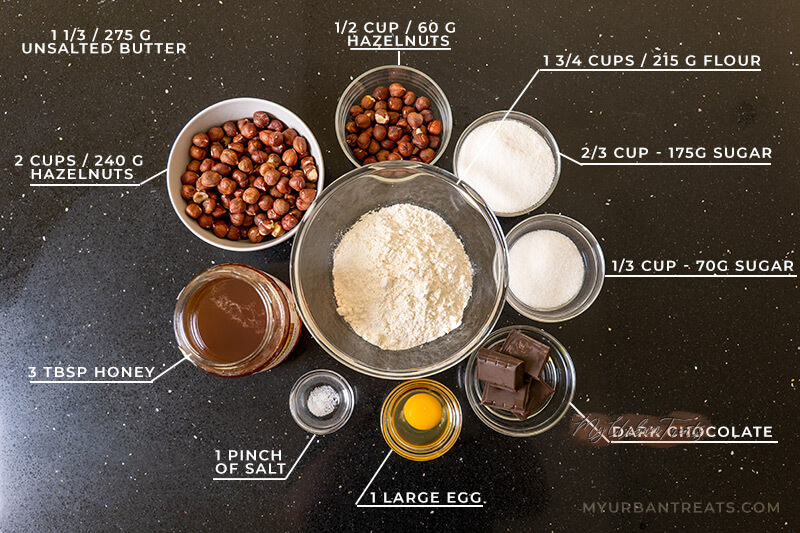
The ingredients for nut corners are very basic, Below is a list of all the ingredients. If you want the measurements in cups or grams, please scroll down to the recipe card or click here.
Hazelnut Shortbread
- All-Purpose Flour
- Ground Hazelnuts
- White Sugar
- One Egg
- Cold Unsalted Butter
- A pinch of Salt
Nut Layer
- Unsalted Butter
- White Sugar
- Honey
- Hazelnuts, peeled and roughly chopped
- Heavy Cream
You will also need a cup of dark chocolate to dip the nussecken in. I have a little trick for getting a nice and thin chocolate dip, check out the recipe steps below 😉
How to make Nussecken!
German Nut triangles are by no means a difficult recipe to bake and taste divine, they are made out of two layers. The hazelnut flavoured shortbread and the hazelnut honey crunch. You can make the honey crunch recipe by itself and make delicious mixed nut bars 😉 so here is how it’s done:
Shortbread Layer
For the shortbread layer combine the All-Purpose flour, ground hazelnuts, sugar and a pinch of salt and give them a quick stir to combine.
Before we start we prepare the butter, the important part here is that the butter is as cold as possible before we blend it using a rubbing method. So here is what you do. Using a box grater, roughly grate the butter in to a dish and put it back in the fridge for 4-5 minutes.
Now place the flour on a clean working surface and form a little space in the center where we crack the egg into. Get the cooled and grated butter and sprinkle it around the flour circle. It will be sticky so don’t worry if its a little difficult to separate and “sprinkle”
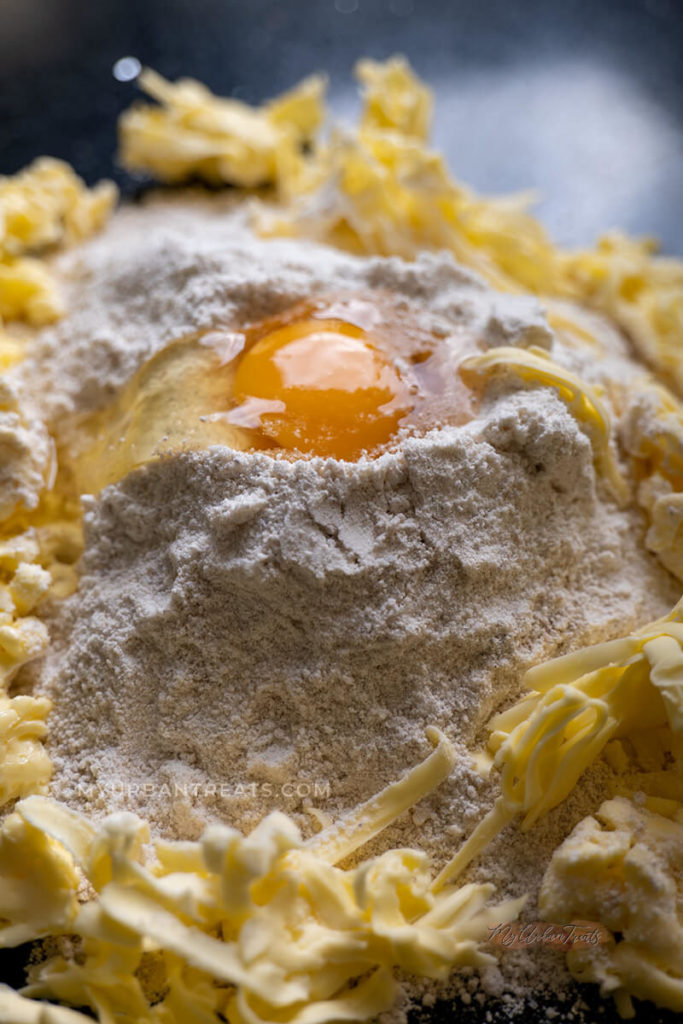
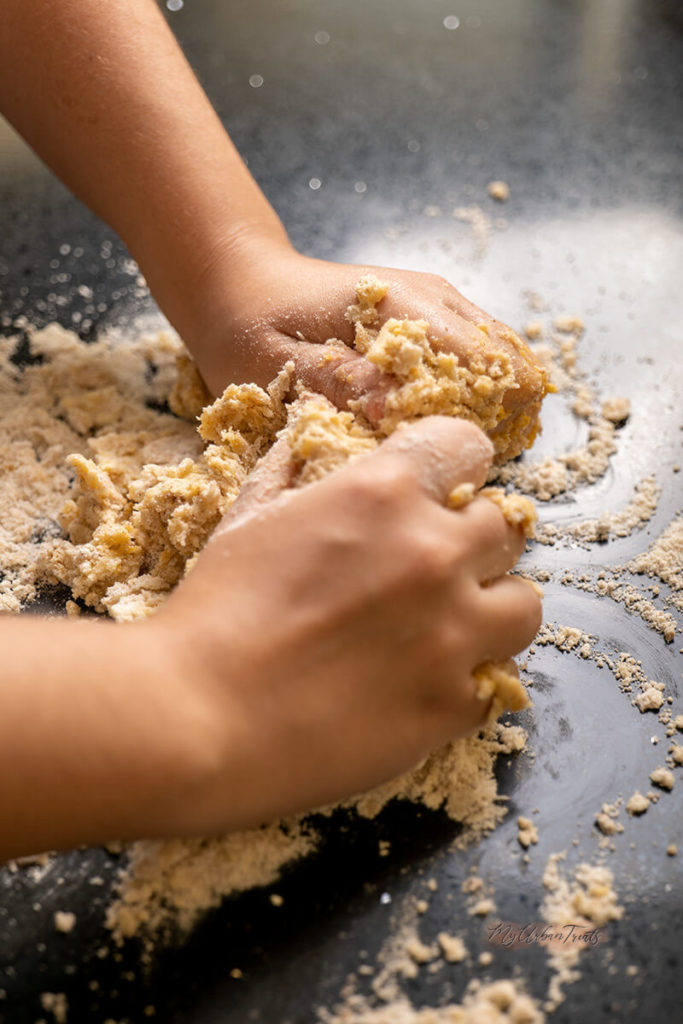
Now using your hands, knead the egg in to the flour and using your thumb and index finger rub the butter in to the flour/egg mixture. This should feel as if you were crumbling something between your fingers. Blend until well combined but don’t let the dough become too warm. It helps to occasionally wash your hands with cold water.
Now wrap with cling film and refrigerate for 20-30 minutes. While we wait for the crust to cool, we prepare our nut topping.
Pro Tip: You can make delicious Nut Bars using the same recipe without the shortbread layer.
Nut & Honey Topping
Let’s start by preparing our hazelnuts. If you have ready peeled hazelnuts then you can go straight to chopping them. Un-peeled hazelnuts are a bit cheaper so I tend to peel them myself. Here is how its done, simply spread the hazelnuts on a baking tray and bake at 170 C or 340 F for 10 to 12 minutes. After a few minutes in the oven you can actually hear the skin cracking off the nut and you will see small cracks in the peel.
Let them cool for a bit and then rub them between your fingers. The skin should come off quick and easy. If you are in a rush and don’t want to wait for them to cool, simply place them in a kitchen towel and rub together until peeled.
Now roughly chop up the hazelnuts but avoid too big pieces as they will stick out of the nut triangles.
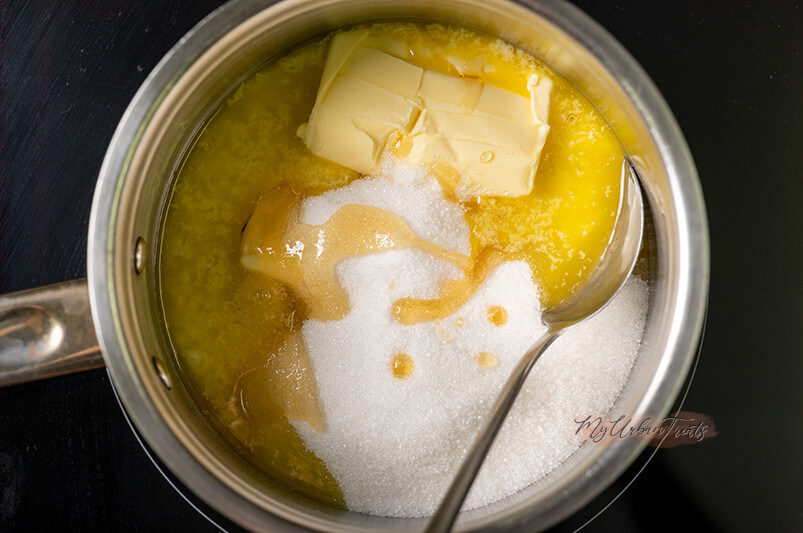
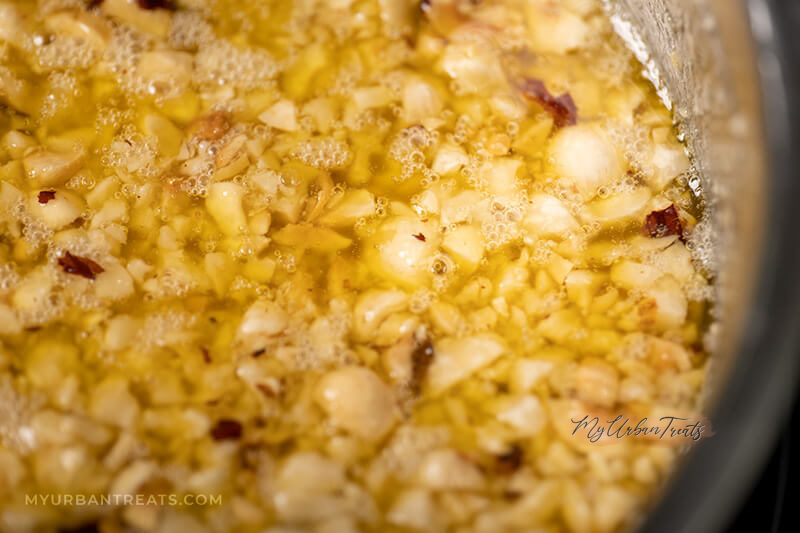
Now place the Butter, sugar, honey and hazelnut crunch in to a medium sized saucepan and over medium high heat bring to a boil. Keep stirring the whole time to avoid burning the bottom. As soon as the mixture boils take it off the heat and let it cool down to room temperature.
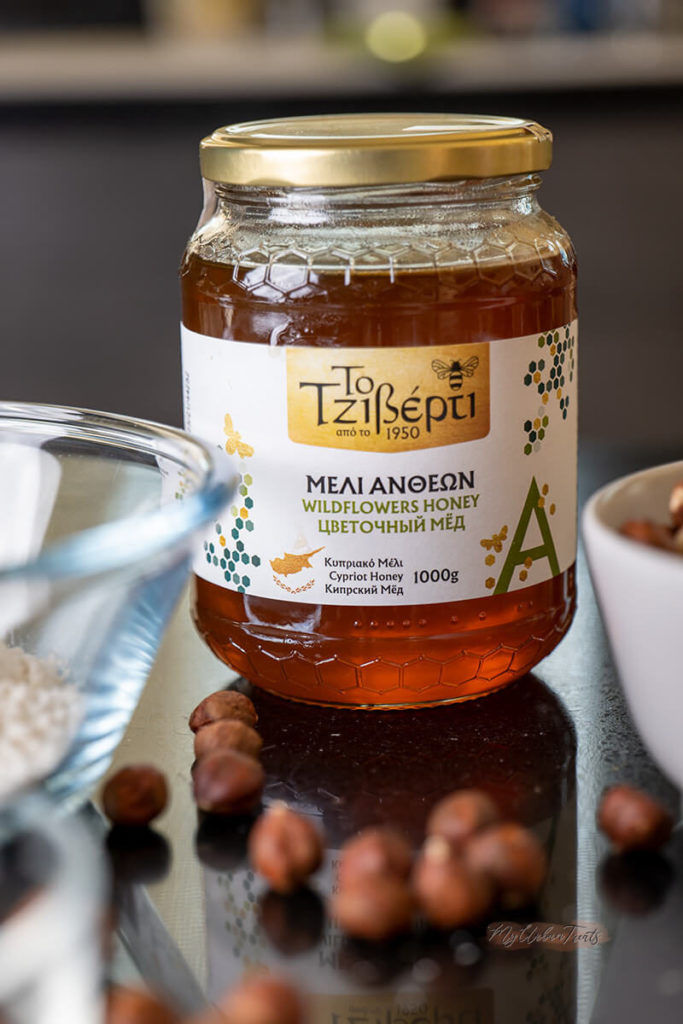
I always carefully choose my honey, some cheaper brands actually mix sugar syrup with honey to lower production cost. I prefer to pay a little bit extra and get a reliable high quality honey instead. Recently I have been using a local sourced cypriot wildflower honey called To Tziberti, note I am not sponsored in any way by this company I just want to share a product that I genuinely like and use myself. The balance between quality and cost is what made me choose this specific honey.
Assembling & Baking
I have tried two different ways of baking these nussecken. Method I: I baked the shortcrust and then added the nut topping and bake some more. Metod II: I baked them both at the same time. The book only mentioned method II but I wanted to get clean cut corners in the shortbread while avoiding burning the nut layer.
Turns out both methods worked well although Method I slightly over baked the shortbread. Method II will definitely be my go-to from now on. Here is how its done:
Line a baking tray with baking paper, make sure the sidewalls of the tray are covered. Cooked Honey Nuts are super sticky and cleaning them of the tray is a pain. Now roll out the chilled dough to a quarter of an inch or .05 cm thickness. The best way is to use the baking paper without the tray and then just place it back in to the tray when done.
Paint the shortbread dough with the heavy cream, now evenly spread the cooled nut topping over the shortbread layer. Place in the oven without convection at 200 C or 390 F and bake for 20 to 25 minutes. The edges might turn a bit darker brown, that’s ok we will cut them off in the next step to form a perfect rectangle.
Cutting the Triangles
The best way to get a clean cut is to cut the nut corners while they are still warm. Careful don’t burn yourself, the topping is very hot. If you suffer from a bit of OCD like I do and want to have PERFECT triangle shapes, then here is how you can get them.
Use a long and sharp kitchen knife and trim the edges to form a perfect rectangle. Put the edges aside (or munch on them like I did). Now divide the rectangle into two equal squares. Then cut each square into 4 smaller squares. Now cut each square corner to corner and voila you have 32 perfect nut triangles. Set aside to cool before we dip them in to chocolate.
Chocolate Dip
Melt the chocolate in a bermarie. Simply heat some water in a saucepan. Don’t boil it, just enough to create some steam. Set a heat proof cup over the steam and place the chocolate in it. Stir lightly until melted. Now here are two tricks:
- To temper the chocolate without much effort, keep 20% of the chocolate aside and cut it in to small squares. Add it in to the molten chocolate and stir until it all dissolves. This should temper your chocolate and will give it a nice satin look after dipping.
- To get a think chocolate layer, add a bit of coconut oil to the chocolate. I add apx 2 tablespoons to ever 1/2 cup of chocolate. This makes the layer nice and thin.
Now dip each corner in to the chocolate and set on a baking sheet to set.

Tips & Tricks
- The traditional recipe calls for hazelnuts, I have however tried this with a mix of almonds, hazelnuts and walnuts and it was great
- Some other recipes I found had a layer of apricot jam between the shortbread and nuts. I have tried these in Germany but I prefer them without (also grandma’s recipe doesn’t have any jam in it)
Shelflife and Storing
You can store nussecken at room temperature in a sealed container for 2-3 days. You can also refrigerate them in warmer climates. If you want to keep them for longer then you can also freeze them, however I have tried this in the past and the honey topping becomes very chewy after they have been thawed.
End Note
This is the first recipe in my new series, I will be baking my grandmother’s recipes which were passed down to me recently. More coming each week. You can also try one of my other traditional dessert recipes such as:
Nussecken – Grandma’s Nut Cortners
Ingredients
Hazelnut Shortbread
- 1¾ Cups All-purpose flour
- ½ Cup Hazelnuts Finely Ground
- ⅓ Cup Crystal Sugar
- 1 Large Egg
- ⅔ Cup Unsalted Butter Cold
Honey Hazelnut Topping
- 2 Cup Hazelnuts Peeled
- ⅔ Cup Unsalted Butter
- ⅔ Cup Crystal Sugar
- 3 Tbsp Honey
Decoration
- ⅔ Cup Dark Chocolate
Instructions
- Combine flour with salt, ground hazelnuts and sugar. Place on a clean working surface and form a small hole in the center. Roughly grate the cold butter and place it around the flour. Crack the egg in to the center where the hole is. Using your thumb and index finger, rub the butter in to the flour mixture and egg. Wrap in clingfilm and refrigerate for 30 minutes.
![]()
- While the dough is cooling, combine all the Honey Hazelnut Topping ingredients in a medium sized saucepan. Bring to boil over medium heat and keep stirring. As soon as the mixture boils take it of the heat and allow it to cool to almost room temperature.
![Honey and Hazelnut]()
- Preheat the oven without convection at 200 C or 390 F. Roll the shortbread dough out to a quarter inch or 0.5 cm thickness in to a rectangle. Line a baking tray with parchment paper and place the dough on the baking tray. Now spread the cooled nut mixture evenly over the shortbread dough. Bake at for 20 to 25 minutes until golden brown. Note the edges might get a bit darker so watch that they don't burn. Cut into triangles while still hot, then set aside to cool before dipping in chocolate.
![]()
- Using a small saucepan and a heatproof bowl, make a bermarie and melt the chocolate. Add 1-2 Tablespoons of coconut oil to make a thinner chocolate cover. You can set 20% of the chocolate aside to temper. Simply stir the remaining chocolate (off the heat) into the molten chocolate until dissolved. Dip the corners of each nussecken and set on a piece of parchment paper to set. Once set the nut triangles are ready to be enjoyed.
![]()

