Introduction
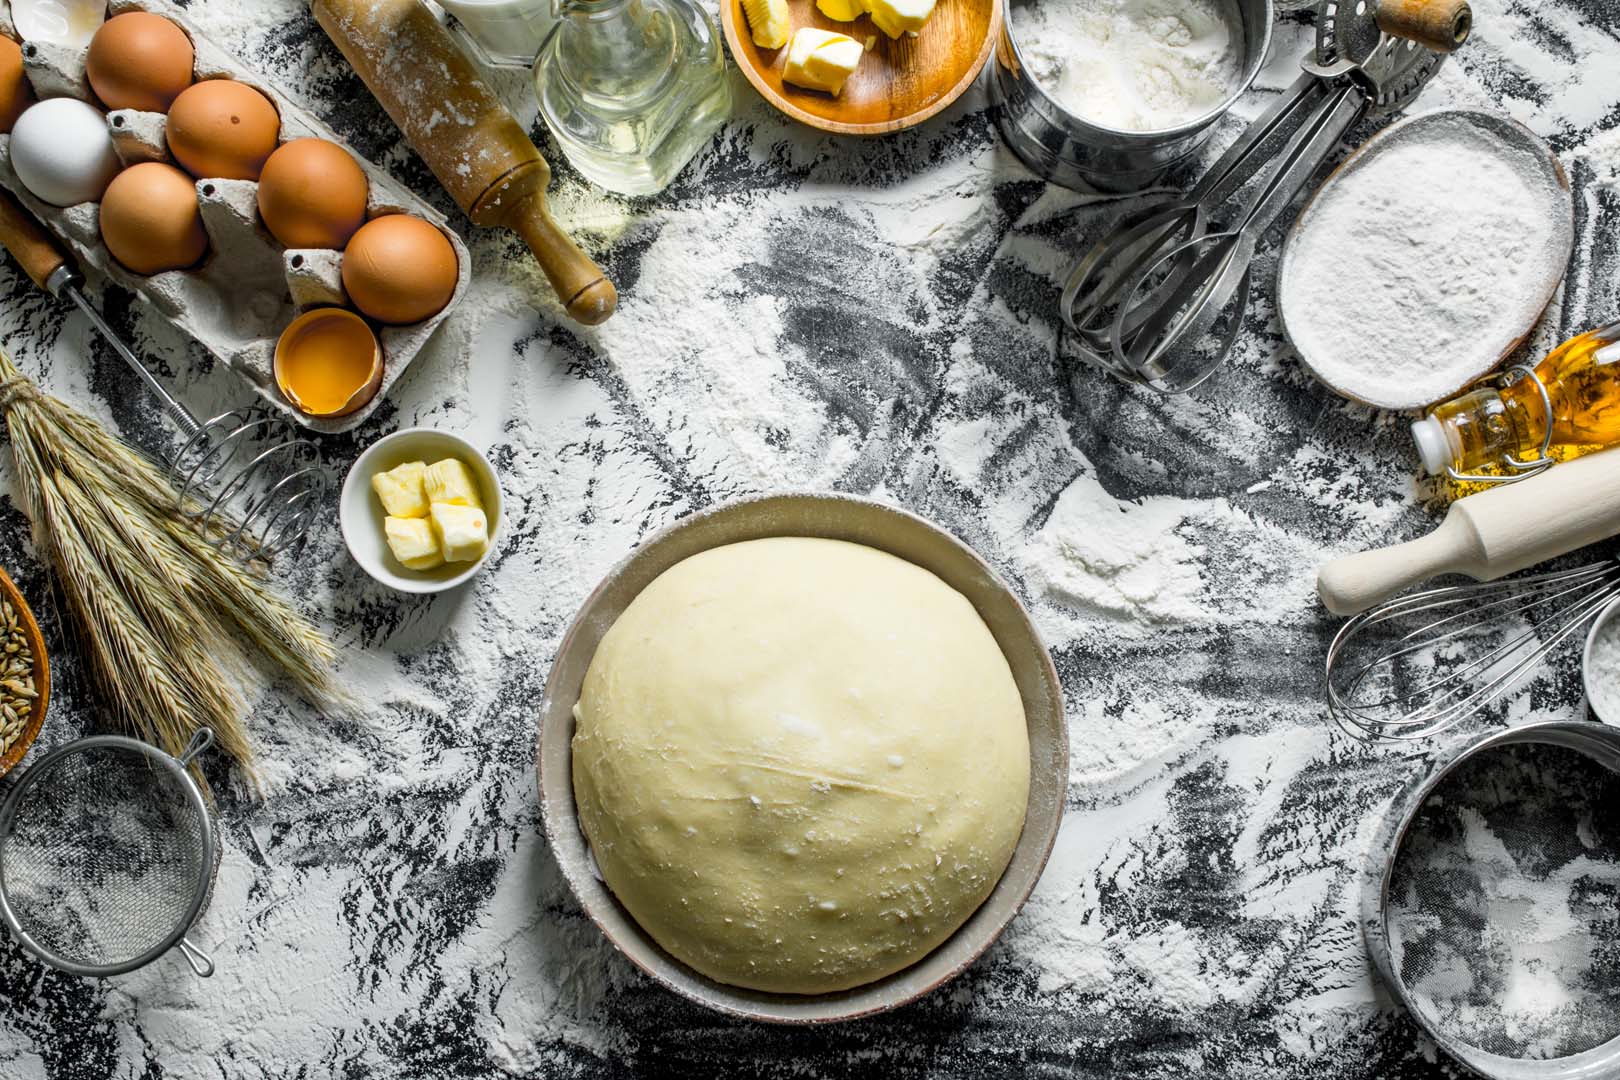
As a child, I remember watching my grandmother bake bread on Sundays. She had this old, well-worn wooden basket she would use to shape the dough. I didn’t think much of it back then—I just loved the smell of fresh bread filling the kitchen and I couldn’t wait to get the first slice with some butter and pork scratching.
It wasn’t until I started baking myself that I realised that her secret wasn’t just in the recipe, but in that proofing basket that had been passed down through generations.
- Introduction
- What is a Proofing Basket?
- Why You Should Use a Proofing Basket
- Types of Proofing Baskets
- How to Use a Proofing Basket
- Caring for Your Proofing Basket
- Troubleshooting Common Problems with Proofing Baskets
- Choosing the Right Proofing Basket for You
- Where can you buy Proofing Baskets?
- Final Thoughts
What is a Proofing Basket?
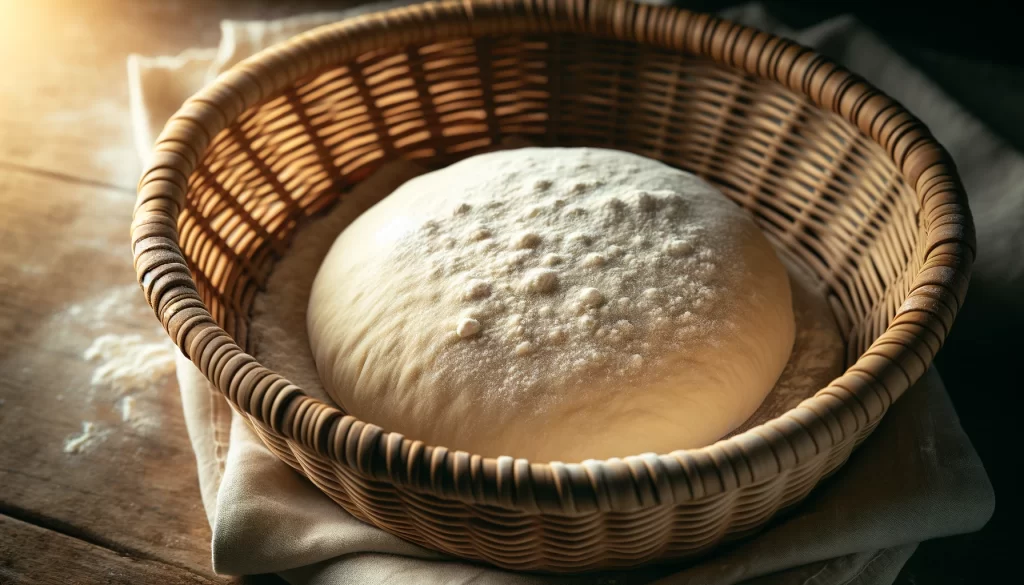
Proofing baskets have been around for centuries, used by bakers across Europe and beyond to help shape and support dough during its final rise before baking. They’re traditionally made from natural materials like rattan or wicker, which give the bread its distinctive spiral pattern. Over time, bakers have discovered that these baskets do more than just look pretty—they actually help create better bread.
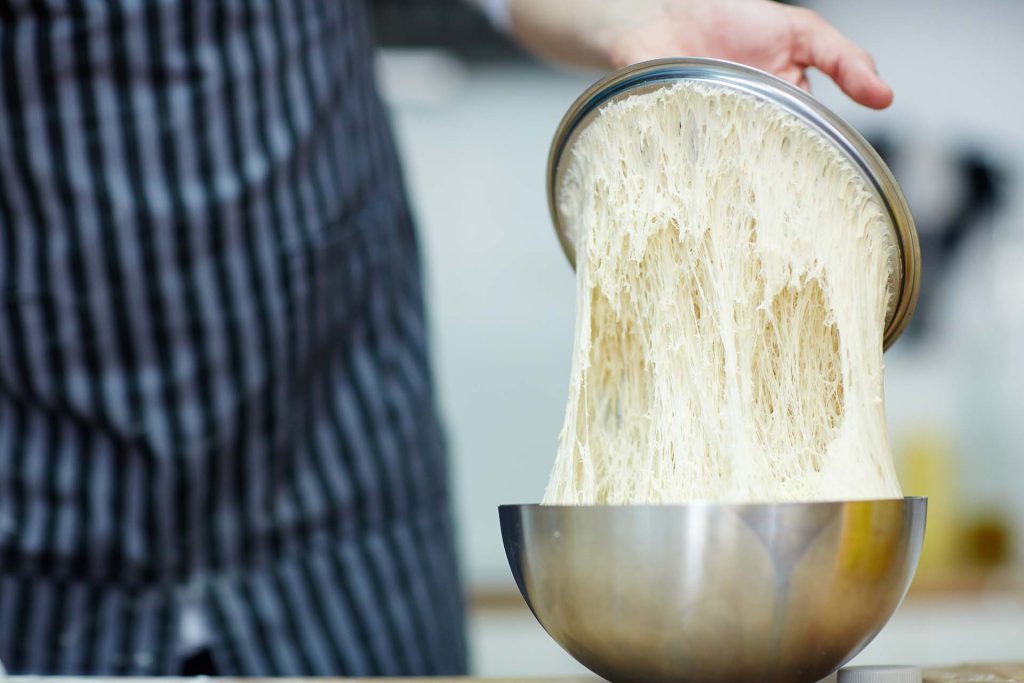
What makes proofing baskets so great is how they enhance the texture and shape of your dough. When you place your dough in a well-floured proofing basket, it’s gently cradled, allowing it to rise evenly and maintain its shape. This is especially important for wetter doughs that might otherwise spread out too much on a flat surface. Plus, the basket’s breathable material helps create a slightly drier surface on the dough, which leads to a beautiful, crisp crust when baked.

Using a proofing basket is one of those little details that can take your bread from good to amazing. Whether you’re a beginner or an experienced baker, incorporating a proofing basket into your process is a simple way to level up your bread baking game.
Why You Should Use a Proofing Basket
Proofing baskets are more than just a tool for shaping dough—they’re a game-changer for anyone serious about baking bread. By providing structure and support during the final rise, they ensure that your dough holds its shape, which is especially important for wetter, more delicate doughs. Beyond just the aesthetics, using a proofing basket helps you achieve a more consistent rise and a better crust, making your bread look and taste like it came straight from an artisan bakery.
Benefits of Using a Proofing Basket
- Better Dough Shape: Helps the dough maintain its shape, preventing it from spreading out too much and leading to a taller, more structured loaf.
- Beautiful Patterns: Creates attractive spiral or lined patterns on the dough, which transfer to the crust when baked, giving your bread a rustic, artisan appearance.
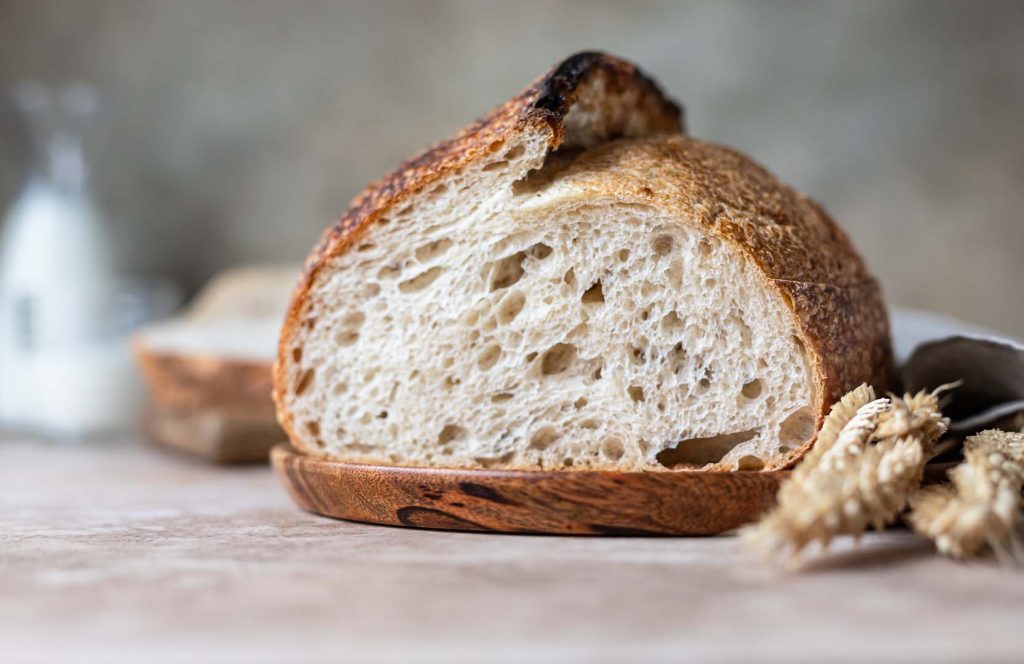
- Improved Crust: The breathable material of the basket allows the dough surface to dry slightly, which results in a crispier, more flavorful crust.
- Even Fermentation: Supports even fermentation by allowing the dough to rise uniformly, reducing the risk of uneven or lopsided loaves.
- Ideal for Wet Doughs: Particularly useful for high-hydration doughs that need extra support during the final proof, helping them rise upwards rather than spread out.
- Versatility: Available in various shapes and sizes, making them suitable for different types of bread, from boules to batards.
Using a proofing basket is one of those small changes that can make a big difference in the quality of your bread. Whether you’re aiming for the perfect sourdough or experimenting with other types of bread, a proofing basket will help you achieve consistently beautiful and delicious results.

Types of Proofing Baskets
Proofing baskets, or bannetons, come in several types, each with its own unique benefits. The most common materials used are rattan, plastic, and linen-lined baskets, and they typically come in either round or oval shapes. Let’s dive into the details of each type.
1. Rattan Baskets
Rattan proofing baskets are the most traditional and widely used type. Made from natural rattan cane, these baskets are known for their breathability and the distinctive spiral pattern they leave on the dough. They’re perfect for achieving that classic, rustic look on your bread.
- Material: Natural rattan cane
- Shapes: Round, Oval, Rectangle
- Pros: Creates beautiful spiral patterns, breathable, traditional aesthetic
- Cons: Can require more maintenance, prone to mold if not properly dried
2. Plastic Baskets
Plastic proofing baskets are a modern alternative to rattan. They’re durable, easy to clean, and often more affordable. While they don’t create the same spiral pattern as rattan baskets, they are practical and long-lasting, making them a great option for everyday use.
- Material: Food-grade plastic
- Shapes: Round, Oval, Rectangle
- Pros: Durable, easy to clean, affordable
- Cons: Lacks the traditional aesthetic, less breathable than rattan
3. Linen-Lined Baskets
Linen-lined baskets are particularly useful for wetter doughs or when you want a smoother finish on your bread. The linen liner prevents the dough from sticking to the basket while also absorbing excess moisture, which can be especially helpful for high-hydration doughs.
- Material: Rattan or wicker with a removable linen liner
- Shapes: Round, Oval
- Pros: Reduces sticking, ideal for wet doughs, smoother dough surface
- Cons: Requires washing and maintenance of the liner, less pattern on the bread
4. Metal Perforated Baskets
Metal perforated baskets are specifically designed for shaping and proofing baguettes. Made from stainless steel with perforations, these baskets allow for maximum airflow around the dough, promoting even baking and a crisp crust. They help the dough hold its shape during the final proof and are perfect for achieving that classic baguette texture.
- Material: Perforated stainless steel
- Shapes: Long, narrow, specifically for baguettes
- Pros: Ideal for baguettes, promotes airflow for even baking, helps maintain the baguette shape
- Cons: Limited to baguette shapes, less versatile for other bread types
Each type of proofing basket has its own unique benefits, and choosing the right one can depend on your specific baking needs and preferences. Whether you’re after the rustic charm of a rattan basket or the practicality of a plastic one, using a proofing basket is a sure way to improve both the look and structure of your homemade bread.
How to Use a Proofing Basket
Step 1: Prepare the Proofing Basket
Before you place your dough in the basket, it’s important to prepare it properly to prevent sticking.
- Flour the Basket: Generously dust the inside of the proofing basket with flour. You can use regular flour, but some bakers prefer using rice flour or a blend of both because it’s less likely to be absorbed by the dough, reducing the chance of sticking.
- Optional Liner: If you’re using a linen-lined basket, you can skip the flouring step if the liner is already well-floured. The liner helps prevent sticking, especially with wetter doughs.
Step 2: Shape the Dough
Shaping your dough correctly is key to getting a nice, even loaf.
- Pre-shape: After your dough’s first rise (bulk fermentation), gently deflate it and shape it into a rough ball or oval, depending on the shape of your basket.
- Final Shape: Let the dough rest for about 15-20 minutes, then give it its final shape. Tighten the surface of the dough by pulling it taut and tucking the edges underneath. This will help the dough hold its shape during the final proof.
Step 3: Place the Dough in the Basket
Now, it’s time to place your shaped dough into the prepared proofing basket.
- Seam-Side Up: Place the dough seam-side up in the basket. This is because when you flip it out later, the seam will be on the bottom, allowing you to score the top for a nice, clean rise.
- Gently Press: Gently press the dough into the basket to ensure it’s snug and well-supported.
Step 4: Proof the Dough
Allow the dough to rise in the basket. This is where the magic happens!
- Cover the Basket: Cover the basket with a clean cloth or plastic wrap to prevent the dough from drying out. If you’re proofing overnight, you can place the covered basket in the refrigerator for a slow, cold fermentation, which develops more complex flavors.
- Proofing Time: The proofing time can vary depending on the recipe, but generally, you’re looking for the dough to rise about 50-75% in size. The dough should be slightly springy to the touch but hold an indentation when pressed.
Step 5: Transfer the Dough to a Baking Surface
When the dough has fully proofed, it’s time to transfer it to your baking surface.
- Flipping the Dough: Carefully flip the dough out of the basket onto a piece of parchment paper or directly onto your preheated baking surface (such as a baking stone or Dutch oven). Hold the basket close to the surface to prevent the dough from deflating.
- Scoring the Dough: Use a sharp knife or a lame to score the top of the dough. This allows the bread to expand properly in the oven and creates that beautiful, rustic look.
Step 6: Bake the Bread
Now, it’s time to bake your bread to perfection.
- Bake as Directed: Follow your recipe’s baking instructions, typically at a high temperature, to ensure a good oven spring and a crisp, golden crust.
- Cool Before Cutting: Once your bread is baked, let it cool completely on a wire rack before cutting into it. This allows the crumb to set and the flavors to fully develop.

Tips for Success
- Prevent Sticking: If you find your dough is sticking to the basket, try using more flour or a flour mixture, and make sure the basket is well-dusted before use.
- Use a Liner for Wet Doughs: If you’re working with particularly wet doughs, a linen liner can help prevent sticking and make it easier to transfer the dough.
- Practice Makes Perfect: Don’t worry if your first few attempts aren’t perfect. It takes a bit of practice to get the hang of using a proofing basket, but once you do, it will become an indispensable part of your bread-making routine.
Caring for Your Proofing Basket
Taking good care of your proofing basket is essential to ensure it lasts for years and continues to perform well. Different types of proofing baskets require slightly different care routines, so here’s how to keep each type in great condition.
Caring for Rattan Baskets
Rattan baskets are the traditional choice, and with proper care, they can last for many years. After each use, gently tap out any excess flour from the basket and use a soft brush to remove any stuck-on dough. If your basket needs a deeper clean, you can lightly rinse it with water, but be sure to dry it thoroughly afterward to prevent mold from developing. To dry, place the basket in a warm, dry area, or in the oven with just the pilot light on. Avoid submerging rattan baskets in water, as prolonged exposure can weaken the material.
Caring for Plastic Baskets
Plastic proofing baskets are durable and easy to clean, making them a low-maintenance option. After using a plastic basket, simply wash it with warm soapy water and a soft sponge. Be sure to rinse thoroughly to remove any soap residue, and allow the basket to air dry completely before storing it. Plastic baskets don’t require any special care to prevent mold, but it’s still a good idea to store them in a dry place to avoid any unwanted odors.
Caring for Linen-Lined Baskets
Linen-lined baskets require a bit more attention, especially when it comes to the liner itself. After each use, shake off any excess flour from the liner and allow it to air out. If the liner becomes dirty or stained, you can hand wash it with mild detergent and warm water. Rinse thoroughly and let it air dry completely before reusing. Avoid using bleach or harsh chemicals on the linen, as they can weaken the fibers. The rattan or wicker basket underneath can be cared for using the same method as other rattan baskets, with light brushing and careful drying.
Caring for Metal Perforated Baskets
Metal perforated baskets, often used for baguettes, are fairly easy to maintain. After each use, simply brush off any loose flour or dough particles. If the basket requires a deeper clean, wash it with warm soapy water and a soft cloth or sponge. Make sure to dry the basket completely to prevent rust, especially if it’s not stainless steel. Store your metal basket in a dry place to avoid any moisture buildup that could lead to corrosion.
By following these care instructions, you can keep your proofing baskets in excellent condition, ensuring they continue to help you bake beautiful, artisan-quality bread for years to come.
Troubleshooting Common Problems with Proofing Baskets
Even with careful use, you might encounter some issues with your proofing baskets. Don’t worry—most problems can be easily fixed with a few simple adjustments. Here’s how to troubleshoot the most common issues, including dealing with mold in rattan baskets.
Dough Sticking to the Basket
One of the most common issues is dough sticking to the proofing basket. This usually happens when the basket isn’t properly floured or the dough is too wet.
- Solution: Make sure to generously dust your basket with flour before placing the dough inside. Rice flour or a rice and all-purpose flour mix is particularly effective because it doesn’t absorb as easily into the dough. For very wet doughs, consider using a linen liner to help prevent sticking. If the dough still sticks, try increasing the amount of flour or letting the dough firm up a bit longer before placing it in the basket.
Misshapen Loaves
If your loaves are coming out misshapen, it could be due to improper dough shaping or proofing.
- Solution: Make sure you’re properly shaping your dough before placing it in the basket. The dough should have a taut surface to help it hold its shape during proofing. Additionally, ensure the dough is proofing for the right amount of time—under-proofing can cause the dough to expand unevenly in the oven, while over-proofing can cause it to collapse. Practice your shaping technique and adjust proofing times based on the temperature and humidity in your environment.
Mold in Rattan Baskets
Mold is a concern with rattan baskets, especially if they aren’t dried properly after use. Rattan is a natural material that can retain moisture, which creates a breeding ground for mold.
- Solution: To prevent mold, always ensure your rattan basket is thoroughly dried after each use. You can do this by placing it in a warm, dry area or in the oven with just the pilot light on until it’s completely dry. If you do notice mold, don’t panic. First, try scrubbing the affected area with a brush and a mixture of water and vinegar (a natural antifungal). After cleaning, rinse with water and dry thoroughly in a warm environment. For persistent mold issues, consider placing the basket in direct sunlight, which can help kill mold spores.
Uneven Rise or Over-Expanding Dough
If your dough is rising unevenly or spreading too much, it might be due to improper support or proofing conditions.
- Solution: Ensure that your dough is properly shaped and placed snugly into the basket. If your dough is very wet, it might need additional support, which can be provided by a linen liner or by slightly reducing the hydration of the dough. Also, check the proofing environment—too warm, and the dough may over-proof, leading to an over-expanded, flat loaf. Try proofing in a cooler area or shortening the proofing time.
Crust Issues
Sometimes the crust can turn out too thick, too thin, or unevenly colored.
- Solution: If you’re using a rattan basket, the amount of flour used can affect the crust. Too much flour can lead to a thick, powdery crust, while too little can cause sticking and tearing. Adjust the amount of flour as needed. Also, consider the baking environment—uneven oven temperatures or improper steaming can result in crust issues. Make sure your oven is properly preheated, and if necessary, use steam during the first part of baking to help develop a crisp, even crust.
By addressing these common issues, you can ensure that your proofing basket continues to be a reliable tool in your bread-making process, helping you create beautiful, artisan-quality loaves every time.
Choosing the Right Proofing Basket for You
When I first started using proofing baskets, I quickly realized that not all baskets are created equal—and that’s a good thing! The right proofing basket for you depends on the type of bread you want to bake, your baking environment, and your personal preferences. Here’s how to choose the perfect proofing basket for your needs.
Consider the Type of Bread You’re Baking
The type of bread you’re planning to bake will play a big role in determining the right basket.
- Round Loaves (Boules): If you’re baking round loaves, like a classic boule, a round rattan or plastic basket is your best bet. These baskets help the dough maintain its shape during proofing, resulting in a nice, tall, round loaf.
- Oval Loaves (Batards): For oval-shaped loaves, an oval basket is ideal. It provides the right support for longer, narrower loaves like batards, giving them a beautiful, uniform shape.
- Baguettes: If you’re a fan of French-style baguettes, a metal perforated basket is the way to go. These baskets are specifically designed to support the long, slender shape of a baguette, allowing for even baking and a crisp crust.
Choose the Right Material
The material of the proofing basket can affect everything from the bread’s crust to the ease of cleaning.
- Rattan: Rattan baskets are the traditional choice and are perfect if you love the rustic, artisan look. They create beautiful spiral patterns on your loaves and help the dough breathe, resulting in a crispier crust. However, they do require careful drying to prevent mold.
- Plastic: If you’re looking for something more durable and easy to maintain, plastic baskets are a great option. They’re easier to clean and less prone to mold, making them ideal for frequent bakers or those who prefer low-maintenance tools.
- Linen-Lined: Linen-lined baskets are particularly useful for wetter doughs or if you prefer a smoother finish on your bread. The liner prevents sticking and absorbs excess moisture, helping to create a uniform crust without the rustic patterns of a rattan basket.
- Metal Perforated: For those specializing in baguettes, metal perforated baskets are essential. They provide excellent airflow around the dough, which is key for achieving the perfect baguette crust and shape.
Consider the Basket Size
Size matters when it comes to proofing baskets, and you’ll want to choose a basket that matches the amount of dough you’re working with.
- Small Baskets: Great for smaller loaves or if you’re working with limited dough. These are also useful for home bakers who are making bread for one or two people.
- Standard Baskets: These are the most common size and are suitable for most standard bread recipes, which typically call for around 500g to 1kg of dough.
- Large Baskets: Ideal if you’re baking larger loaves or doubling recipes. These baskets provide ample space for larger amounts of dough to rise and expand.
Think About Your Baking Environment
Your kitchen’s environment can also influence your choice.
- Humid Climates: If you live in a humid area, a plastic or linen-lined basket might be better suited to prevent mold and manage moisture levels.
- Dry Climates: In drier climates, rattan baskets work well, as they allow the dough to breathe while still maintaining moisture levels needed for a good rise.

Ease of Maintenance
Consider how much time and effort you want to spend on maintenance.
- Low-Maintenance: If you prefer low-maintenance tools, plastic baskets are the way to go. They’re easy to clean and don’t require special care.
- Artisan Look with Maintenance: If you’re after the traditional artisan look and don’t mind a bit of extra care, rattan baskets are perfect. Just remember to clean and dry them properly to keep them in good condition.
- Intermediate Maintenance: Linen-lined baskets require some maintenance, especially the liners, which need regular washing and drying. They offer a balance between aesthetics and practicality.
Where can you buy Proofing Baskets?
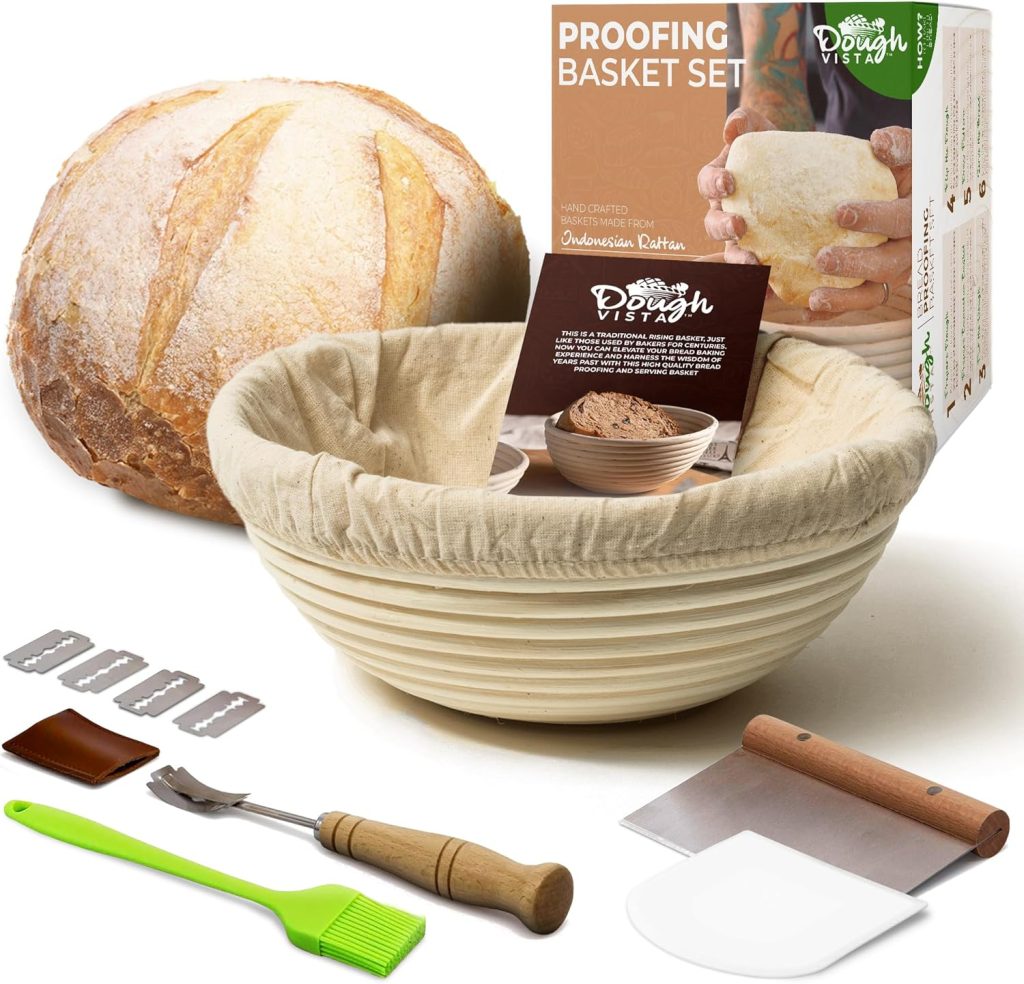
If you’re on the lookout for a good proofing basket, you’ve got a couple of great options! I recently found some at IKEA—they have a nice variety that’s both affordable and stylish, perfect for getting that artisan bread look at home. If you’re more into online shopping, Amazon is another fantastic place to check out. They have a wide range of proofing baskets, from basic ones to more premium options, and the convenience of home delivery is a big plus. Between IKEA and Amazon, you’re pretty much covered for all your bread-making needs!
Final Thoughts
Choosing the right proofing basket is all about finding what works best for you and the type of bread you want to bake. Whether you’re aiming for the rustic charm of a rattan basket, the practicality of plastic, or the specialized design of a metal perforated basket, there’s a proofing basket out there that will perfectly match your baking style. Take the time to consider your needs and preferences, and soon you’ll be creating beautiful, artisan-quality loaves that look as good as they taste.