Hi, my name is Roman and I am a kitchen knife addict. All jokes aside, I think every hobby or professional cook I have ever spoken too has a special love for kitchen knives. We are proud of our knives, love exotic knives and most of all, pride ourselves in how sharp our knives are.
But when it comes to keeping kitchen knives sharp, the excitement usually fades a little. After all, keeping your kitchen knife laser sharp can be a very confusing topic. There are a multitude of tools, peripherals and techniques available and each one claims to be the right one.
In this guide, I aim to clear the mystery of knife sharpness an offer you a good understanding on what makes a knife sharp, how to sharpen your knife and how to maintain your knife so it will stay sharp and last you for a very long time. This is a big article so below is a Table of Contents so you can skip to the section you want to see. Let’s get started.
Understanding Knife Sharpness
To understand knife sharpness, imagine looking at your knife’s edge through a powerful microscope. At first glance, the edge might seem smooth and flawless to the naked eye. However, as you zoom in to a microscopic level, a fascinating structure emerges—a tiny row of sharp, jagged teeth.
These microscopic teeth are what make your knife incredibly effective at slicing through food. When these teeth are aligned and intact, they create a razor-sharp edge that cuts effortlessly. Just like a saw with fine teeth, your knife relies on this delicate, toothy structure to perform at its best.
Over time, through regular use and contact with various surfaces, these tiny teeth can become misaligned or worn down. This is why your knife may start to feel dull and require more force to cut. Regular sharpening realigns these teeth, restoring the knife’s sharp edge and making your kitchen tasks easier and more enjoyable.
Understanding this microscopic world of your knife’s edge highlights the importance of proper maintenance. By taking care of those tiny teeth, you ensure your knife stays sharp and efficient, ready to handle all your cooking and baking needs with precision.

The Impact of Steel Quality
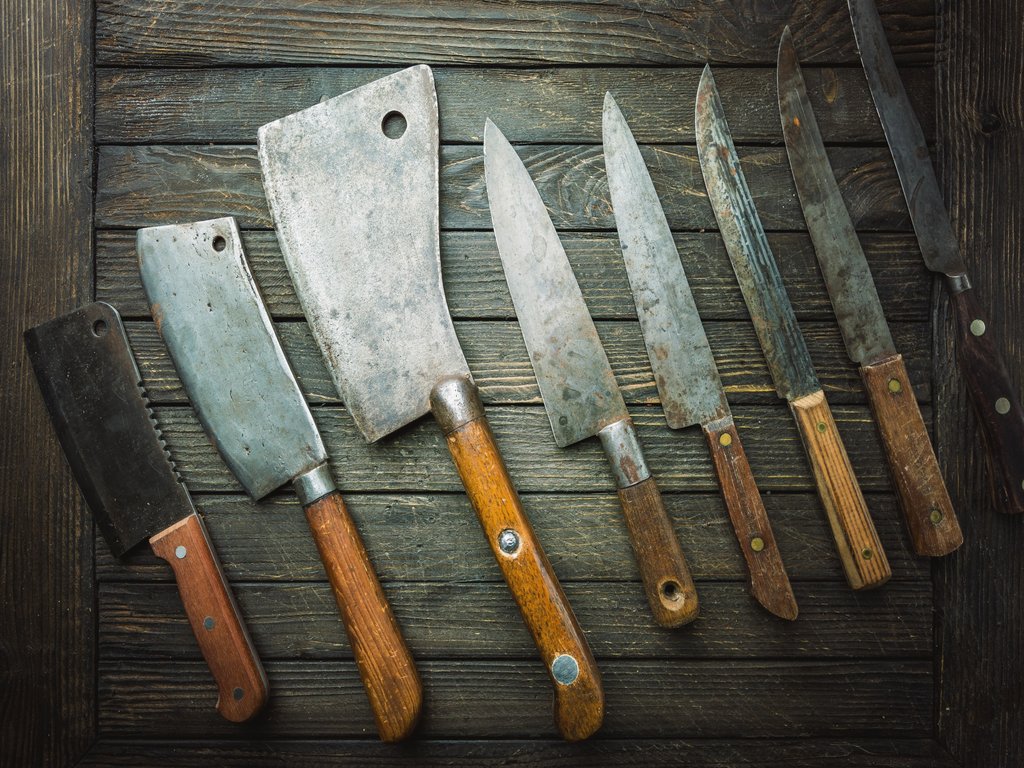
Most knives are made from high-grade steel, although there are alternative options like ceramic knives available on the market. While ceramic knives are known for their sharpness, they are also quite brittle and can easily break if dropped. This brittleness makes steel the preferred choice for knives since as far back as 500 BCE.
Steel hardness is measured on the Rockwell Hardness C Scale (HRC). The harder the steel, the longer it can maintain a sharp edge. However, there is a trade-off: harder steel tends to be more brittle, which can make the knife’s edge more prone to chipping or breaking.
Professional chef’s knives typically have an HRC rating between 55 and 62. This range strikes a balance between durability and sharpness, providing a knife that can withstand regular use while maintaining a keen edge.
Understanding the properties of steel and its hardness helps in selecting the right knife for your needs, ensuring you have a reliable and long-lasting tool in your
Why Sharp Knives are Essential
This next sentence might seem strange: sharp knives are safer than blunt knives. Some of you might think, “Roman, what are you talking about?” But hear me out.
First off, a sharp knife requires less force to cut through food. This minimizes the effort needed and reduces the risk of slipping. When a knife slips with more force, it’s more dangerous and can cause significant injury. A sharper knife gives you more control, making cleaner and more accurate cuts.
Blunt knives, on the other hand, tend to slide off the food, making cutting harder and more dangerous. Imagine slicing an onion, which is round and somewhat hard. A blunt knife can easily slip off and cut you.
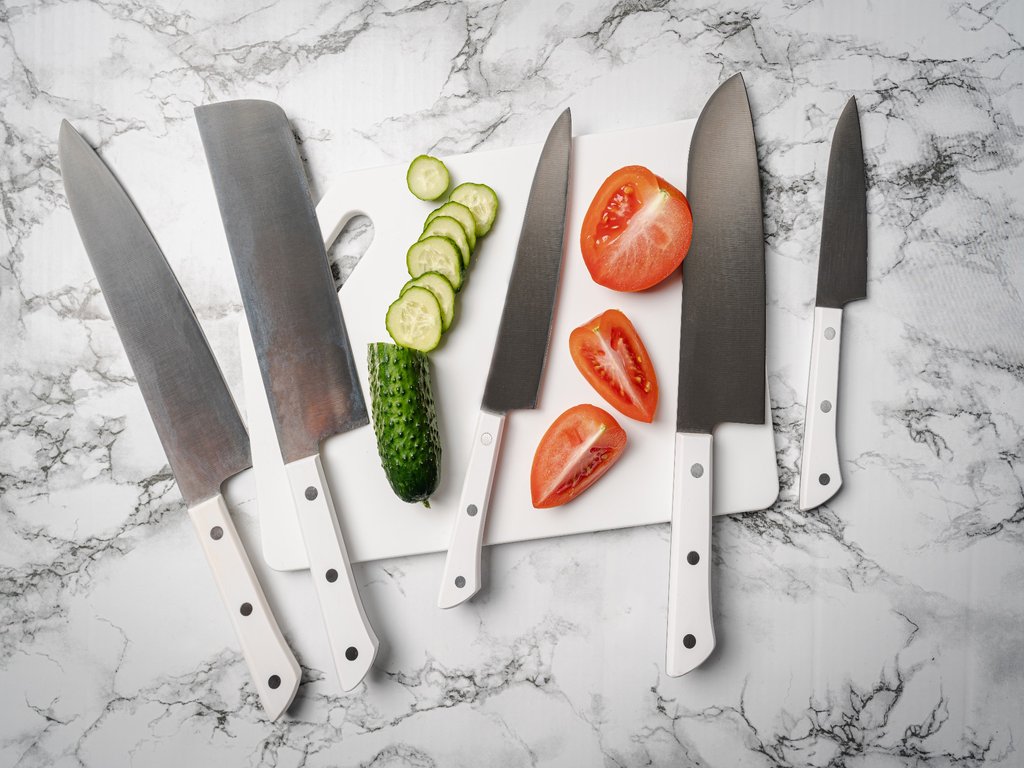
There are other benefits to using a sharp knife, such as reduced fatigue when cutting for longer periods or larger quantities, consistent performance, and cleaner, better cuts. By keeping your knives sharp, you enhance both your safety and your cooking experience.
How to identify a Dull Knife
There are several signs that will tell you if your knife needs sharpening, here are some you shouldn’t miss:
- Difficulty Cutting Through Food:
- A dull knife struggles to slice through even soft foods. If you find yourself applying excessive force to cut through a tomato or an onion, it’s a clear sign that your knife is dull.
- Slipping Off Food:
- A dull knife often slips off the surface of what you’re trying to cut, making it hard to control and increasing the risk of injury.
- Tearing Instead of Slicing:
- Instead of making clean cuts, a dull knife tends to tear or crush food, especially delicate items like herbs or bread.
- Uneven Cuts:
- If your knife produces uneven or ragged cuts, it’s not sharp enough. A sharp knife will slice smoothly and consistently.
- Requires More Effort:
- If you notice that you’re getting tired quickly or needing to exert a lot of force, your knife likely needs sharpening.
How to Test Knife Sharpness
- The Paper Test:
- Hold a piece of paper vertically and try to slice through it with your knife. A sharp knife will cut through the paper easily without tearing. If the knife struggles or tears the paper, it needs sharpening.
- The Tomato Test (My Favourite):
- Try slicing a ripe tomato with your knife. A sharp knife will easily penetrate the skin and make clean slices. A dull knife will squish the tomato and have difficulty cutting through the skin.
- The Onion Test:
- Slice through an onion. A sharp knife will glide through with minimal effort and create smooth, even slices. A dull knife will struggle, making the task more difficult and the cuts uneven.
By regularly testing your knives and looking out for these signs, you can ensure your kitchen knives remain sharp and safe to use. Keeping your knives in top condition makes cooking more enjoyable and efficient.
Tools for Sharpening Knives
To keep your knives in top condition, you’ll need the right sharpening tools. Each tool offers unique advantages and is suited to different needs and skill levels. In this section, we’ll provide an overview of the various tools available for sharpening your knives, including whetstones, honing rods, and electric/manual sharpeners. Understanding these tools will help you choose the best method to keep your knives razor-sharp and ready for any culinary challenge.
Whetstones
Whetstones, also known as sharpening stones, are rectangular blocks made from natural or synthetic materials designed to sharpen and hone the edge of a knife. They come in various grit levels, which determine how coarse or fine the stone is. The grit level ranges from coarse (lower numbers) for removing nicks and reshaping the blade to fine (higher numbers) for polishing and honing the edge to razor-sharpness.
Whetstones are an excellent tool for those who want precise control over their knife sharpening and are willing to invest the time to learn the technique. They offer superior sharpness and versatility, making them ideal for serious cooks and knife enthusiasts. However, the learning curve, time commitment, and maintenance requirements may make them less appealing to those looking for a quick and easy sharpening solution.
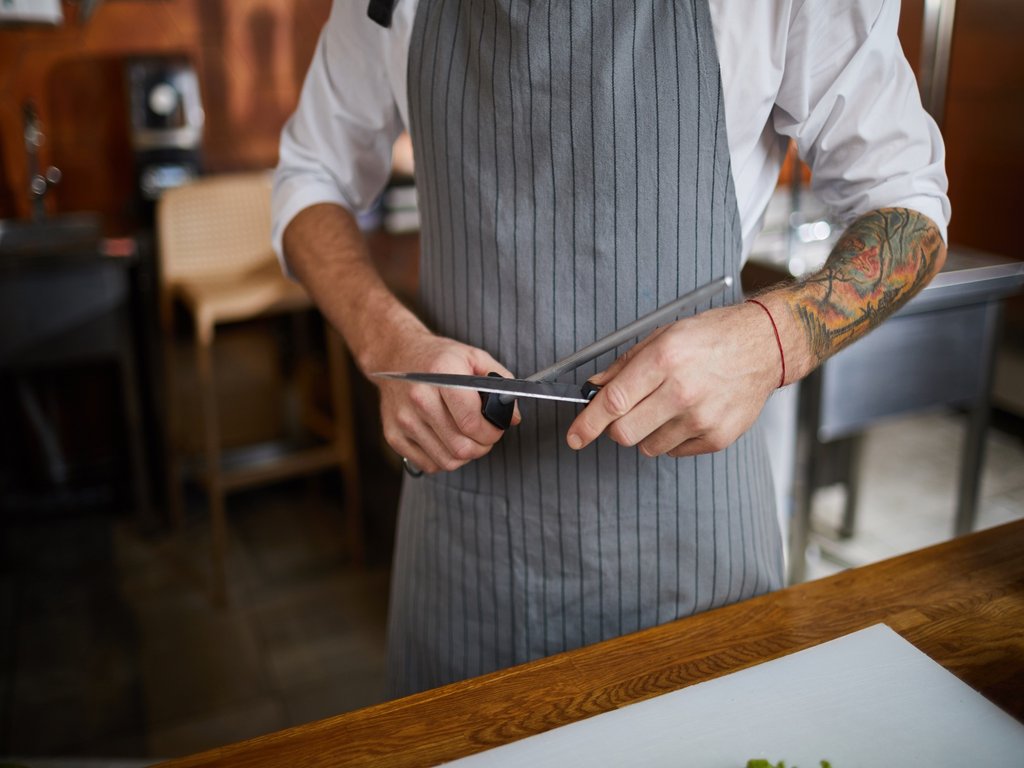
Sharpening Rods
Sharpening rods, also known as honing rods or sharpening steels, are cylindrical tools used to maintain and realign the edge of a knife. They are not typically used to sharpen a dull knife from scratch but are essential for keeping a sharp edge between proper sharpening sessions.
There are different types of Sharpening Rods such as:
- Steel Rods:
- Traditional honing rods made of steel are often ridged and help realign the blade’s edge. They are durable and commonly used in both home and professional kitchens.
- Ceramic Rods:
- Ceramic rods are harder than steel rods and can remove a small amount of material from the knife, making them slightly more effective at sharpening while also honing the edge.
- Diamond Rods:
- Coated with diamond dust, these rods are the most abrasive and can actually sharpen as well as hone the knife. They are effective but should be used carefully to avoid over-sharpening.
Sharpening rods are an excellent tool for maintaining the sharpness of your knives between more thorough sharpening sessions. They are easy to use, convenient, and affordable, making them a great addition to any kitchen. However, they are not suitable for sharpening very dull or damaged knives and require proper technique to avoid damaging the blade. For best results, use a sharpening rod regularly in combination with periodic sharpening using whetstones or other sharpening tools.
Electric or Manual Sharpeners
Electric knife sharpeners are devices that use motorized abrasive wheels or belts to sharpen and hone the edge of a knife. They are designed for ease of use and speed, making them a popular choice for home cooks and professionals alike. Manual Knife Sharpeners are handheld dvices that use fixed abrasive surfaces to sharpen knives. They are typically more compact and cheaper than electric sharpeners.
Electric and manual sharpeners each have their own set of advantages and disadvantages. Electric sharpeners are quick, user-friendly, and provide consistent results, but they can be costly and less precise. Manual sharpeners are affordable, portable, and easy to use, but they require more physical effort and are less effective for major blade repairs. Choosing the right sharpener depends on your specific needs, preferences, and the types of knives you use.
Step-by-Step Guide to Sharpening Knives
Before we explore the steps to Sharpening Knives, you should ask yourself a very important question: Should you sharpen your knives or should you let a professional sharpen them for you?
Well there is no easy answer to this question, for most home cooks a combination approach would work best. Regularly maintain your knives at home using a honing or sharpening rod. You can use an electric or manual sharpener for the occasional touchup. Then once or twice a year, take your knives to a professional for a thorough sharpening.
Home Cooks with DIY skills or Professionals Cooks will enjoy learning this new skill set, it requires investing in whetstones and practicing proper techniques and angels but once you have it down to a t, it will save you time and money and it feels good achieving the perfect sharpening.

Occasional Cooks will benefit most from using a professional service. If you cook less frequently or prefer not to invest time and effort into sharpening skills, using a professional service might be more convenient and ensure your knives remain in good shape.
Preparing the Knife and Work Area
Before you begin sharpening your knife, it’s essential to prepare both your work area and the knife to ensure safety and effectiveness. Start by selecting a stable, well-lit surface to work on, such as a sturdy countertop or table. Lay down a non-slip mat or a damp towel to keep your sharpening stone or tool from moving during the process.
Ensure that you have all your sharpening tools within easy reach, including whetstones, a honing rod, or an electric/manual sharpener, depending on your method. For whetstones, soak them in water for about 10-15 minutes if required, or use a light coating of oil for oil stones.
Clean your knife thoroughly to remove any food particles or residues that could interfere with the sharpening process. Dry the knife completely to prevent slipping. By organizing your space and tools, you create a safe and efficient environment for sharpening your knife, ensuring the best possible results.
TIP: Always check the instructions of your sharpening tool, some stones require water others oil, but you can ruin a stone with oil that is meant for water.
Sharpening Process
Step-by-Step Guide to Sharpening Your Knife
- Choosing the Right Grit:
- Coarse Grit (200-600): Start with a coarse grit if your knife is very dull or has nicks. This grit helps to remove significant material and reshape the edge.
- Medium Grit (800-2000): Use a medium grit for regular sharpening to refine the edge.
- Fine Grit (3000-8000): Finish with a fine grit to hone and polish the blade for a razor-sharp finish.
- Setting the Angle:
- The sharpening angle is crucial for achieving the best edge. For most kitchen knives, an angle of 15-20 degrees is recommended. Hold the knife at this angle consistently throughout the sharpening process.
- Using a Whetstone:
- Soak the Whetstone: If you’re using a water stone, ensure it is properly soaked. For oil stones, apply a light coat of oil.
- Position the Stone: Place the whetstone on a stable, non-slip surface.
- Sharpening Strokes: Starting with the coarse grit, position the knife at the correct angle. Using moderate pressure, slide the knife down the stone in a sweeping motion, moving from the heel to the tip of the blade. Repeat this process several times on one side, then switch to the other side.
- Progress Through Grits: Move to a medium grit stone and repeat the process, then finish with a fine grit stone to polish the edge.
- Check Sharpness: Periodically check the sharpness by slicing through a piece of paper or a tomato.
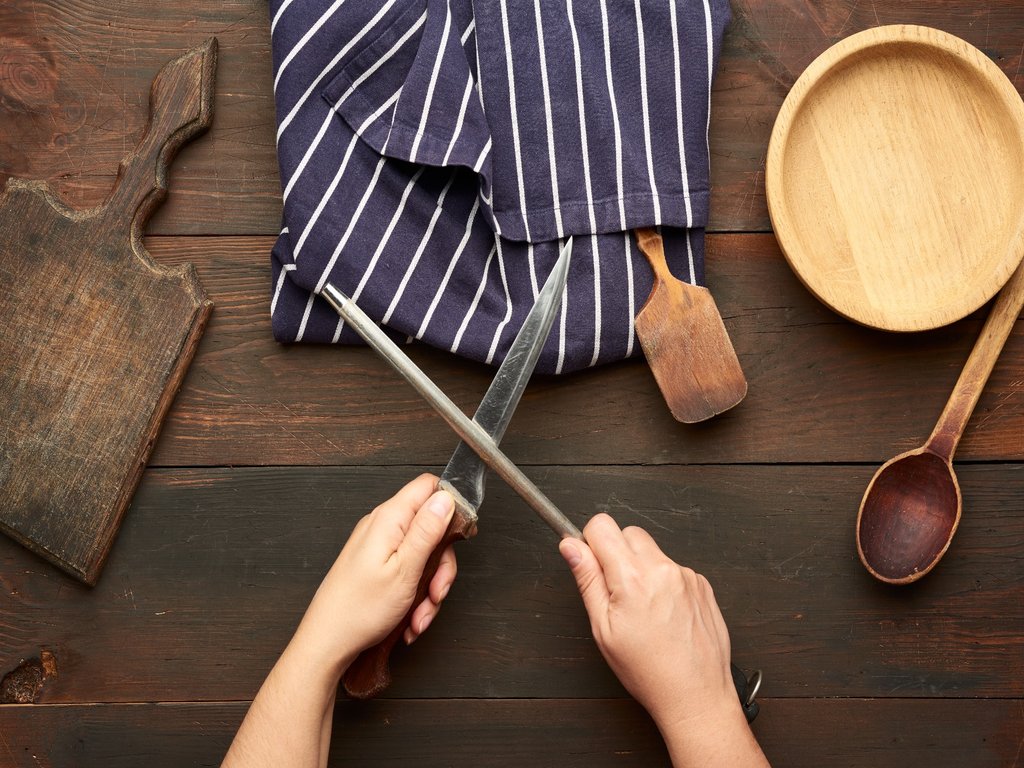
- Using a Sharpening Rod:
- Hold the Rod: Hold the sharpening rod vertically with the tip on a stable surface.
- Sharpening Strokes: Hold the knife at a 15-20 degree angle to the rod. Starting at the heel of the blade, draw the knife down and across the rod in a sweeping motion, ending at the tip. Repeat this on the other side.
- Consistency: Ensure you use the same number of strokes on each side to maintain a balanced edge.
- Using an Electric Sharpener:
- Read the Instructions: Follow the manufacturer’s instructions for your specific model.
- Select the Sharpening Stage: Most electric sharpeners have multiple stages (coarse and fine). Start with the coarse stage if needed.
- Insert the Knife: Place the knife blade into the designated slot and let the sharpener guide the angle.
- Draw the Knife Through: Slowly and steadily pull the knife through the slot from heel to tip. Repeat as directed.
- Switch to Honing Stage: If available, switch to the fine or honing stage to polish the edge.
- Final Steps:
- Clean the Knife: After sharpening, rinse the knife to remove any metal shavings. Dry it thoroughly to prevent rust.
- Test the Sharpness: Perform a final test by cutting through paper or slicing a tomato to ensure your knife is sharp enough.
By following these steps, you can effectively sharpen your knife, restoring its edge and ensuring it performs well in the kitchen. Regular maintenance and proper sharpening techniques will keep your knives in top condition, ready for all your culinary tasks.
Post-Sharpening Maintenance
After you’ve sharpened your knife, it’s important to take a few additional steps to ensure the longevity and performance of your newly sharpened blade. Proper post-sharpening maintenance not only keeps your knife in excellent condition but also enhances your overall kitchen safety and efficiency. Here are some important points:
- Cleaning the Knife: Always hand wash your knife with mild soap, rinse and dry. Dont use the rough side of a sponge as it will scratch the blade. Dry immediately after washing.
- Regular Honing: Use a Honing Rod before every use to ensure the knife is sharp. This helps maintain a sharp edge.
- Storing your knives:
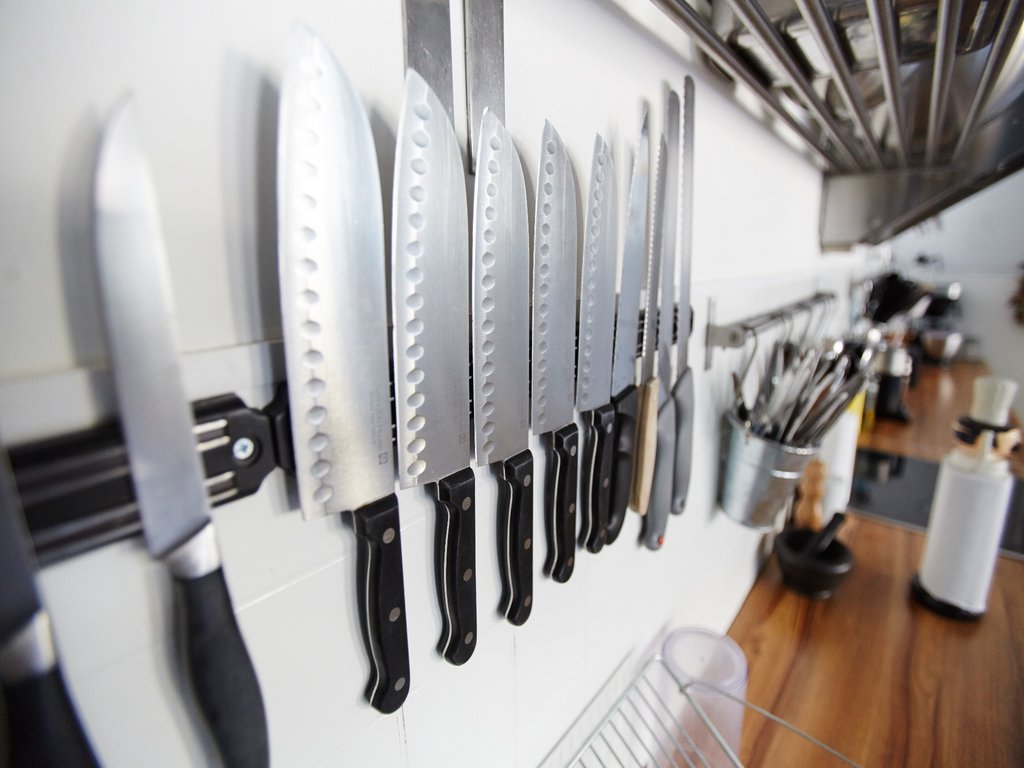
- There are various ways you can store your knives, home kitchens are great for Knive Blocks, ensure the block is clean and dry.
- Magnetic Scrips are an excellent storage solution if you have the space. They keep knives accessible and prevent them from coming into contact with utensils. Ensure the strip is safely secured and in a safe location.
- Blade Guards are great if you keep your knives in a utensil drawer. These guards protect the edges and keep knives safe to handle.
- Professional chef’s will use roll pouches so they can transport them safely from and to their work place.
- Cutting Surfaces are important to keep your knives sharp. Professional chef’s and butchers will use end-grain cutting boards. These can be expensive but the direction of the woods grain ensures that knives stay sharp the longest. Always avoid cutting on hard surfaces such as glass, stone or metal.
- Inspect your knives regularly for any signs of damage, such as chips, cracks, or rust spots. Address any issues immediately to prevent further deterioration. Make it a habit to inspect your knife every time you pick it up to use it.
Common Mistakes and How to Avoid Them
Maintaining your knives properly is crucial for their longevity and performance. However, there are common mistakes that people often make. Here’s how to avoid them:
Using the Dishwasher
Mistake: Placing knives in the dishwasher can damage the blades and handles due to high heat, strong detergents, and movement during the wash cycle.
How to Avoid: Always hand wash your knives with mild soap and warm water. Dry them immediately to prevent rust and corrosion.
Neglecting Regular Honing
Mistake: Skipping regular honing can lead to a misaligned edge, making the knife feel dull even if it’s not yet time for sharpening.
How to Avoid: Use a honing rod regularly, ideally after each use or every few uses. This realigns the edge and keeps your knife performing well between sharpenings.
Incorrect Sharpening Angles
Mistake: Sharpening at the wrong angle can damage the blade or create an inconsistent edge.
How to Avoid: Maintain a consistent angle, usually 15-20 degrees for most kitchen knives. Use angle guides or sharpening tools with preset angles if you’re unsure.
Over-Sharpening
Mistake: Sharpening too frequently or using too much force can remove too much metal from the blade, shortening its lifespan.
How to Avoid: Sharpen your knives only when necessary, typically every few months, depending on usage. Use gentle, even pressure during sharpening.
Using the Wrong Cutting Surface
Mistake: Cutting on hard surfaces like glass, granite, or metal can quickly dull the blade.
How to Avoid: Always use a wooden or plastic cutting board. These materials are gentler on the blade and help maintain its sharpness.
Improper Storage
Mistake: Storing knives loosely in a drawer can cause the blades to knock against other utensils, leading to dulling and potential damage.
How to Avoid: Store your knives in a knife block, on a magnetic strip, or with blade guards. Ensure they are dry before storing to prevent rust.
Ignoring Knife Damage
Mistake: Continuing to use a damaged knife can worsen the damage and be dangerous.
How to Avoid: Regularly inspect your knives for chips, cracks, or rust. Address any issues immediately by sharpening, repairing, or replacing the knife as needed.
Using the Knife for the Wrong Tasks
Mistake: Using a knife for purposes other than cutting food, such as opening cans or packages, can damage the blade.
How to Avoid: Use the right tool for the job. Keep a pair of kitchen shears handy for tasks like opening packages or cutting twine.
Maintaining your kitchen knives is essential for a safe, efficient, and enjoyable cooking experience. By understanding the basics of knife sharpness, using the right tools, and following proper maintenance techniques, you can ensure your knives remain in excellent condition for years to come. Whether you choose to sharpen your knives yourself or use a professional service, regular care and attention will make all the difference.
We hope this comprehensive guide has provided you with valuable insights and practical tips for keeping your knives sharp and ready for all your culinary adventures. Remember, a sharp knife is not only more effective but also safer to use.
Do you have any questions or tips about knife maintenance that you’d like to share? We’d love to hear from you! Leave a comment below and join the conversation. Your experiences and insights can help fellow cooking enthusiasts improve their skills and knowledge. Happy cooking and happy sharpening!