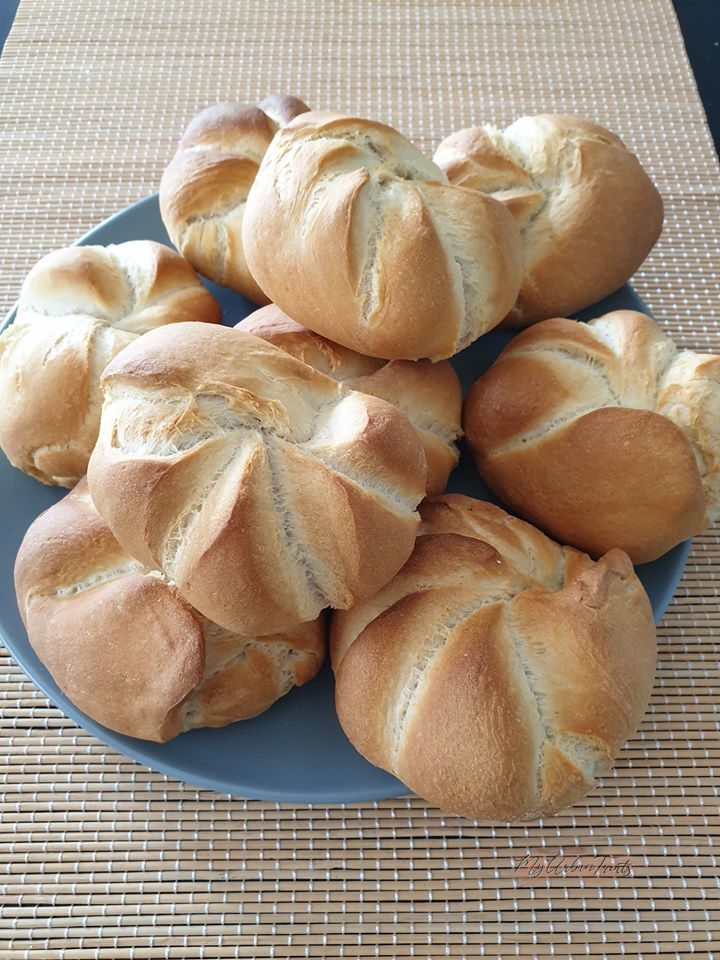
Kaiser Semmel or Kaiser Roll are a bread roll that originated in Austria. They are easily identified by the signature star pattern on the top of the roll. The star shape is achieved by either using a special stamp or the traditional way of folding the bread over itself (ill show you how its done) Are you ready to make Austrian Style Bread Rolls? Then lets get started!

The History of Kaiser Rolls
Kaisersemmel have an interesting history, until the 17th century only a handful of selected Austrian bakers where allowed to bake these bread rolls. The Kaiser Roll stood out as it was made from a finer flour type and thus the name “Kaiser” (meaning emperor) indicates a higher quality product. Although there are various other storied behind the name, this one seems to be the most realistic one. When competition increased in the mid 17th century, the production of Kaiser Rolls was made open to all bakers. If you want to read more about the history of Kaiser Rolls, check this article on Wikipedia
Today Kaiser Semmel are found in other central and eastern European countries with other names such as Rose Semmel in germany, kajzerica in Serbia, Croatia and Slovenia or Kaiserka in the Czech Republic.
The Kaiser Roll signature five fold pattern star also gives the dough more tension making it expand more evenly
Ingredients
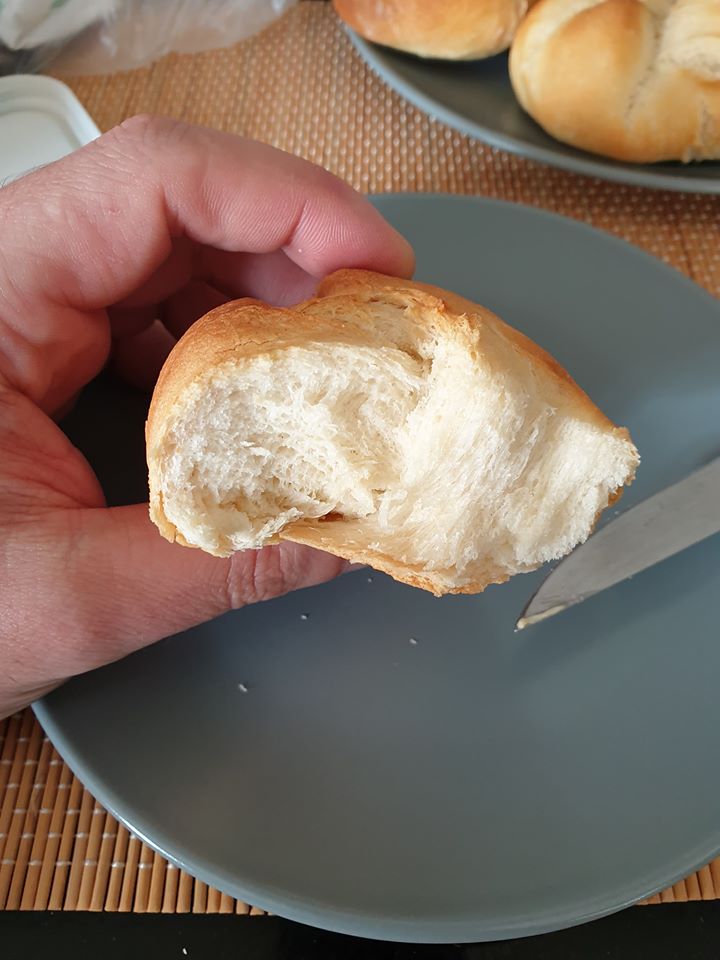
Viennese bread rolls differentiate in texture and flavour from most modern dinner rolls. The outer crust is crispy and the inside is soft but holds itself. This is in part due to the salt and sugar in the recipe, but also the technique of rolling and folding them. Here is what you will need.
- 3 Cups & 3 Tbsp of All Purpose Flour
- 1 1/2 Tsp of Salt
- 1 Tsp Sugar
- 2 Tbsp Unsalted Butter
- 1/5 Cup of Milk
- 1 Cup of lukewarm water
- 1 Pack of dry Yeast
How to make Kaiser Rolls
Making Kaiser Rolls is simple and quick, I often make a bunch before dinner or even for breakfast. The longest time of the process is the proofing, other than that its wham bam and they are done. Here is how:
Step 1 Make the Dough
Combine all the ingredients in a large bowl and slowly blend them together. Once all the ingredients are combined start kneading. If you have a mixer with a dough attachment, start at a slow speed and speed it up when the dough is combined. Knead until combined and smooth then cover the bowl with a kitchen towel and rest for 15 minutes.
Step 2 Pre-Shaping and Proofing
Dust your working surface with flour and place the dough on it. Using a scale cut in to 75g pieces. Using your palm, lightly press them against the working surface and roll until round balls form. Place them in a baking tray lined with a clean kitchen towel. Dust them with a 50/50 mixture of flour and Cornstarch so they don’t stick and cover for another 15 minutes.
Step 3 Shaping and Star Shape
- Now comes the step that gives the “Kaisersemmel ” its distinguished shape. Press a dough-ball in to a flat circle approximately. the size of your palm. Place your thumb pointing from the outside to the centre of the dough and fold the dough over your thumb. This will create a half circle and a little cave with your thumb in it.
- Now with the edge of your other hand, press the dough right next to your thumb to half the side with and without your thumb. Take the side without your thumb and fold it over itself. Repeat this process four times creating four folds.
- Now remove your thumb from the dough and place the last fold in to the whole where your thumb was. Pinch it together and lightly round of the bread roll
- Place the prepared bread rolls on the kitchen towel and cover them for another 30 minute rest.
Step 4 Baking
While the bread rolls go through the final proofing phase, preheat the oven. I preheat at 220C or 430F and then lower the temperature to 200C or 400F before baking.
Now here is a trick for amazing bread baking, place a oven safe dish filled with water in the bottom of your oven. This will create steam during the baking process which in turn will help the dough rise evenly.
Using a water bottle sprayer, evenly spray the bread rolls to make them wet and damp. Then place them in the oven and bake for around 18 minutes spraying them with water every 4-5 minutes (this will make more steam)
Cool and enjoy your fresh Viennese bread rolls.
Tips & Tricks
If the star shape folding is to tricky, you can use a bread stamp. Since not everyone has one of these lying around, you can use a form or spoon and carefully press them in to the top to form the same shape.
Other Similar Recipes
I hope you enjoyed this recipe, if you have any questions or suggestions, please leave a comment I will personally reply to each and everyone 🙂
Also make sure you check out similar recipes here:

Viennese Bread Rolls (Kaiser Semmel)
Equipment
Ingredients
Instructions
- Measure the ingredients exactly and slowly blend them together for a few minutes. If you are using a mixer with dough attachment then start with the slowest setting and speed up after 2-3 minutes.
- Once the dough is nice and even, cover the bowel with a kitchen towel and let the dough rest for 15 minutes.
- Prepare a lightly dusted working area, place the dough on it and cut out 75g pieces.
- To get a well-shaped round doughball you can use the following rolling technique, with the palm of your hand press the dough in to your working area and begin a circular motion slowly releasing pressure until the doughball starts to form. As you lift the pressure form a claw like shape with your fingers to cage the doughball and roll it until its nice and round. The whole process should take around 6-8 seconds not more.
- Dust the rolled dough-ball with a mixture of 50% flour and 50% Cornstarch place them on a kitchen towel and cover them. Now let the dough-balls rest for another 15 minutes.
- Now comes the step that gives the "Kaiser Semmel " its distinguished shape. Press a dough-ball in to a flat circle approximately the size of your palm. Place your thumb pointing from the outside to the centre of the dough and fold the dough over your thumb. This will create a half circle and a little cave with your thumb in it.
- Now with the edge of your other hand, press the dough right next to your thumb to half the side with and without your thumb. Take the side without your thumb and fold it over itself. Repeat this process four times creating four folds.
- Now remove your thumb from the dough and place the last fold in to the whole where your thumb was. Pinch it together and lightly round of the bread roll
- Place the prepared bread rolls on the kitchen towel and cover them for another 30 minute rest.
- Pre-heat the oven to 220°C. We will change this temperature to 200 before we put the bread rolls in to the oven. As bread dough needs humility to rise well and evenly we will also place a little oven-safe dish with water in to the oven. Make sure the water is replenished before you start baking the bread rolls.
- Once the bread Rolls have rested, spray them well with water and place them in to the oven until golden brown. This takes approximately 18 minutes depending on your oven so keep an eye on them. You can occasionally spray a little water in to the oven to create steam and humidity as this helps the dough o rise evenly.
- Take the bread rolls out of the oven and place them on a cooling rack.


