So you want to bake a cake from scratch, no cake mix no ready sponge cakes a cake that you made all by your self with nothing but basic ingredients? Well you are at the right place, this is my step by step guide to baking your first cake from scratch. Not only will we bake a cake but I will also explain the reasons behind every ingredient and preparation method.
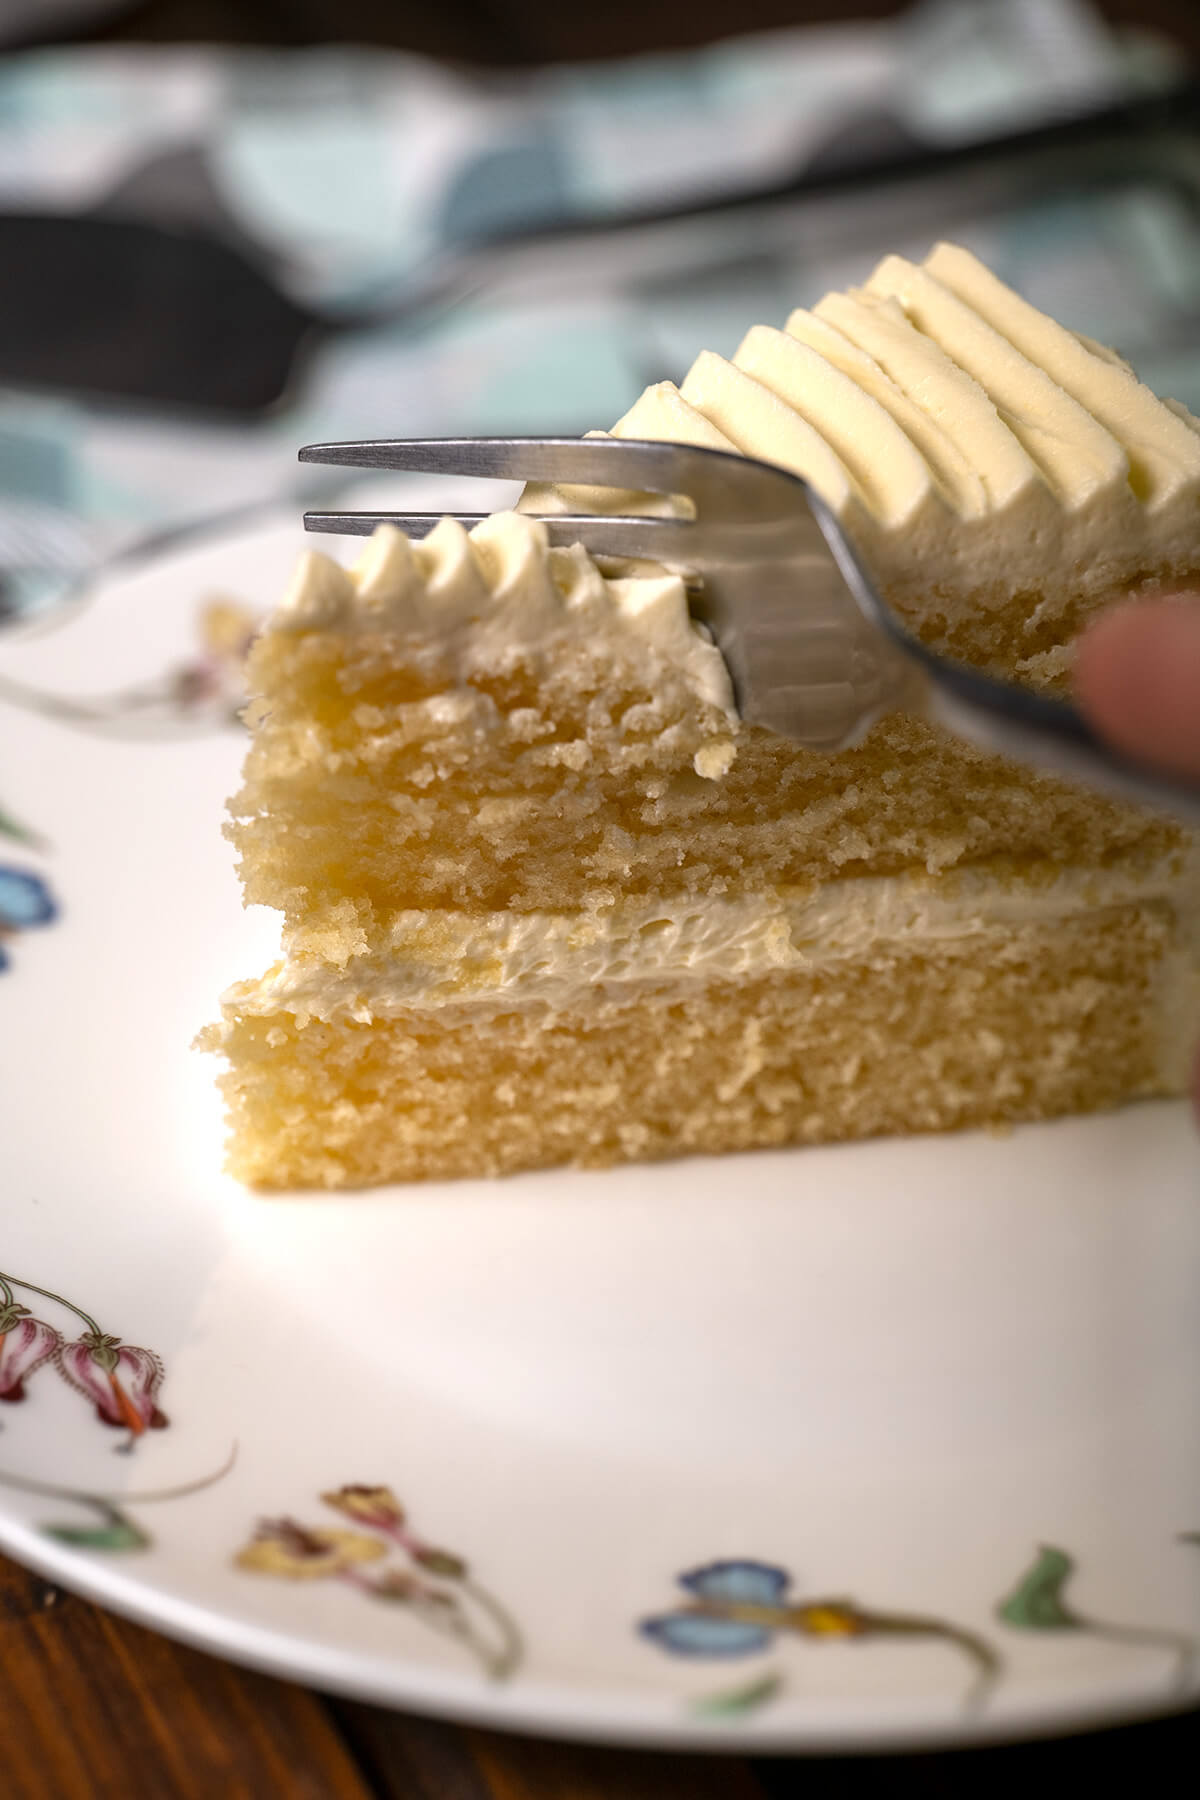
For our first cake from scratch we will bake a classic vanilla sponge cake and as an added bonus, I will share with you my amazing chocolate buttercream frosting which is so easy and delicious it will blow your friends taste buds right off. Use the index below to jump to any section of this tutorial or go to the bottom of the page for the recipe card and print button.
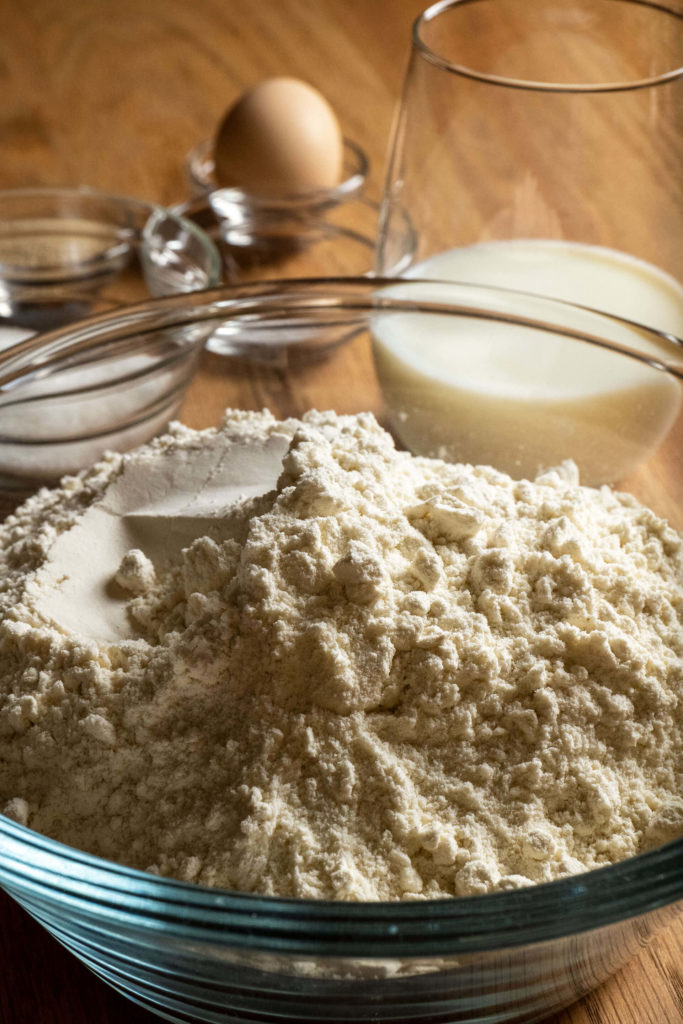
Ingredients
Baking a cake from scratch requires some basic ingredients. Each ingredient plays its own role in the flavour and texture of your first cake. Lets have a look at all the ingredients and what they do.
All Purpose Flour
Think of flour as the bricks to your house. It provides structure and the basic texture of cake. There are many different types of flour but baking usually requires one of two types, All Purpose Flour or Self Raising or Cake Flour. Self Raising flour already contains some of the ingredients usually added to cakes like soda or baking powder. But since we are making our came completely from scratch, we will use plain old all purpose flour and add any raising agents ourselves.
Eggs
Egg’s are probably the second most important ingredient in our basic cake. They add to the structure of the cake, act as a leavening agent (help the cake rise) and add to the colour and flavour of the cake.
Baking Powder
Baking Powders (not to be mistaken with baking soda) is a complete leavening agent. Leavening agents cause a chemical reaction that released gases during the baking process. These gasses are trapped in the batter creating a sponge like texture making the cake fluffy and light. A complete levelling agent contains all the required chemicals for this process. Other leavening agents such as Baking Soda, require an acid to cause the same reaction.
Salt
Salt is a flavour enhancer and can bring out or bloom the flavour of other ingredients. Small amounts, usually 1 tea spoon, are required for an 8-9 inch cake. Flavour enhancers are a common practice in baking, chocolate cakes for example often use coffee to bloom the cocoa flavour. Salt is also used in caramel as the contrast of flavours really enhances the overall flavour and taste.
Sugar
You may think that sugar just makes cakes sweet, and while that is true, it also has many other functions. For example, we often cream butter and sugar to add air to the recipe. This makes the cake fluffier and buttery. The chemical reaction between sugar and water keeps the cake moist and fresh.
Milk
Milk is another multi functional ingredient in cake, the proteins in milk add to the texture while the flavour and colour are also influenced by Milk. Some recipes will call for Butter Milk, this usually applies when using Soda as a levelling agent. The acidity in Butter Milk reacts with the Soda adding more air and fluff to the cake. In todays recipe we will use plain full fat milk.
Unsalted Butter
Is a key ingredient in cake, the gasses expelled from the leavening agent are trapped in the fat of the butter. So without butter, the cake will not rise. Its really a combination of all the ingredients that makes a fluffy cake fluffy.
Vanilla Extract or Essence
As a rule of thumb, we will always add either Vanilla or Lemon Zest to our recipes. First and foremost, this masks any egg flavour but also adds to the overall flavour of the cake. It spices up the flavour and makes it more exciting.
Vegetable Oil
Oil’s main purpose in cake is moisture. Adding a little vegetable oil to any sponge cake will make it moist and keep it tasting fresh much longer. Vegetable oil is optional but if omitted, it should be replaced with another liquid ingredients such as milk, to keep the cake from being to dry.
Equipment
Basic Cake doesn’t require a lot of equipment, this is hard to admit coming from a total kitchen equipment addict but its the truth. You only need a very few things to bake a cake, sure, once you get into baking you might want to get more tools to express your creativity and make baking easier. But these are the basics you will need to bake this cake.
1. A Baking Form
Baking forms or pans come in many sizes, shapes and forms. The most basic form is the round cake pan, this is available in different sizes all the way from tiny 3 inch forms to massive 20 inch forms for wedding cakes. In my recipes whenever I use a round baking pan, I use 8 inch pans. For me this is just the perfect size, you can easily fit them into your oven, most recipes will accommodate enough batter for 8 inch forms and you can easily stack three to four layers without any accidents. There are other shapes you can use such as loaf pans and Bundt pans which will just give you different shapes.
2. Whisk or Mixer
You will need some way to whisk all the ingredients together. A basic whisk will do the trick, just add some elbow grease and you are good to go. Its true that a Hand mixer will make your life a little easier but hey, you are baking you first cake from scratch, if you get into baking more frequently, invest in a Hand Mixer or even a nice stand mixer.
3. An Oven
This is an absolute must, no oven = no baking. Any type of oven will do as long as there is adequate space for your baking pan. Generally when talking about consumer ovens, there are two types, your basic oven and a convection oven. Convection ovens circulate hot air creating a more even temperature inside the oven which in turn makes a more even cake. Also note that if your oven is not a convection oven, you will need to slightly increase the baking time.
4. Baking Paper
Many recipes will tell you to butter and flour your cake pan, and while that works great for the sides of the pan the bottom is always best covered with a piece of baking paper. It will make it so much easier when getting the cake out of the pan. Leave the butter out of the fridge 20-30 minutes before baking it has to be at room temperature to combine smoothly and to avoid curdling.
5. Two Mixing Bowls
You will need a medium sized mixing bowl for your dry ingredients and a large mixing bowl for wet ingredients.
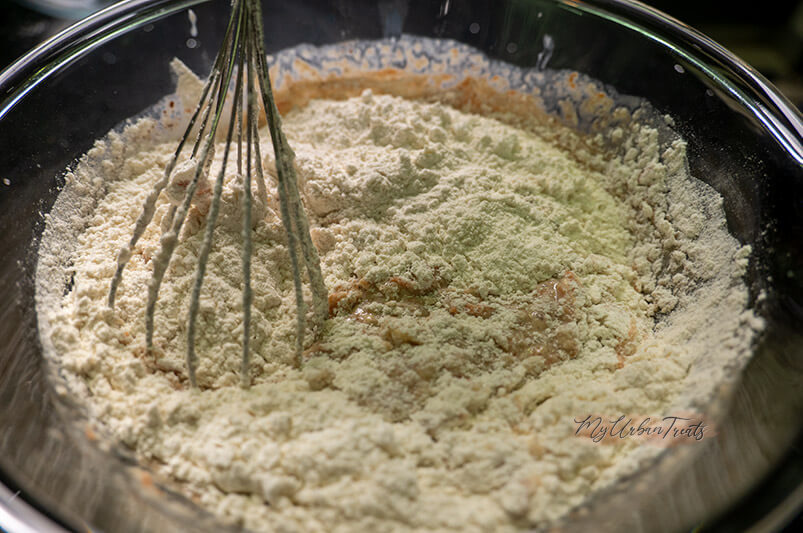
Step 1: Dry Ingredients
In a medium bowl, combine The flour, baking powder and salt. Give it a quick whisk and set aside. You can sift the flour if you want but I never sift flour and it always works out great without any lumps.
Note: When it comes to baking cake, always keep the dry and wet ingredients separated. There is a good reason for this. Whisking flour with wet ingredients creates gluten, gluten makes cake texture more elastic and tough so once we combine wet and dry ingredients we keep the mixing to a minimum.
Step 2: Wet Ingredients
In a large bowl whisk the butter until even and fluffy. This should take around 1-2 minutes with a hand mixer and 3-4 minutes with a hand whisk. While still whisking add the sugar and keep at it for another 5-6 minutes or until smooth and pale. Now gradually whisk in the eggs one at a time until smooth an combined.
Note: This process adds maximum air to your batter, more air = more fluffiness. Also note that sugar although dry, is always considered a wet ingredient.
Step 3: Combine wet & dry ingredients
Now that the dry ingredients are combined and the wet ingredients are ready, its time to mix them together. Remember, at this point we DONT want to over mix, its important that we stop as soon as the ingredients are combined to avoid creating too much gluten. Remember Step 1 more mixing is more gluten and more gluten makes a dense cake.
With your hand whisk in one hand and a spoon in the other, add 2-3 table spoons of the dry ingredients mix and slowly fold it in with the whisk. I find sometimes its better to use a spatula to fold the dry ingredients in. Continue gradually adding 3-4 more spoons until all the dry mixture is all mixed in. Time to prepare the baking form.
Step 4: Prepare to Bake
Its time to preheat the oven, set the oven to 170C or 340F, this is the perfect temperature for an 8 inch cake as it will bake it evenly without burning the tops or edges.
Before we bake the cake, we need to prepare the baking pan or form. There are many different types of Baking pans made out of different materials and in different shapes. I find that aluminium pan’s work the best. Aluminium is an excellent heat conductor. This means the pan will reach its target temperature quickly and evenly. Before we add the batter into the pan we need to butter and flour it.
To butter your form, grab one table spoons of butter with your Index finger, Ring finger and Thumb and evenly spread the butter in the pan covering the sides and bottom. When the whole inside of the form is covered, add 1 table spoon of butter and swerve the form around until all the butter has an even layer of flour attached to it.
Expert Tip: No matter how well you butter the form, there is always a risk of breaking the cake when removing it from the form. To avoid this, I like to cut out a round piece of baking paper and place it on the bottom of the pan. This will loosen the cake much easier from the corners and centre when removing it from the pan.
To cut a perfectly round circle, place the pan on the baking paper and trace it with a sharp knife. Best do this on a cutting board to avoid damaging the counter or knife.
Now put the batter into the cake pan. Bang the pan lightly on the kitchen counter a few times, this will remove any bubbles trapped in the batter.
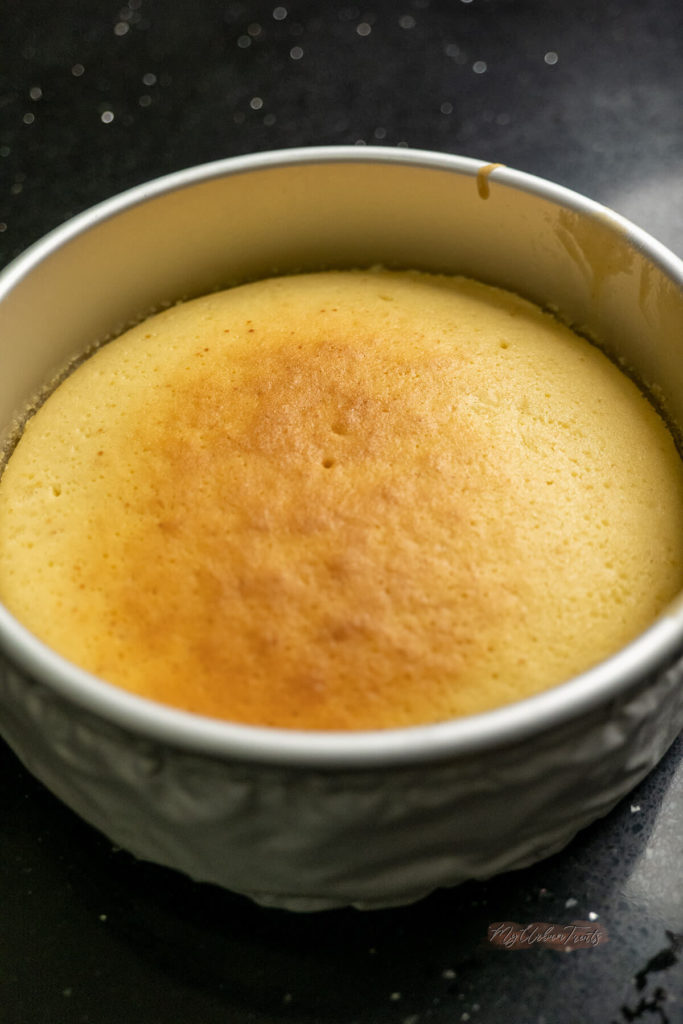
Step 5: Bake & Cool
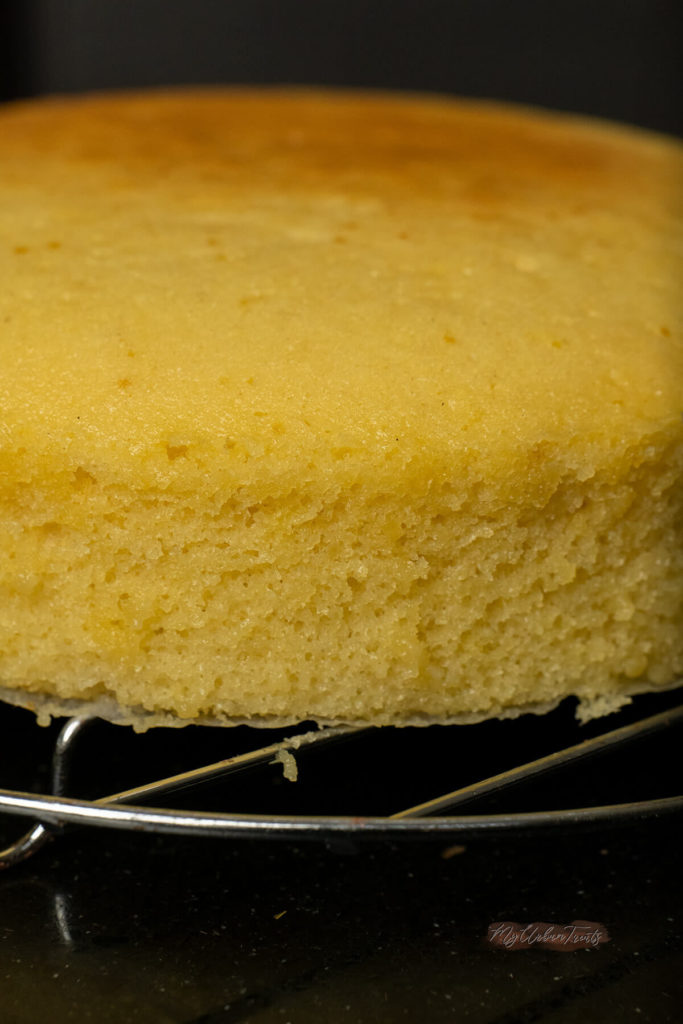
Place the cake pan on the centre rack of your preheated oven. Cooking time is usually around 40 to 45 minutes but this can vary depending on the oven. To make sure your cake is done, you can do a skewer test at the 40 minute mark. The skewer test is simple, all you need is a wooden skewer, stick it into the centre of the cake and pull it out right away. If the skewer comes out clean without any wet cake batter on it, the cake is done. If the skewer comes out covered in batter, bake for another 4-5 minutes and try again. Repeat until the centre is baked and then remove from the oven.
Let the cake cool for a couple of minutes until warm to touch. Don’t let the cake cool completely before unmoulding, cooled cake breaks easier so make sure its still warm but not hot.
Place a large plate that will hold the cake, upside down on the cake form. Hold with both hands and swiftly turn around so that the cake form sits upside down on the plate. A few light taps on the form should loosen the cake.
Note: you can do this with a cooling wire or rack instead of a dish if you have one. Cooling wires help the cake cool evenly and avoid condensation being caught between the cake and the plate. Cooling rack’s are a great addition to any bakers tools. They are not only great for cakes but also for cookies and baked goods.
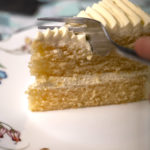
Frosting
The basic cake from scratch is now done, its delicious and ready to eat but if you want to give it an additional kick, you can make my buttercream frosting which is easy and tasted amazing.
Cake Checklist
If you have followed all my detailed steps, you should have a lovely and tasty vanilla cake ready to share with your loved ones. If you skimmed through the post, here are some important points to consider when baking any cake.
- Make sure all ingredients are at room temperature
- Have your ingredients measured and ready this will make baking calmer and tidier
- Preheat the oven, this will ensure an even bake and avoid burnt tops and edges
- Use the metric system to weigh ingredients, its more accurate than cups.
- Fold the dry ingredients into the wet DONT over mix
- Use the right size of baking tin
- Cool the cake in the tin for a few minutes before unmoulding it. Don’t wait until its completely cooled down
Cake from Scratch
Equipment
- Oven
Materials
- 2 Cups All-purpose flour
- 4 Eggs Egg Large
- 2 Tsp Baking Powder
- 1/2 Tsp Salt
- 1 Cup Sugar
- 1 Cup Milk
- ¾ Cup Unsalted Butter
- 1 Tsp Vanilla Extract
- 4 Tsp Vegetable Oil
Instructions
- Combine the flour, baking powder and salt in a bowl. Whisk and set aside.2 Cups All-purpose flour, 2 Tsp Baking Powder, 1/2 Tsp Salt
- In a large bowl, whisk the room temperature butter and sugar using a hand mixer at medium speed until light, pale and fluffy.¾ Cup Unsalted Butter, 1 Cup Sugar
- While still mixing, add the eggs, gradually add the milk, vanilla extract and vegetable oil.4 Eggs Egg, 1 Cup Milk, 1 Tsp Vanilla Extract, 4 Tsp Vegetable Oil
- Now using a rubber spatula (if you don't have one use a whisk or spoon) and fold the dry ingredients into the wet ingredients 2-3 table spoons at a time. Go slow and don't over whisk. Stop as soon as its evenly combined.
- Prepare your baking tin and preheat the oven. Put the batter in the buttered and lined cake tin and place in the centre rack. Bake for 45 minutes but start doing skewer tests at 40 minutes.
- Let the cake cool for 4-5 minutes in the tin, then place on a cooling wire (or plate if you don't have one) and let it cool until ready to eat. If you are going to frost the cake make sure its completely cooled first.