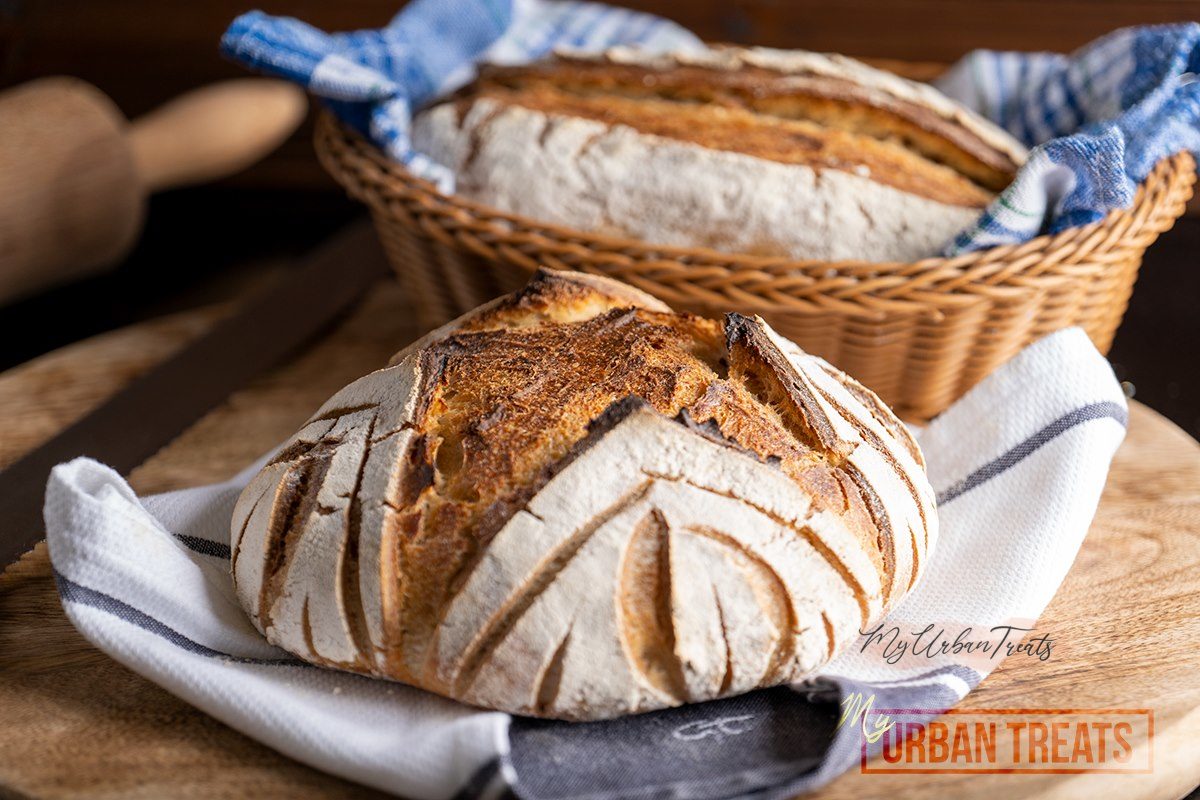
Artisan Village Bread
Rustic sourdough village bread with a crunchy crust and delicious flavour and texture.
Equipment
- Proofing Basket
- Kitchen Towel
- Lame Bread Slashing Tool
Ingredients
- 7 ½ Cups Village or Artisian Flour
- 2 ½ Cups Warm Water
- 1 ⅓ tbsp Salt
- ½ Cup Sourdough Starter
Instructions
- Autolyse is a biological process that breaks starches into sucrose. This will make your dough more malleable and will give you a better rise and texture. The process is simple, combine the water with the dough and mix until its smooth and even. Cover with a kitchen towel and let it rest for at least 30 minutes. You will notice a more elastic texture once completed.
- Now it's time to add the sourdough starter. Read our Sourdough Starter Guide to ensure you have an adequate amount of starter left to continue the growth and feeding process. Add your Sourdough starter to the autolysed flour and water mixture. Using the dough hook of your stand mixer, set to a low speed and let it knead until it is well combined. At this stage the dough might seem too runny, this will tighten up when we add the salt. Add your salt and knead for another 5-10 minutes until smooth and well combined.
Slap,Fold and Shaping
- Now that all the ingredients have been combined and the autolyse is complete, we need to prepare the dough for the kneading and folding process. This process is called slapping and lasts for 3 to six minutes. Pick the dough up with both hands and slap it against the kitchen counter. Pull it lengthwise and roll it back together. Then pick it up and slap it against the counter again. Repeat this process for 4-5 slap and stretches. Don't hold back you need to use strength otherwise it will take you longer to finish this step. You will know the dough is ready when its nice and smooth and not as tacky as it was when you started.
- Place the dough in a bowl and cover with a kitchen towel. Find a nice and warm spot and let it rest for 30 minutes. Avoid heat above 70C or 140F as this will kill your sourdough starter. Also avoid direct sunlight shining on your dough.
- Now that the dough is well rested and has recovered from the slapping process it is time to fold it for the first time. Place your dough on your working surface. To avoid it sticking you can use a few drops of olive oil on the surface and on your hands. <br/> Pull the dough out in to a rectangle about 40 x 30 cm or 15 x 11 cm. Fold both sides to the center along the long side. Then roll it up. Handle the dough gently from here on. Place it back in to the oiled bowl and cover for another 30 minutes.
- Repeat the folding process and let the dough rest for another 30 minutes.
- Repeat the fold again, only this time we let the dough rest for 1 1/2 hours instead of 30 minutes.
- At this stage you should already see a significant amount of rise in your dough. Very lightly flour your working surface. Place the dough on the floured working surface and fold it from the sides on to the top in to itself. This will smoothen out the underside of the dough. Place it on an area that doesn't have a lot of flour. Using both hands, lightly pull the dough to your direction. This will create surface tension. Turn the dough by a quarter and repeat four times. Line your proofing basket with a clean kitchen towel, dust with flour and place your dough in to the proofing basket. At this stage you have two option.
Option One - Proof and Bake
- Rest the dough in a warm place for 2 - 3 hours.
- Preheat your oven at 240C or 465F. The best way to bake this type of bread is in a ceramic or pyrex covered casserole dish. This keeps all the liquid trapped and gives you a crunchy crust. If you don't have a dish that fits your loaf, don't worry. You can still bake it in your oven but you will need some steam to keep the bread moist. You can achieve this in a few ways, you can get a small oven safe dish and fill it with water. Then place it in the bottom of your oven to create a constant flow of steam. You can also add a few ice cubes. I like to use a plant spray bottle filled with water and spray a good amount of mist in to the oven before i add the dough.
Option Two - Overnight Fridge Rest
- Instead of proofing your dough at room temperature, you can proof it in the fridge in a slower process. This takes between 15 and 20 hours although we found that 16 is Ideal. The benefit of fridge proofing is that you have more control over when you can bake the bread. Don't let your bread proof more than 24 hrs. There is no benefit in an extended time and it might diminish the flavour of the bread and dry it out.
- The Baking process is the same as in option one.
Video
Nutrition
Calories: 705kcal | Carbohydrates: 148g | Protein: 20g | Fat: 2g | Saturated Fat: 1g | Sodium: 1870mg | Potassium: 201mg | Fiber: 5g | Sugar: 1g | Calcium: 32mg | Iron: 9mg
